How to Install iStoreOS Router on Proxmox VE with Manual Software Setup
iStoreOS is a router system based on OpenWrt that offers a simple and user-friendly interface with a built-in application market for easy software installation. This article shares the process of installing iStoreOS on a Proxmox VE (PVE) virtual machine for reference.
Download Firmware
iStoreOS firmware download link: https://fw.koolcenter.com/iStoreOS/x86_64_efi/
I downloaded the X86 version with EFI support, named istoreos-22.03.5-2023081110-x86-64-squashfs-combined-efi.img.gz.
Install iStoreOS on PVE
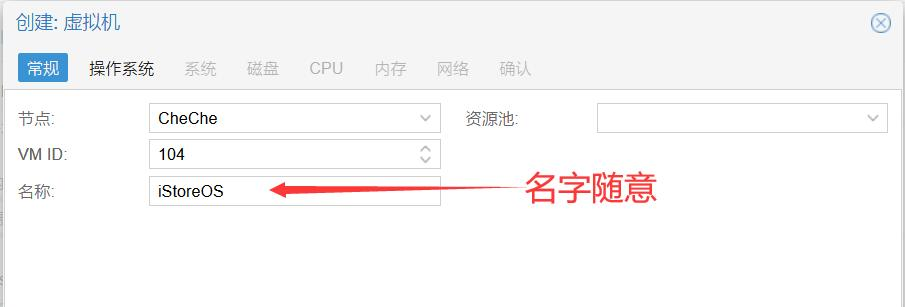
Enter the PVE system management interface and click "Create VM" in the top right corner.

Fill in only the name. The VM ID will be automatically assigned or can be customized. Ignore other settings and click Next.
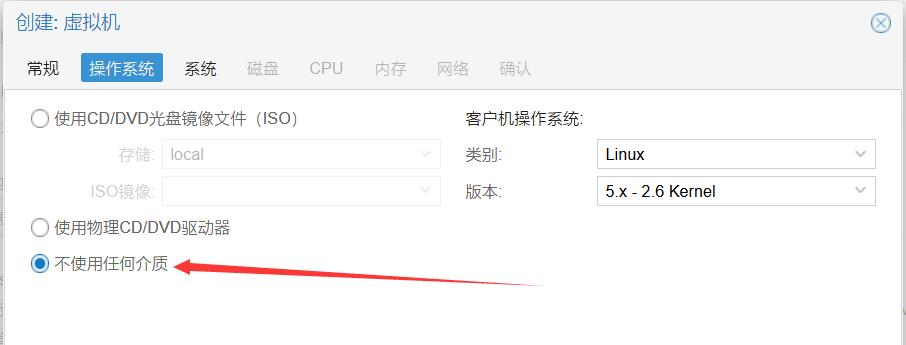
Check "Do not use any media" and click Next.
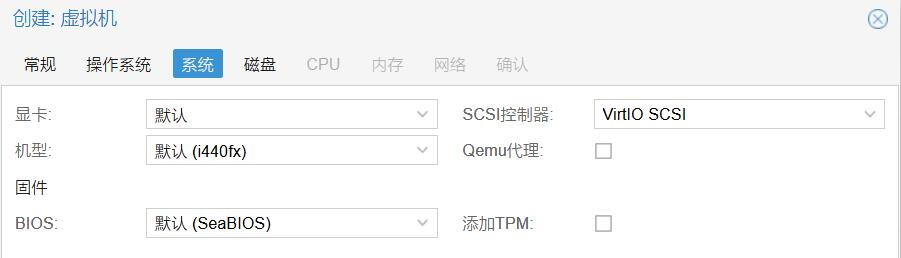
If you downloaded the EFI firmware, select "OVMF (UEFI)" for BIOS and choose a PVE virtual disk for EFI storage. Ignore other settings and click Next.
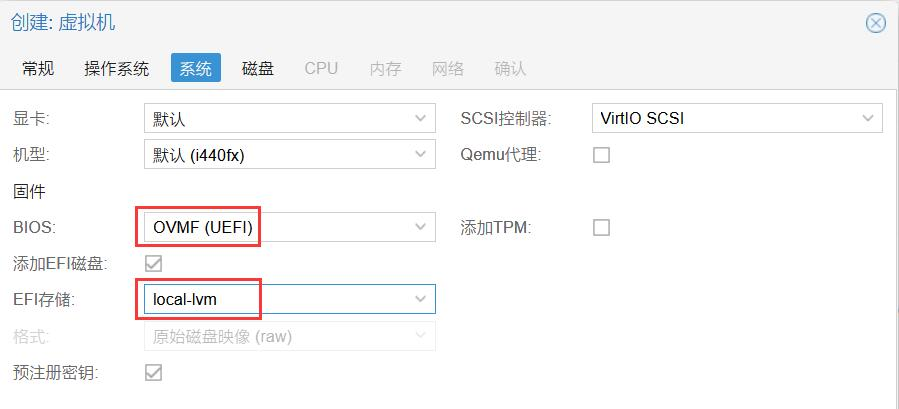
If you downloaded a non-EFI firmware, skip this page and click Next.
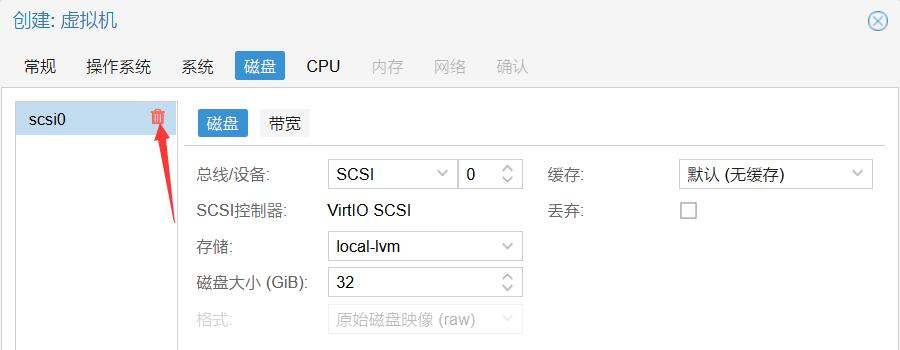
For the disk, do not create one; simply delete the default disk and click Next.
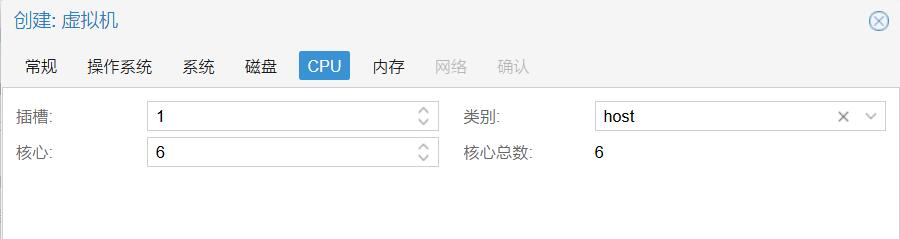
Set the CPU cores based on your host CPU (e.g., if the host has 6 cores and 12 threads, select a value between 1 and 12). The CPU type is recommended to be set to "host".
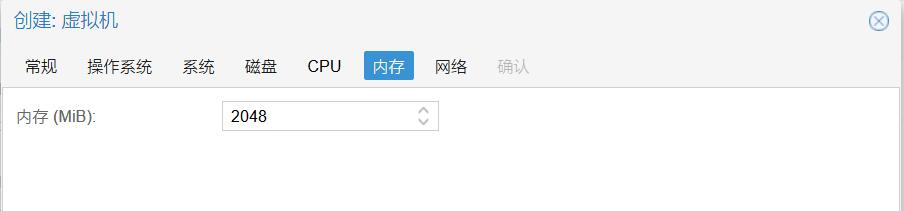
Set the memory according to your actual needs.
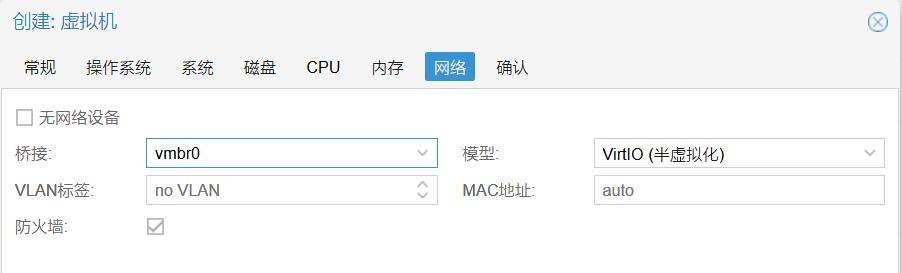
Network settings can remain default, as the PVE virtual LAN is already selected.
Click Finish and wait for the virtual machine to be created.
Use a tool like WinSCP to upload the downloaded firmware (EFI version used in this tutorial) and the img2kvm tool to the PVE host directory.
Then, use the img2kvm tool to write the firmware to the virtual machine using the following command:
# Download img2kvm
wget https://soft.xiaoz.org/router/iStoreOS/img2kvm
# Add execution permission
chmod +x img2kvm
# Write to the virtual machine (104 is the VM ID, please modify accordingly)
./img2kvm istoreos-22.03.5-2023081110-x86-64-squashfs-combined-efi.img.gz 104
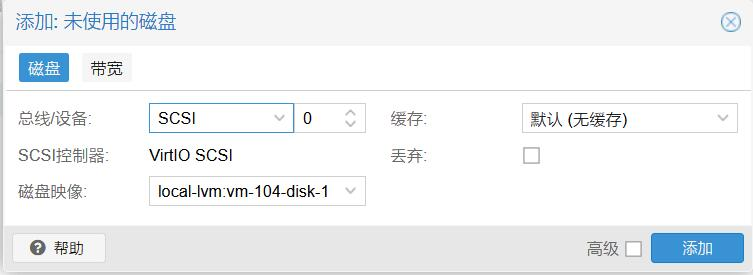
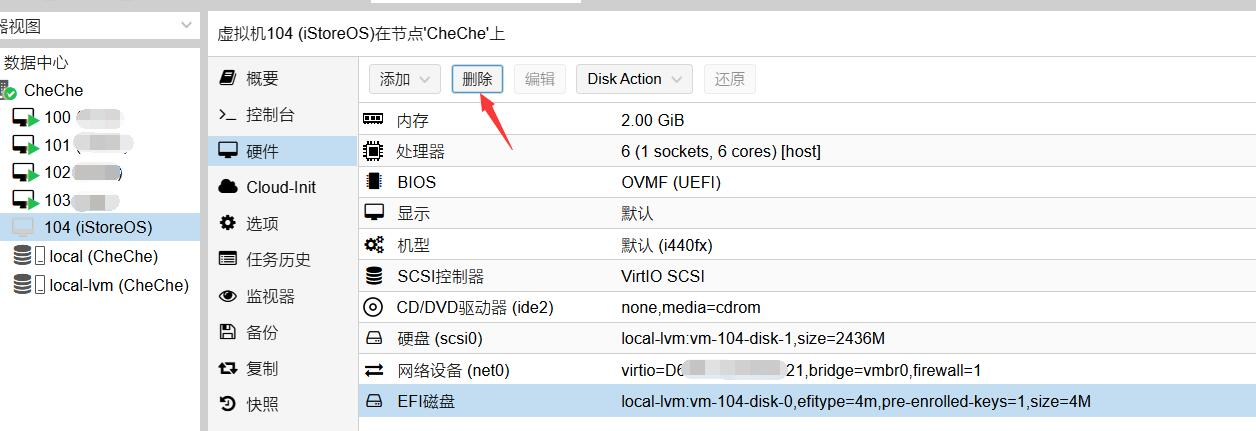
Check the hardware interface of PVE VM 104. An unattached hard disk should appear. Double-click to add it.
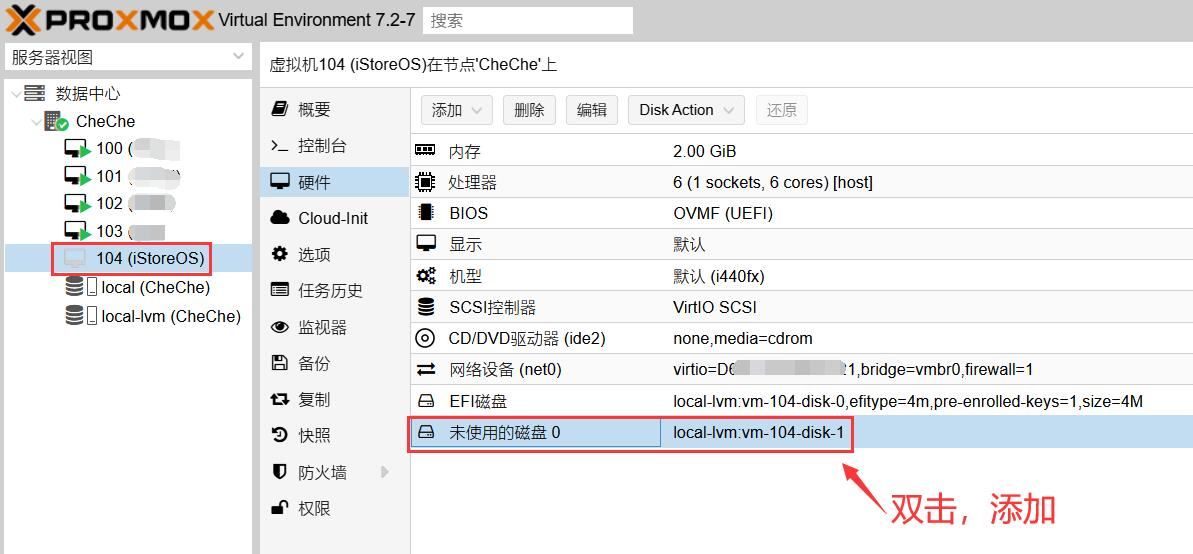
Add it without any settings.
After adding, a hard disk will appear.

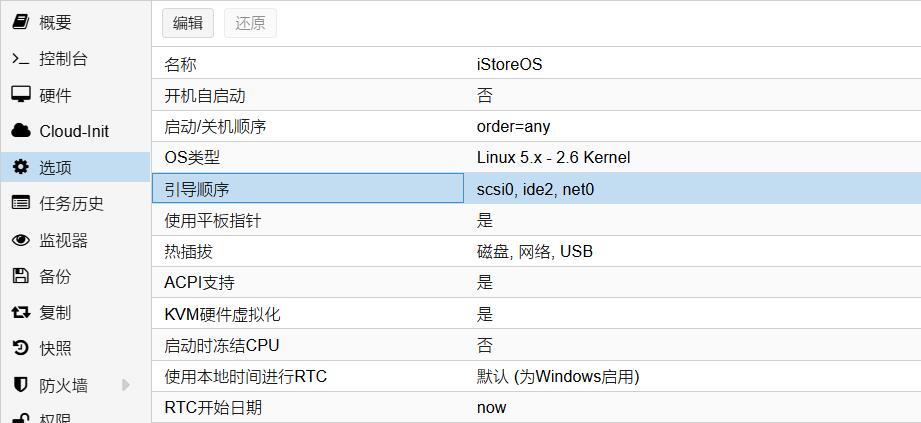
Go to Options -> Boot Order and double-click to edit.
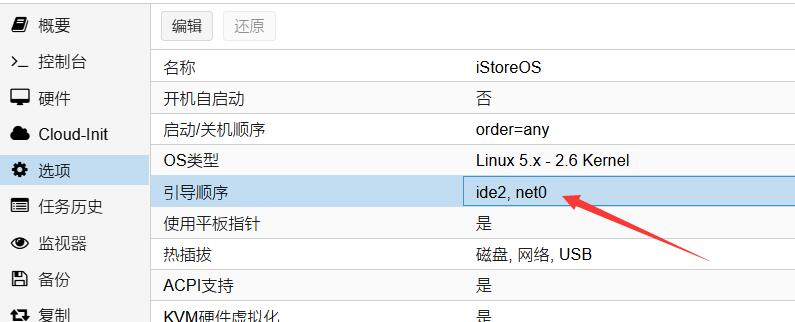
Set the newly added hard disk as the first boot device.
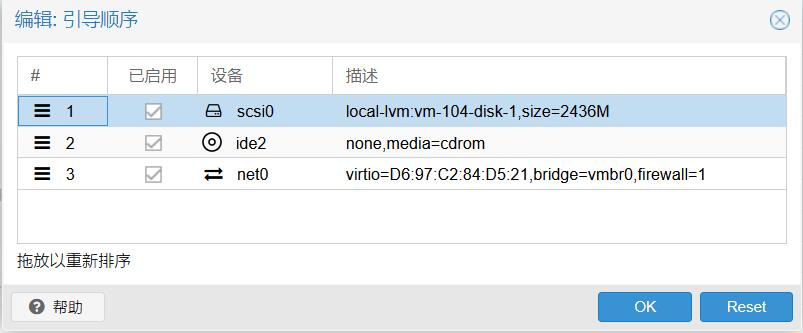
Delete the EFI disk. If the BIOS is not UEFI, this step is not applicable.
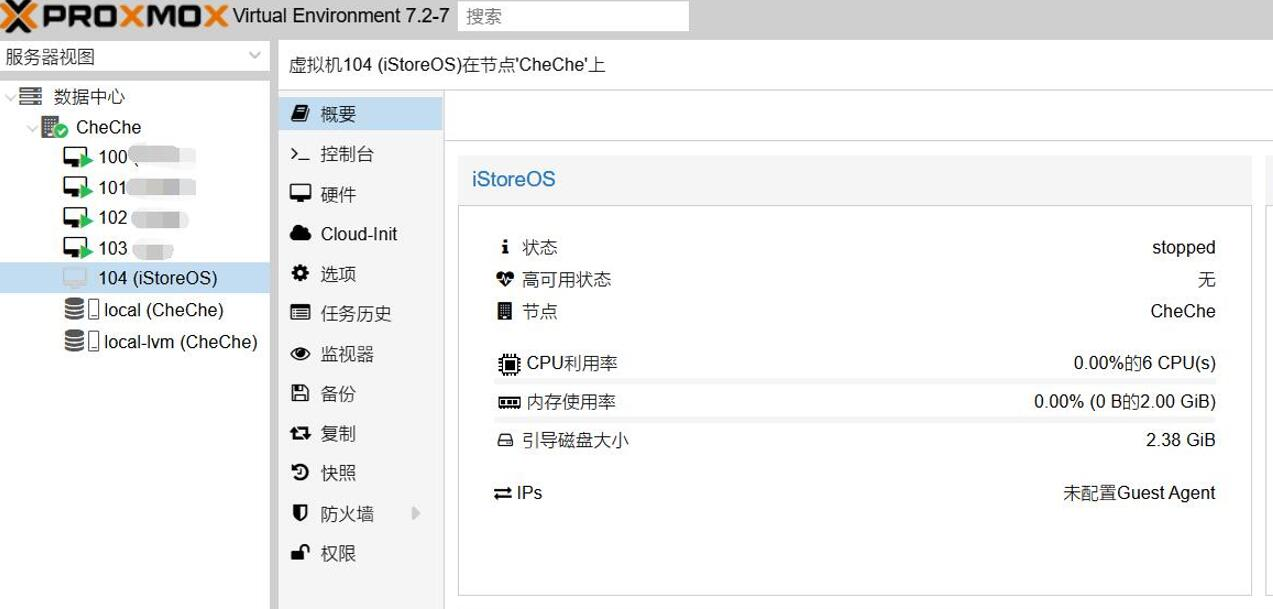
Start iStoreOS.
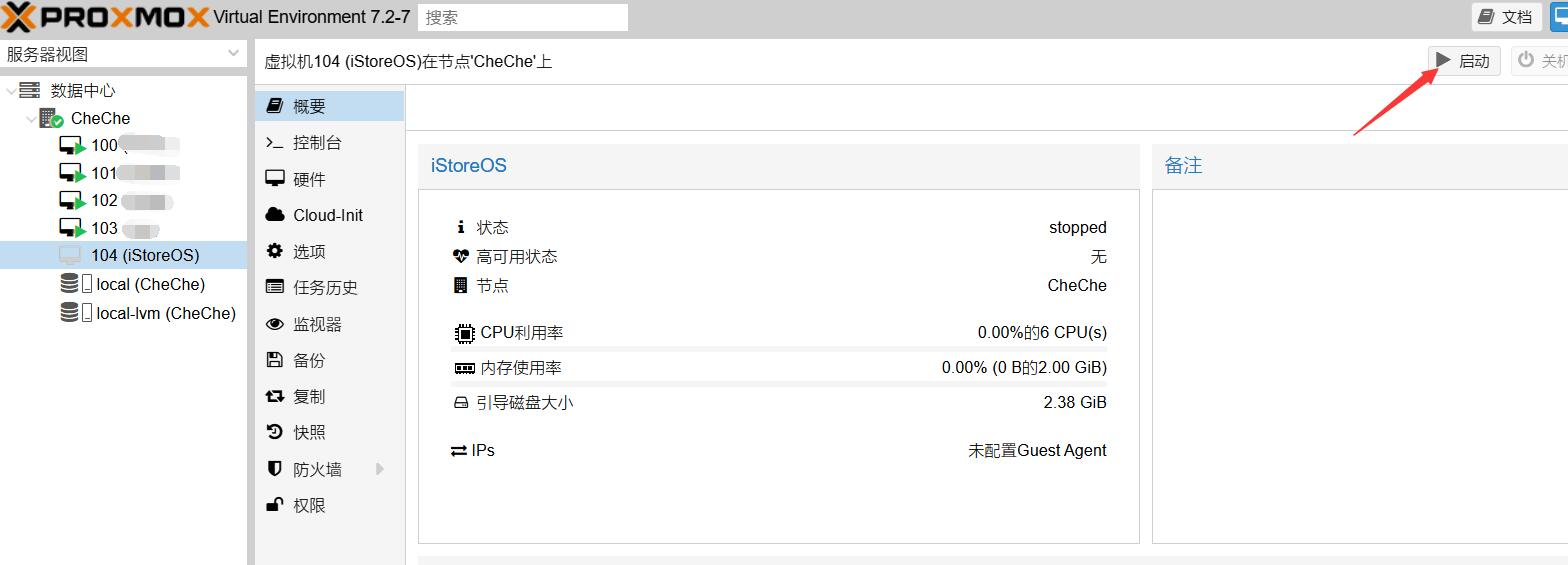
If the previous steps were correct, the system should boot normally.

Wait one or two minutes for the system to start, then click on the virtual machine and select "Console" (or click the Console button in the top right).
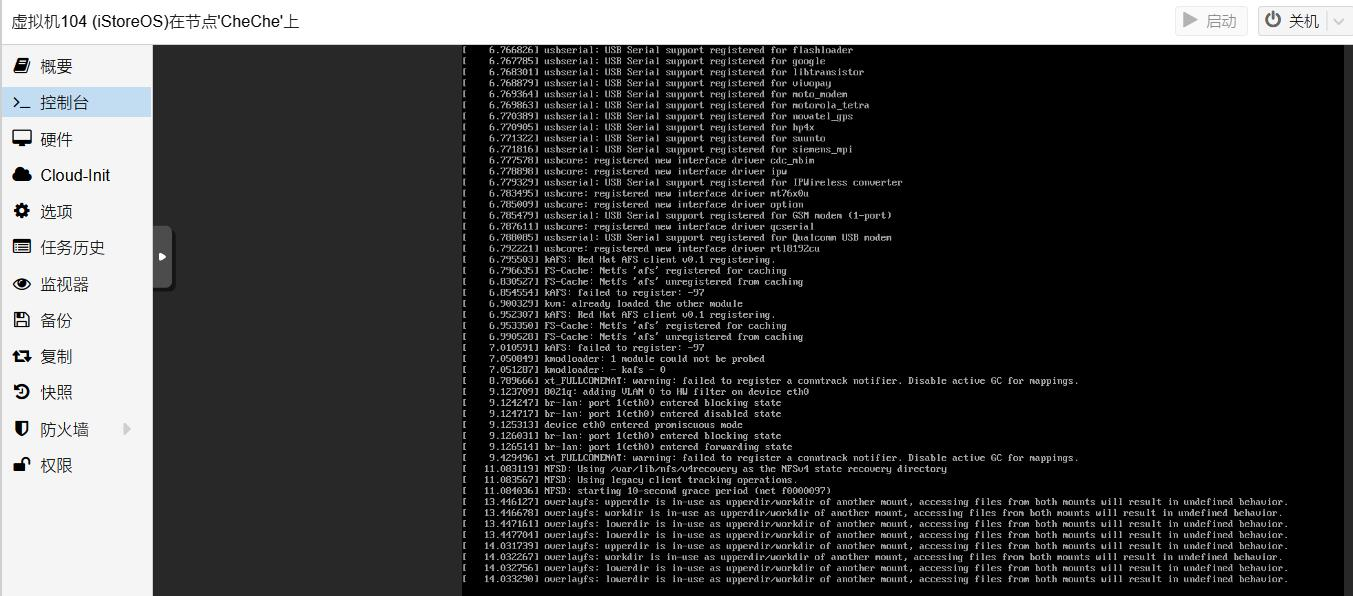
Click on this interface and press Enter on your keyboard to access the terminal.
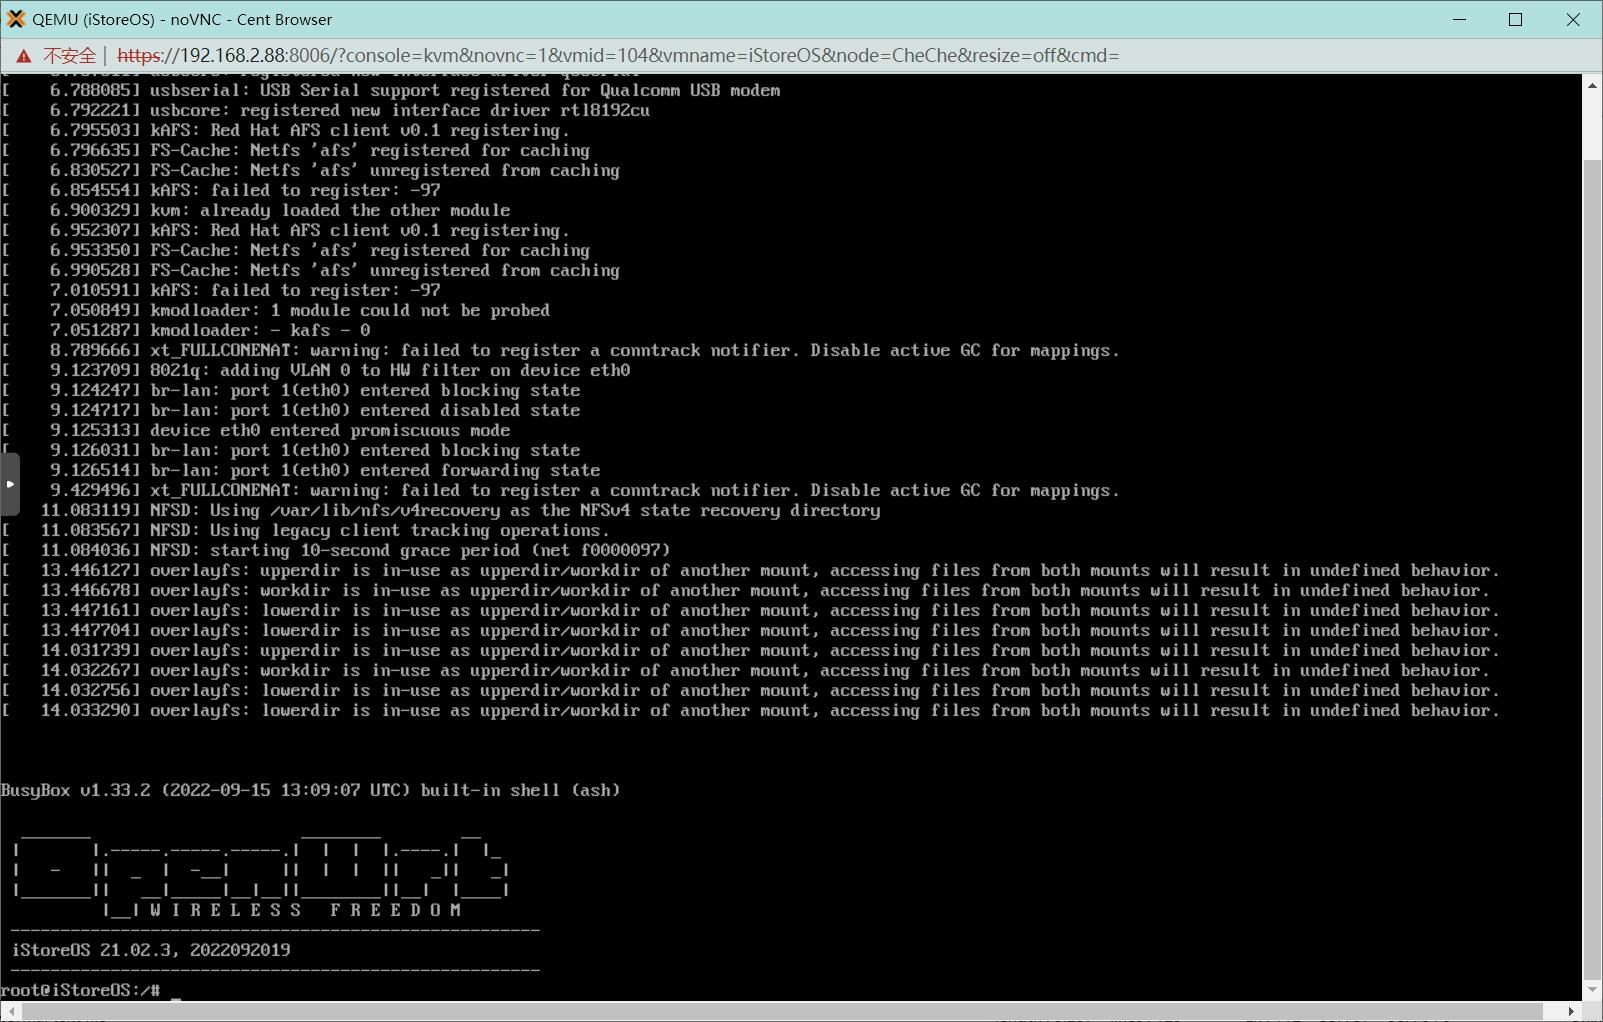
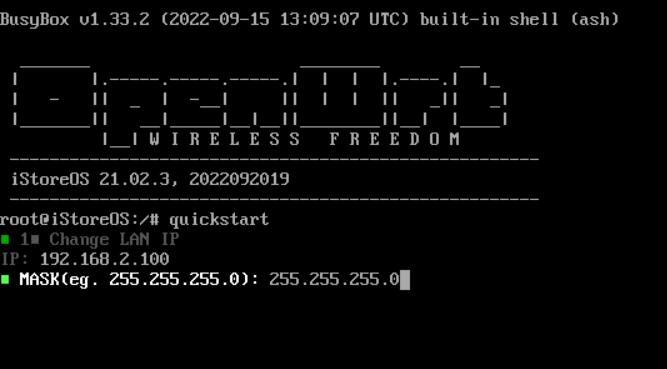
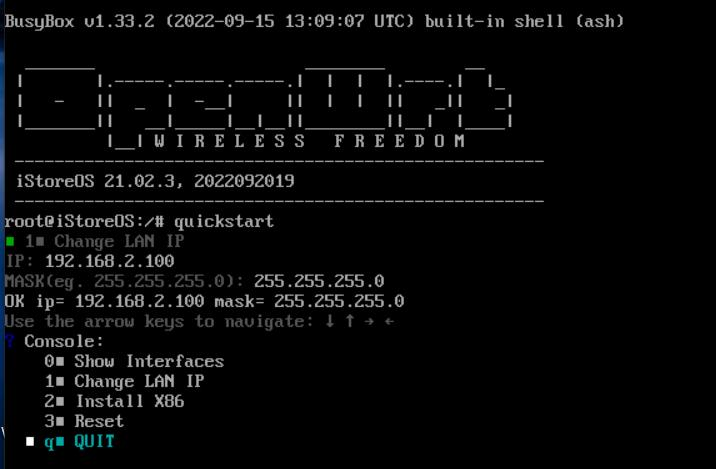
Type the quickstart command. Use the up/down arrow keys to select option 2 and press Enter.
Enter the IP address to be assigned to the iStoreOS LAN interface (it must be in the PVE virtual LAN IP range. For example, if the PVE management IP is 192.168.2.88, the IP here must be 192.168.2.XXX). Press Enter to apply.
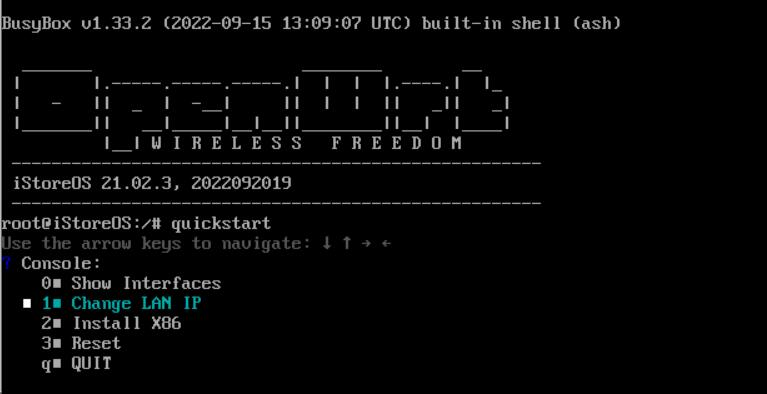
You will be asked for the subnet mask (mask). Enter 255.255.255.0 and press Enter to apply.
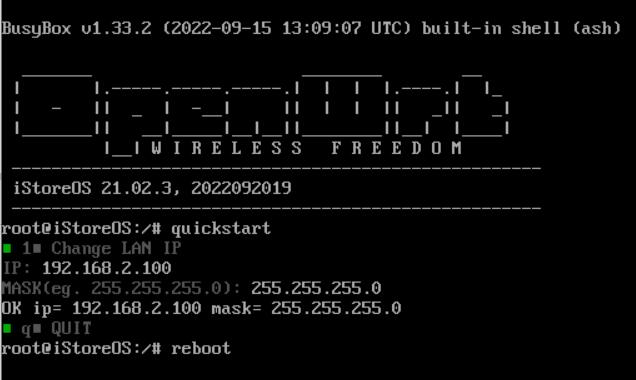
Then select QUIT to exit this interface.
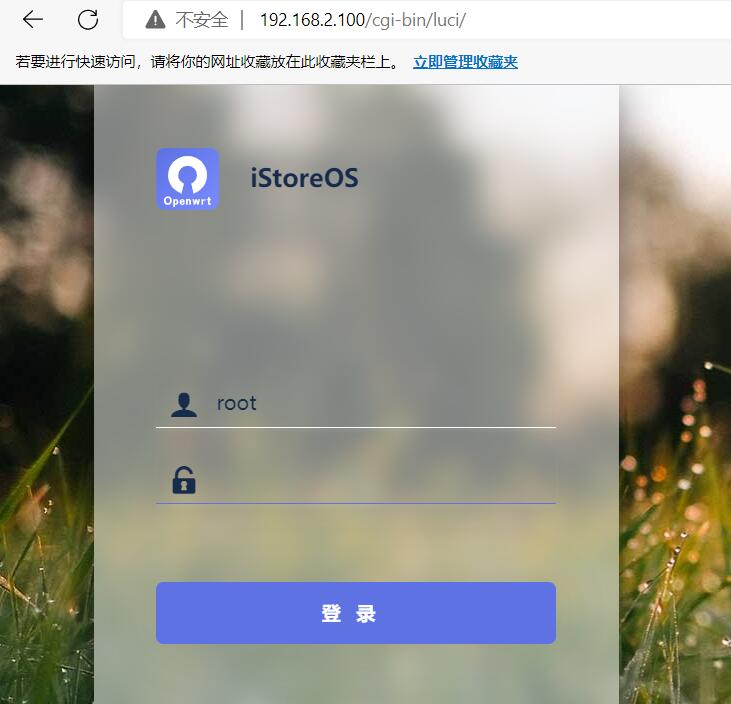
Type reboot to restart iStoreOS. You can now access the iStoreOS interface by entering the configured IP in your browser.
The default username and password for iStoreOS are root and password.
Configure the router settings as needed.
Install Software
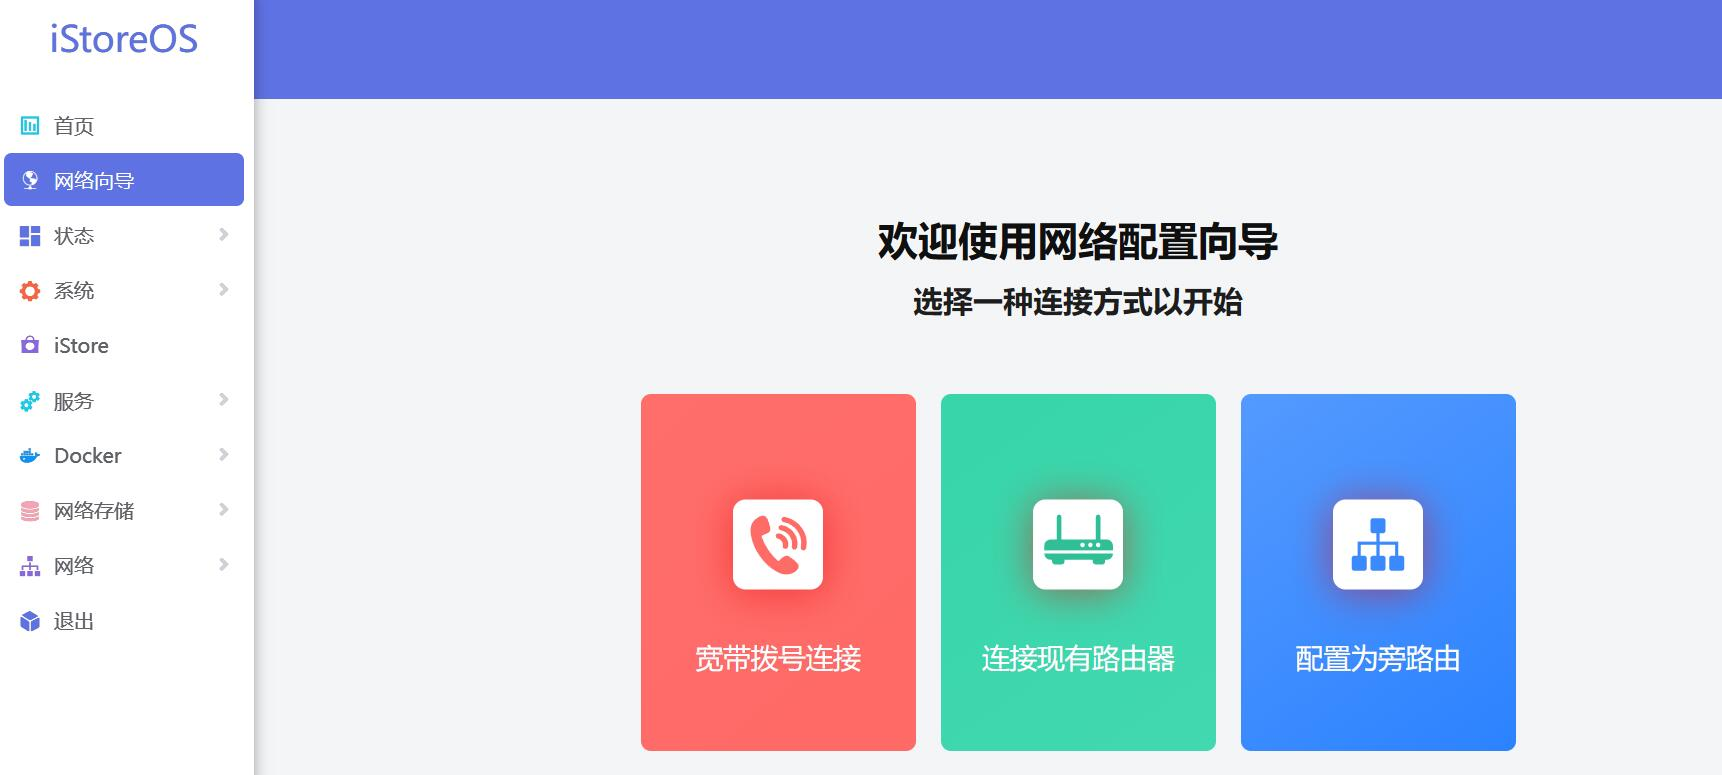
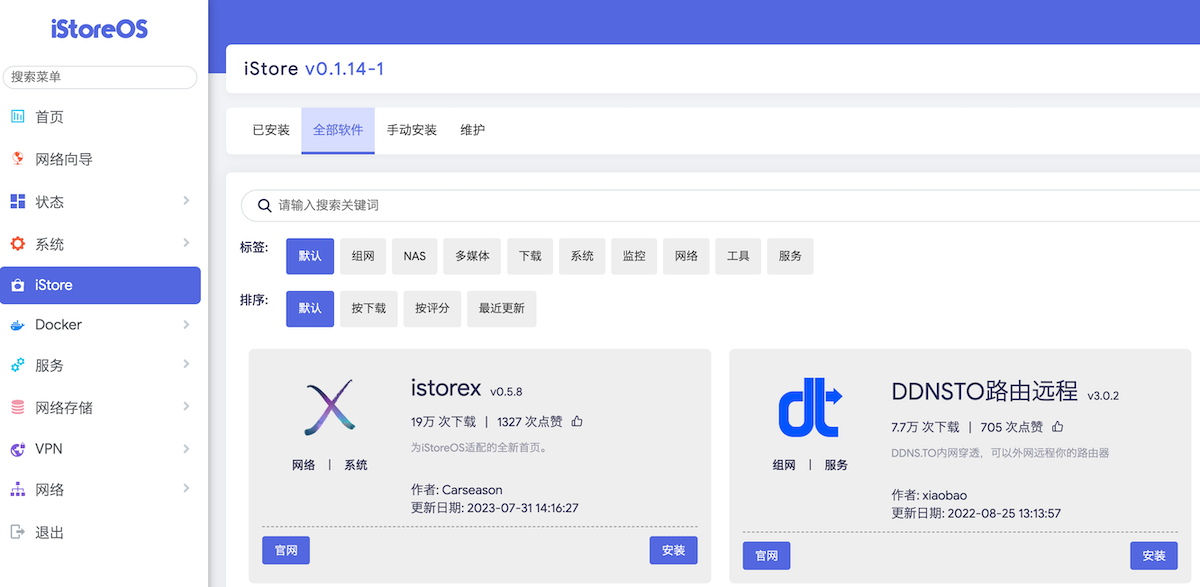
iStoreOS includes a built-in iStore application market where most common software can be installed, as shown below.
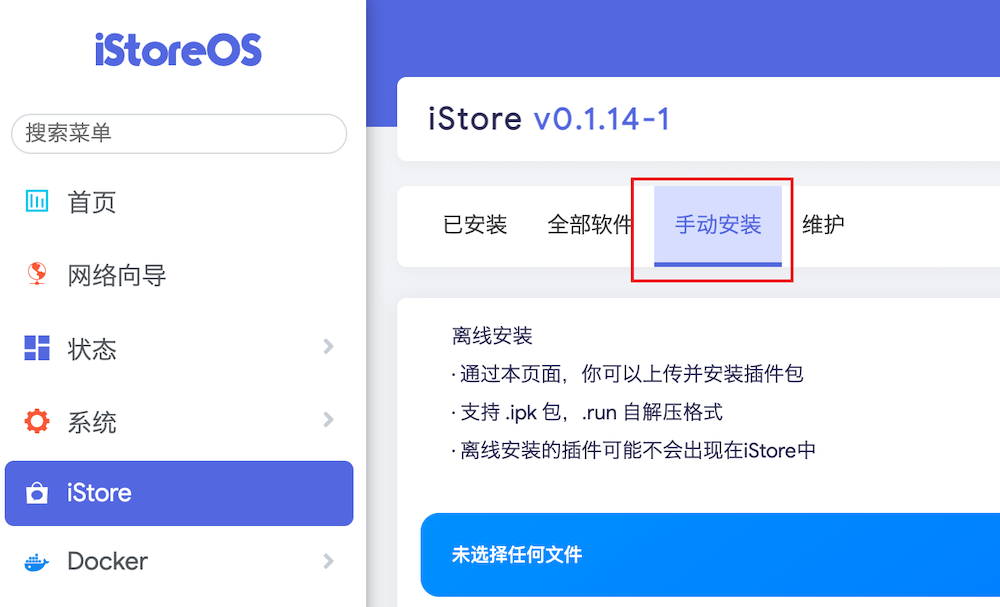
If you cannot find proxy tools in the iStore application market and need to use them, you must install them manually. Manual installation supports .ipk packages and .run self-extracting formats.
For common proxy tools, you can download them from: https://github.com/AUK9527/Are-u-ok and then install them manually.
Note: If dependency installation fails during manual software installation, try modifying the iStoreOS software source and try again.
Conclusion
iStoreOS integrates most common routing software, providing out-of-the-box functionality. Users can also extend features via the iStore application market. Some proxy software can be installed manually. Whether used as a main router or a side router, iStoreOS is highly suitable. Give it a try if you are interested.
iStoreOS official website: https://www.istoreos.com/
This article references: https://doc.linkease.com/zh/guide/istoreos/install_pve.html