How to Successfully Install Easy Diffusion on Windows for Local AI Art Generation
AI art generation has become very popular recently. After trying some online tools, I found that free usage limits are strict, and paid plans are quite expensive. I discovered that setting up "Stable Diffusion" locally allows for AI-generated "art images" without paying high fees.
What is Stable Diffusion?
Stable Diffusion was developed by computer scientists and artists. It uses deep learning algorithms and a stable diffusion process to generate art images. Specifically, it employs an algorithm called random walk to create images by simulating a path walk through the stable diffusion process via tiny, random changes to pixel values. The algorithm also uses neural network technology to learn and generate different image styles.
Stable Diffusion can produce beautiful and complex artworks, with applications including art creation, image generation, and visual effects design. If you are interested, you can search online for more information or try using the tool for your own art creation.
Before You Start
I searched online for the "Stable Diffusion" setup process and found it to be quite complex, almost making me give up. Just as I was about to quit, I found a project named "Easy Diffusion" on GitHub. It provides one-click installation for various dependencies required by Stable Diffusion, such as environments and models, significantly reducing the installation difficulty.
This article aims to share and record the process of installing "Easy Diffusion." Although this tool simplifies many steps, the installation still has some difficulty, so it is recommended for users with some computer knowledge to try it.
Preparation
- A network environment that allows access to GitHub (able to access international networks).
- A computer with decent specifications; the higher the CPU and GPU configuration, the better (xiaoz's configuration is AMD 3600 + RTX 3050, which is barely sufficient).
- Familiarity with HTTP proxies and how to use them (you can convert ss to an HTTP proxy; please research this yourself).
Download Easy Diffusion
Download link: https://github.com/cmdr2/stable-diffusion-ui/releases/download/v2.5.15/stable-diffusion-ui-windows.zip
You can check for subsequent updates here: https://github.com/cmdr2/stable-diffusion-ui/releases
Set HTTP Proxy
Easy Diffusion downloads a large amount of content from foreign networks, such as Python environments and drawing models. Accessing these from domestic networks is difficult or almost impossible, so we need to enable the Windows command line to access international networks.
Open your CMD command line and enter the following commands to set the HTTP proxy:
set http_proxy=http://127.0.0.1:10809
set https_proxy=http://127.0.0.1:10809
http://127.0.0.1:10809 is your HTTP proxy address. If you do not know what this is, it is suggested to give up.
Install Easy Diffusion
Extract the downloaded archive stable-diffusion-ui-windows.zip to any directory. Then:
- Open the
stable-diffusion-uidirectory. - Double-click to run the script
Start Stable Diffusion UI.cmd.
Next comes a long wait. Some errors may occur. I have compiled the errors I encountered below.
If you encounter a Python package download timeout:
HTTPSConnectionPool(host='files.pythonhosted.org', port=443): Read timed out.
You can resolve this by setting a pip mirror source. Easy Diffusion will install a separate Python 3.8 environment for you, so we need to set the pip mirror source. The following commands set the Easy Diffusion pip mirror source to the Aliyun mirror:
cd D:\stable-diffusion-ui\installer_files\env\Scripts>
d:
pip.exe config set global.index-url https://mirrors.aliyun.com/pypi/simple/
If you encounter model download failure errors:
You can directly search for the model name on Google or GitHub to download it, then place it in the specified directory under models.
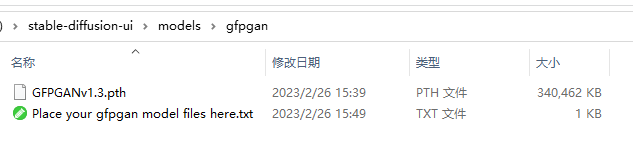
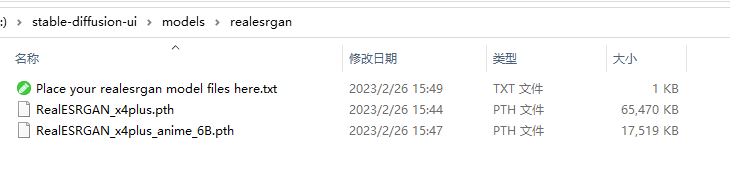
I have compiled some model download links:
If Easy Diffusion encounters errors during installation, pay attention to the error messages and try to resolve them manually using the methods above. After manual resolution, re-run the Start Stable Diffusion UI.cmd script.
I encountered Python package installation timeouts and model download errors during the installation process, which I successfully resolved manually using the methods above. Everyone's situation is different, so it is recommended to be flexible and search for solutions online.
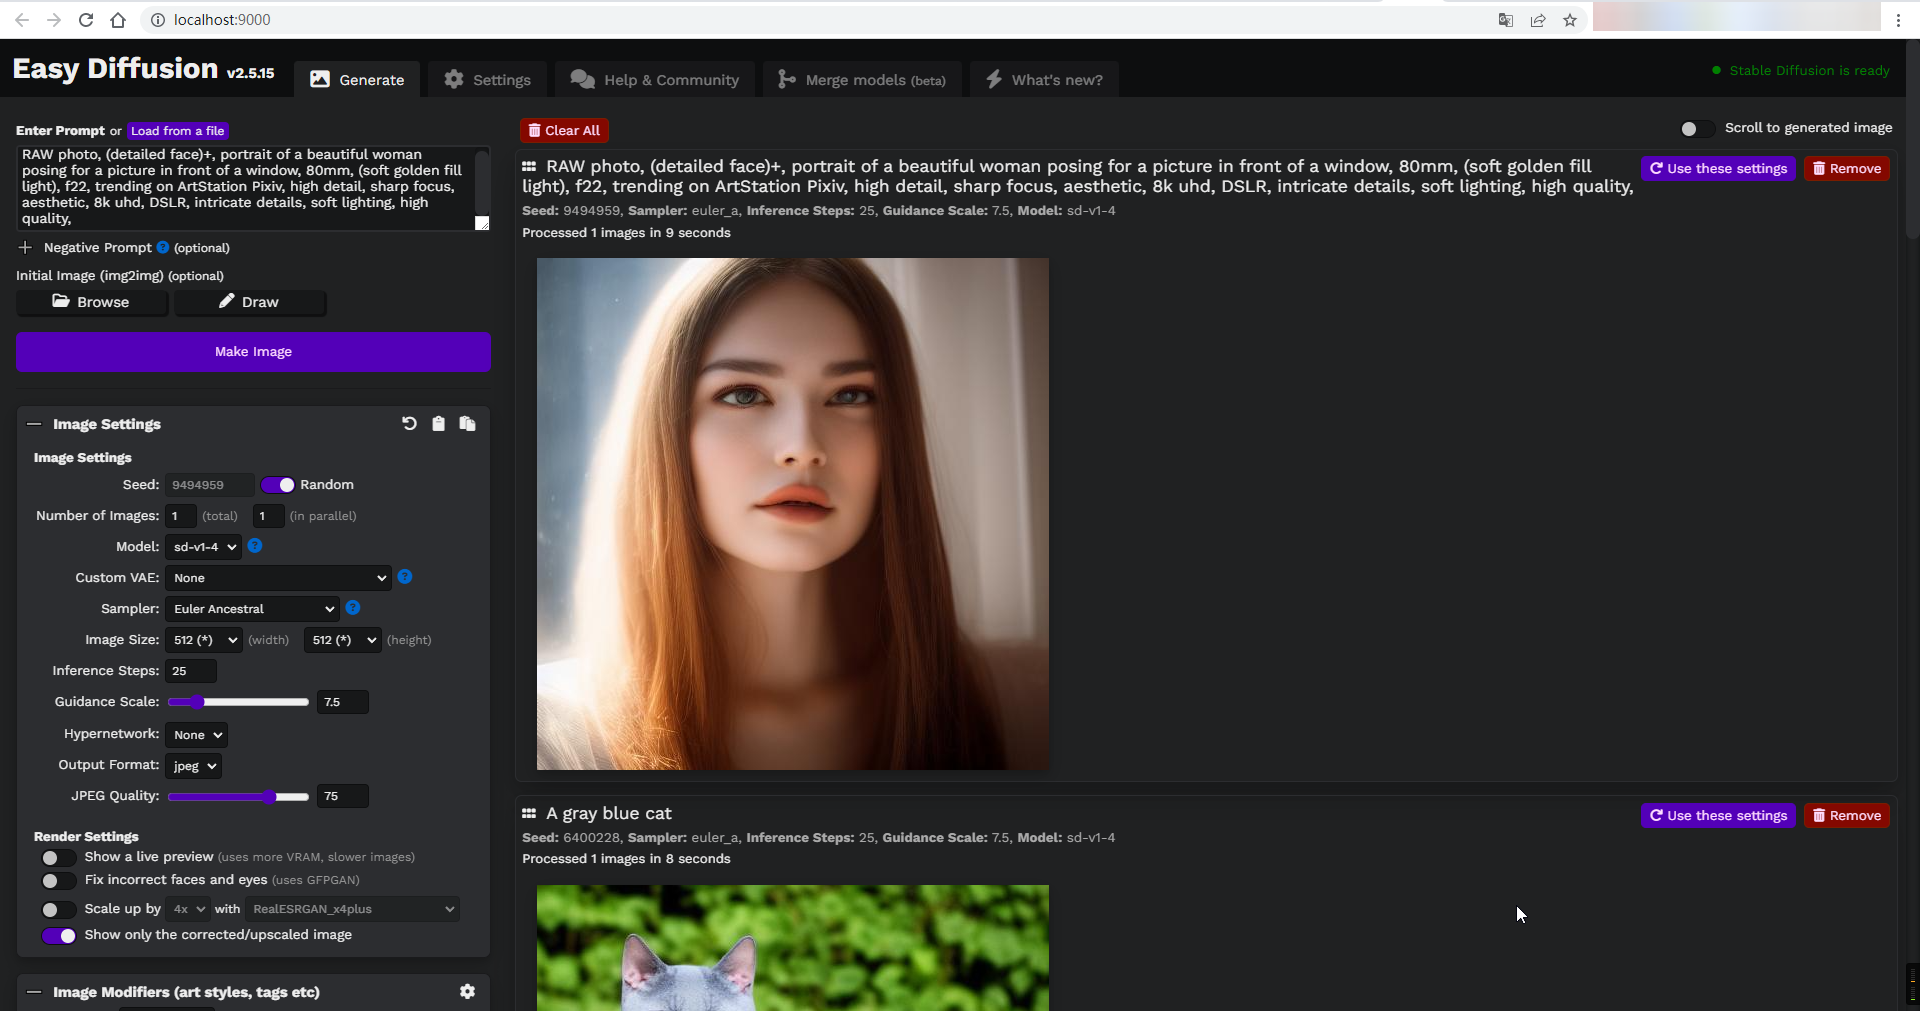
Run Easy Diffusion
After successful installation, the browser will automatically open to http://localhost:9000/ to display the WEB interface. You can now generate "art images" according to your preferences. Specific usage methods are still being researched by xiaoz; feel free to leave comments for discussion.
Cancel HTTP Proxy
After installation is complete, you can cancel the HTTP proxy in the Windows command line:
set http_proxy=
set https_proxy=
Some content in this article is referenced from: https://github.com/cmdr2/stable-diffusion-ui