Exploring the Starry Sky Network: NAS Users without Public IP Can Also Enjoy Smooth Network Connections
Publish: 2024-05-25 | Modify: 2024-05-25
Introduction
Recently, the group's friends recommended a networking tool called Star Network to Xiaoz. After installing and experiencing it, I found that it is very suitable for NAS users without public IP. Friends who have this need can give it a try. This article will detail the basic usage of Star Network.

About Star Network
Star Network is an innovative network connection application that adopts cutting-edge cloud virtual LAN and SD-WAN intelligent networking technology, aiming to completely change the way devices are interconnected. It reduces the traffic and maintenance costs of intermediate servers through end-to-end direct device connections, avoids complex configuration requirements, and provides enterprises and individual users with a more economical and efficient network solution, significantly better than traditional VPN solutions.
Registering an Account and Adding Members
Star Network Registration Link: https://starvpn.cn/user/register.html?referralCode=xiaoz
Adding Members
Members can be understood as the identifiers of your devices, with one device being considered as one member. The purpose of adding members is to facilitate our subsequent login to the Star Network client.
After logging into the Star Network backend, find the left Member List and click the "Add New Member" button.

Create a member account according to the system prompts.

The format of the member account will include your main account prefix. For example, if my main account is xiaoz, then the name of the member account is: xiaoz:xxx. After adding the member account, we will proceed to install the Star Network client.
Installing the Star Network Client
The Star Network client coverage is very comprehensive, as shown below:
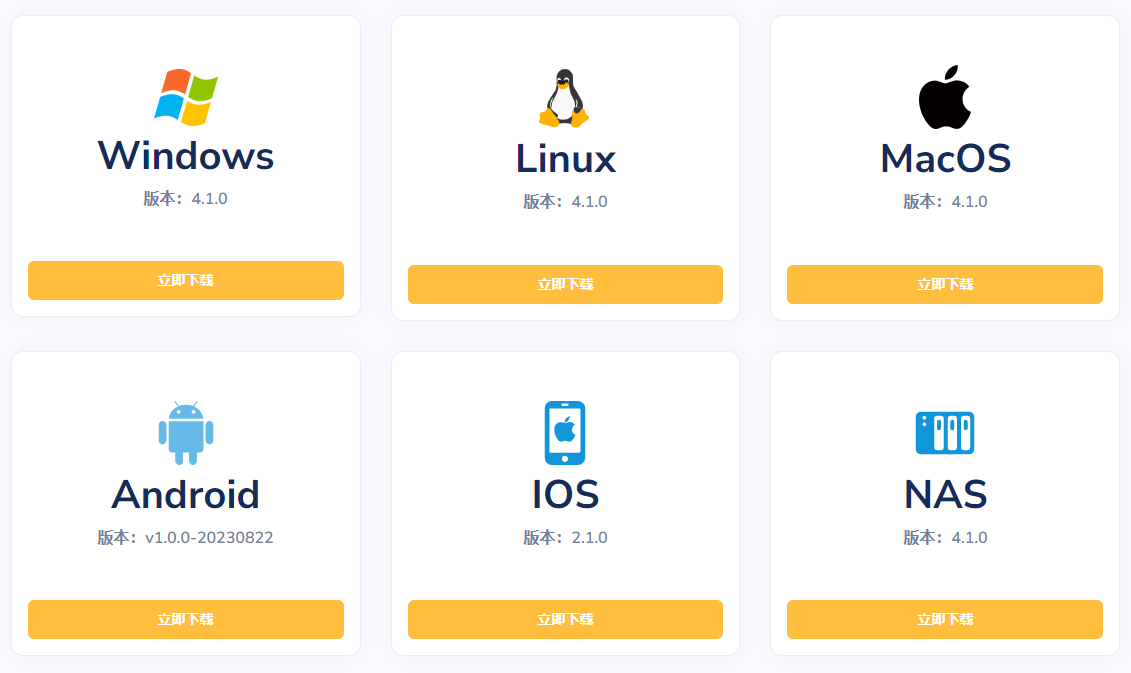
Next, we will demonstrate the installation of Star Network through Docker on NAS, and then install the client on a Windows machine in the office to complete the networking and achieve interconnection between the office network and the home NAS device.
Installing the Docker Client
I installed the Star Network client through Docker on my own NAS device, and the command to run is as follows:
docker run -d \
  --restart=always \
  --privileged \
  --net=host \
  --name stars.client \
  -e STARS_USER=《Your member account》 \
  -e STARS_PASS=《Your member password》 \
xianwei2022/stars.client:4.2.0-test- 《Your member account》: Change it to your own member account, such as
xiaoz:xxx - 《Your member password》: Change it to your own member password
- Change
4.1.0-testto the client version. Available client versions can be found at: xianwei2022/stars.client/tags - If using a Synology NAS, set the network card driver to start automatically at boot:
sudo curl -o /usr/local/etc/rc.d/tun.sh https://file.starvpn.cn/stars/releases/shell/tun.sh && sudo chmod a+x /usr/local/etc/rc.d/tun.sh
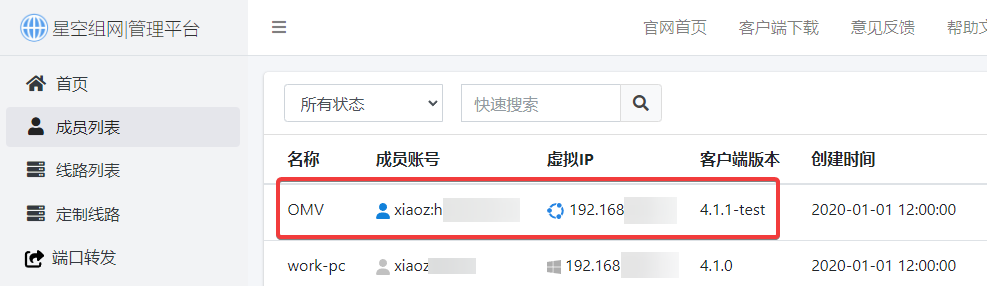
After successful execution, the device can be viewed in the Member List in the backend.
If the device is not online, you can enter the command: docker exec -it stars.client cat /app/res/stars.log to view the log and troubleshoot the issue.
If you prefer to deploy using Docker Compose, you can use the following docker-compose.yaml file:
version: '3.8'
services:
 stars.client:
   image: xianwei2022/stars.client:4.2.0-test
   container_name: stars.client
   environment:
     - STARS_USER=Member account, do not add quotes
     - STARS_PASS=Long-term password, do not add quotes
   privileged: true
   network_mode: host
   restart: always
Installing the Windows Client
I installed the Star Network client on a Windows machine in the office. The download link and installation method for the Windows client can be found at: https://doc.starvpn.cn/#/windows?download=1
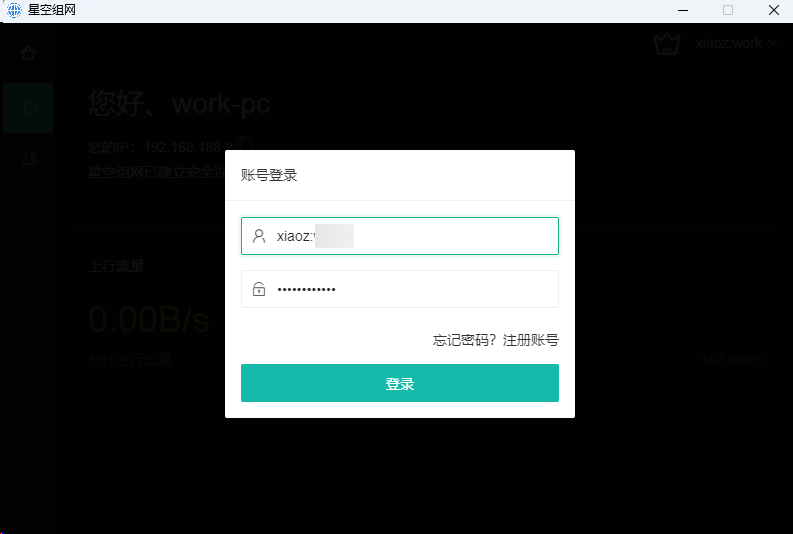
After installing the Windows client, enter another member account to log in.
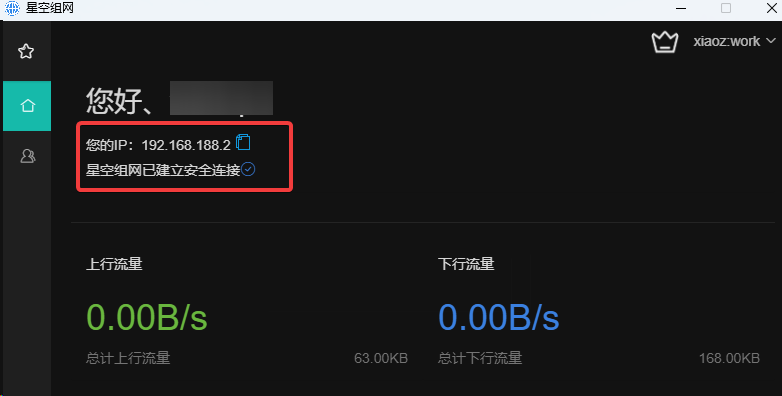
Seeing the displayed virtual IP and the established connection prompt indicates that everything is normal.
Access Testing
Returning to "Star Network Backend >> Member List," you can see that the NAS client and Windows client are both online, and the assigned virtual IP addresses are displayed. At this point, we have completed the networking, and now we can access each other.
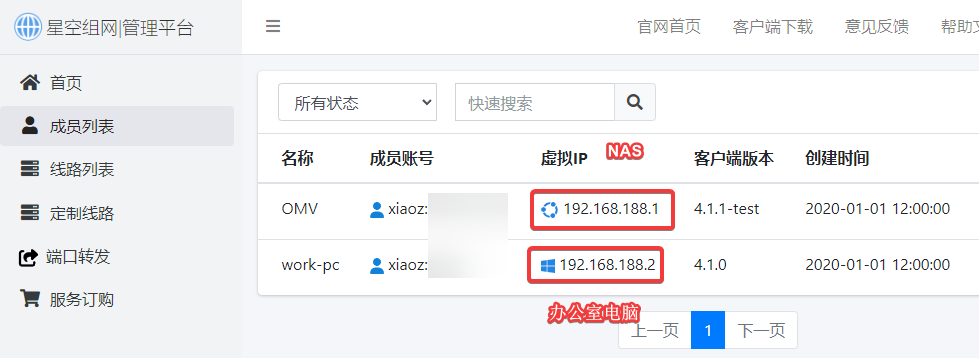
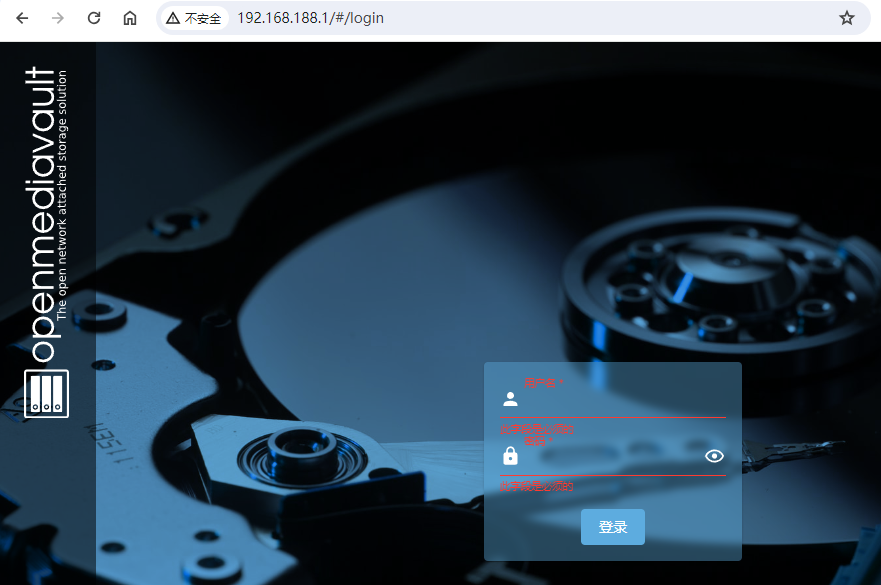
For example, if your NAS device's original internal IP is 192.168.1.6, after installing Star Network, it will be assigned a random virtual IP address, such as 192.168.188.1. When accessing the NAS from the office computer, you need to enter this virtual IP 192.168.188.1.
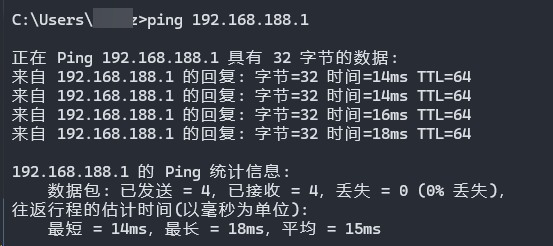
Use the ping command to test the latency, which is less than 20ms, so the effect is good. The free version supports a maximum bandwidth of 10Mbps, which is sufficient for basic use.
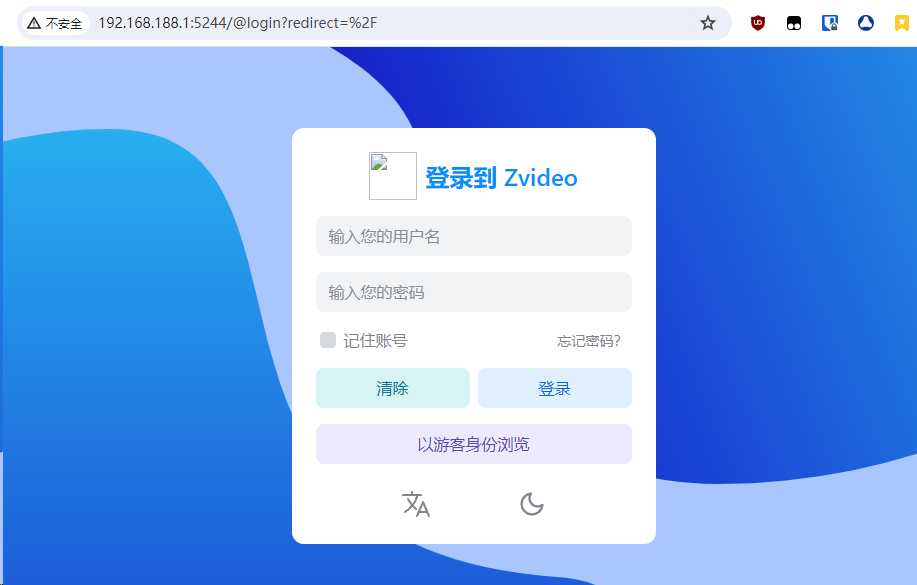
Similarly, if you have installed an Alist service on your NAS, the original access address is http://192.168.1.6:5244. After using Star Network, you need to access the virtual IP: http://192.168.188.1:5244.
Installing Other Clients
Other clients can be downloaded from the official website and used in the same way as the Windows client process:
- Star Network Backend >> Member List, create a member account
- Install the client and log in with the member account
- Access the virtual IP
Conclusion
The above is the basic installation and usage introduction of Star Network, a tool especially suitable for NAS users without a public IP. The free version of Star Network provides support for a maximum bandwidth of 10Mbps. If you upgrade to the Professional Edition, it only costs 99 yuan per year, and users will enjoy a maximum bandwidth of 20Mbps and the ability to self-build forwarding routes and use port forwarding.
Star Network Registration Link: https://starvpn.cn/user/register.html?referralCode=xiaoz
Star Network Help Document: https://doc.starvpn.cn/#/
In addition, Xiaoz has created a dedicated communication group for NAS users. If you are interested, you can join by scanning the WeChat QR code. If the group is full or expired, you can add Xiaoz's WeChat ID: xiaozme, and please indicate "NAS Player" in your request.

Comments

xiaoz
I come from China and I am a freelancer. I specialize in Linux operations, PHP, Golang, and front-end development. I have developed open-source projects such as Zdir, ImgURL, CCAA, and OneNav.
Random article
- Free and Clean DNS - [BAI DNS] First Experience
- Sleek WordPress Theme JieStyle V1.0
- 2019 Smooth Sailing for Pigs, RAKsmart Gives Away One Million Red Envelopes for Free
- Tencent Cloud "Cloud+ Campus Support Program": 360 yuan for a 3-year 1-core 2GB 1M server
- Qiniu Cloud Storage Green Onion Entrepreneurship Plan: Get a 1000 yuan voucher for free
- Running ChatGLM-6B Dialogue Language Model Successfully on Windows 10: Detailed Process
- DzzOffice: Open Source Free Office Suite (Enterprise Cloud Storage)
- Deploying ntfy with Docker to set up a private notification service
- Xshell 6 Official Version Released with Basic Installation and Usage
- Solving Access Challenges: Building Your Own Docker Image Proxy Acceleration Service with Nexus 3