How to Build a Static Website with Amazon S3 for Free
In today's rapidly developing internet landscape, having your own website is becoming increasingly important. Amazon Web Services offers S3 object storage as an efficient and cost-effective solution, allowing you to try it for free for 12 months. This is ideal for beginners and cost-sensitive enterprises. This article introduces how to use Amazon S3 to build a static website, covering the entire process from creating a bucket to launching the site.
Register an Amazon Web Services Account
Before using S3 object storage, you need to register for an Amazon Web Services account. You will need:
- A frequently used email address
- A phone number
- A UnionPay/VISA/MasterCard credit card
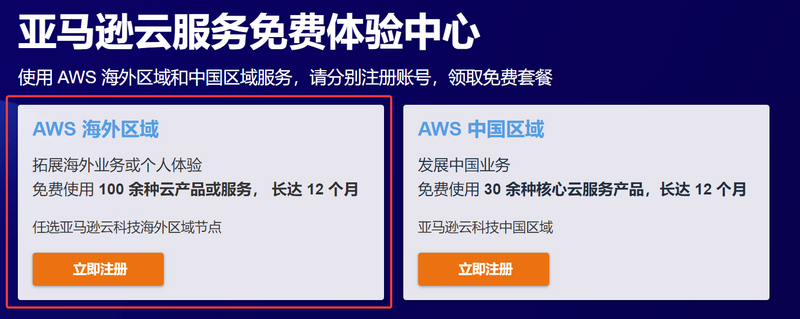
Click the link: Amazon Web Services to register. When registering, be sure to select the "AWS Overseas Region," as overseas regions do not require enterprise certification.
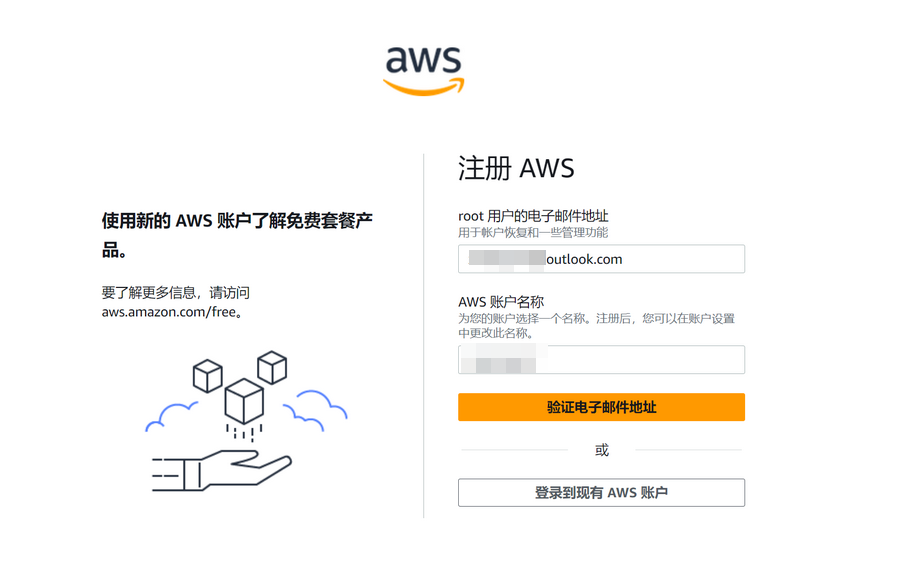
Enter your email and account name.
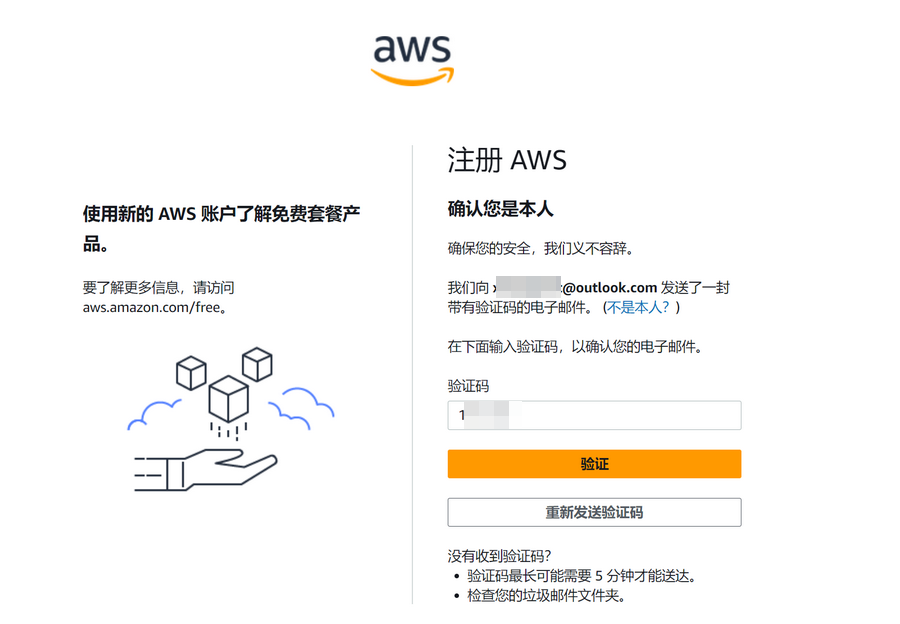
Enter the verification code sent to your email by Amazon Web Services.
Continue to set your account password.

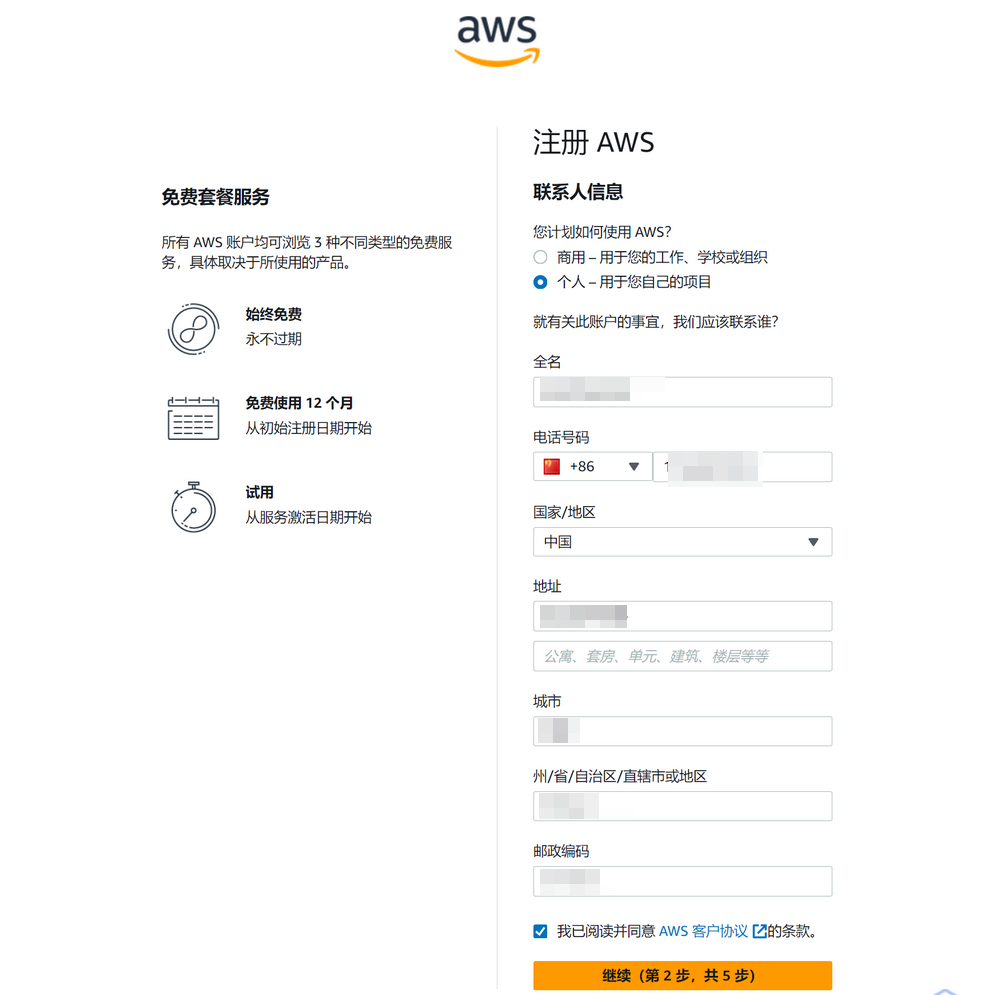
Next, fill in your contact information. Note the following:
- Select "Individual" or "Business" based on your actual situation (the author selected "Individual").
- Ensure your full name, phone number, and address are filled in truthfully. Do not fabricate information, as this may trigger risk control measures.
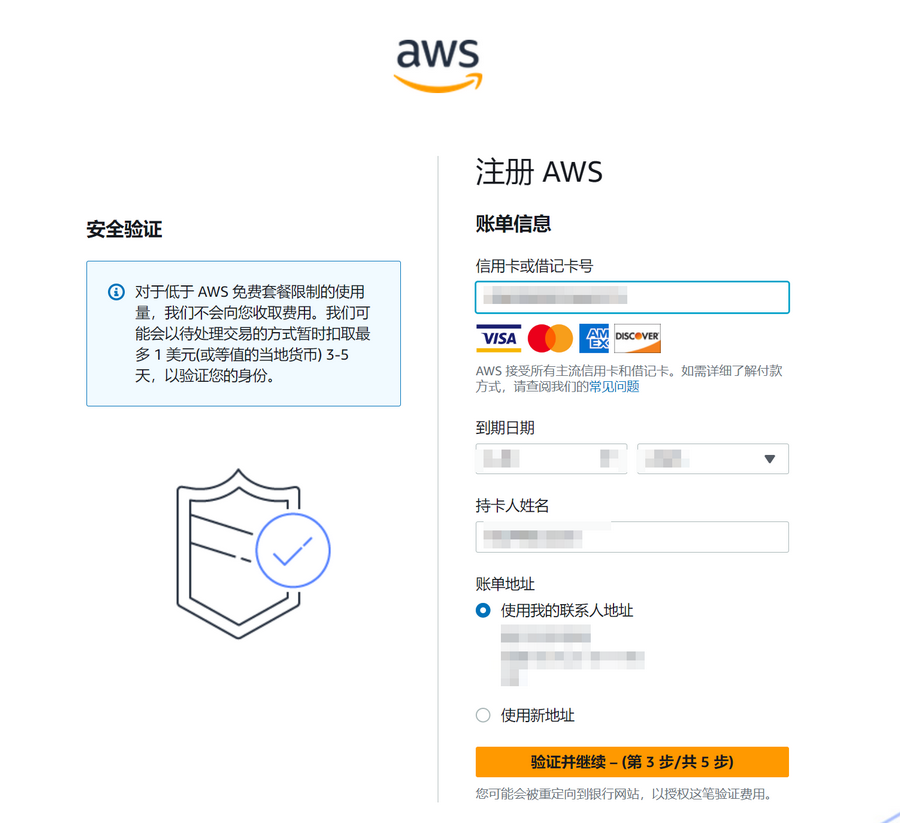
You will also need to verify using a credit card. UnionPay/VISA/MasterCard/AE cards are supported. Fill in the credit card, name, and address information according to your situation. A temporary hold of up to $1 will be made for verification and refunded upon successful verification.
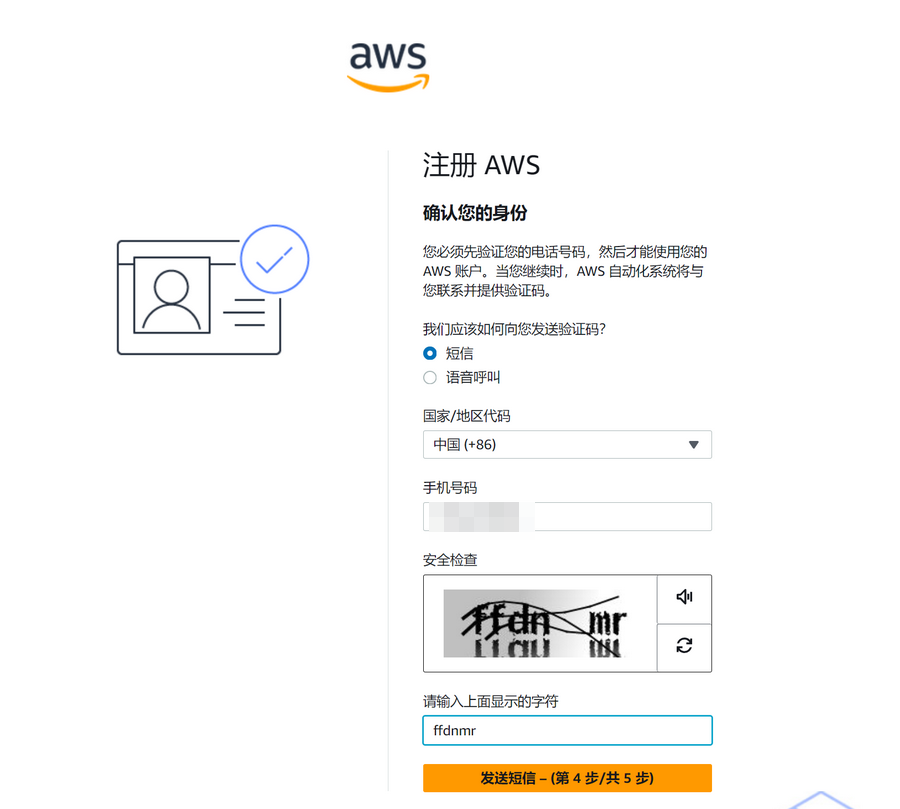
Continue to verify your phone number.
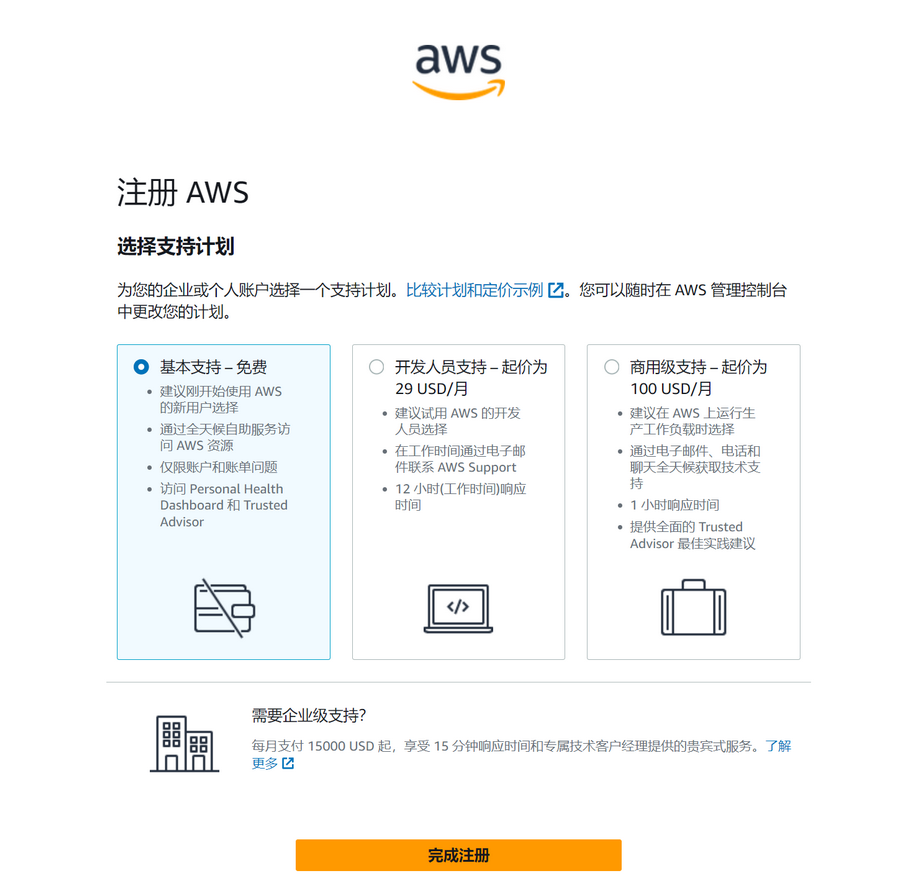
In the final step, select "Support Plan." The author selected "Basic Support - Free."
After registration, wait for the account verification to complete before enjoying the free tier offered by Amazon Web Services.
Create a Storage Bucket
Free Tier
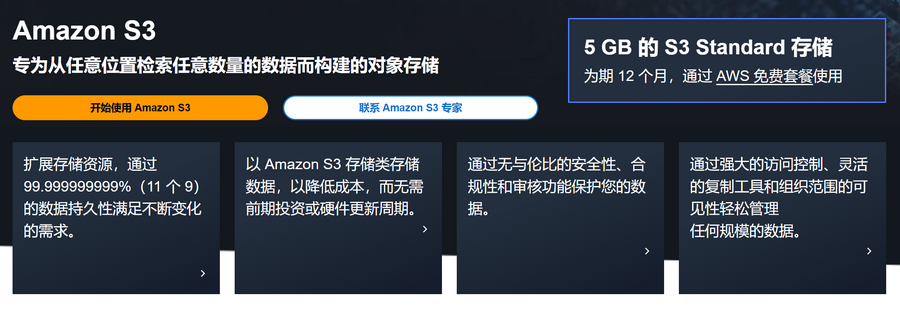
Once your account is registered, you can start exploring the free cloud services provided by Amazon Web Services. This article will guide you through creating an S3 bucket. If you are interested in other free trial products, visit the Amazon Web Services Free Tier page for more information.
The S3 free trial includes:
- 5 GB of Standard Storage
- 20,000 Get Requests
- 2,000 PUT/COPY/POST or LIST Requests
- 15 GB of Data Transfer Out
Note: If usage exceeds the free tier limits, you will be charged according to standard pricing. It is recommended to control usage reasonably based on your actual situation to avoid unnecessary expenses.
Creating the Bucket
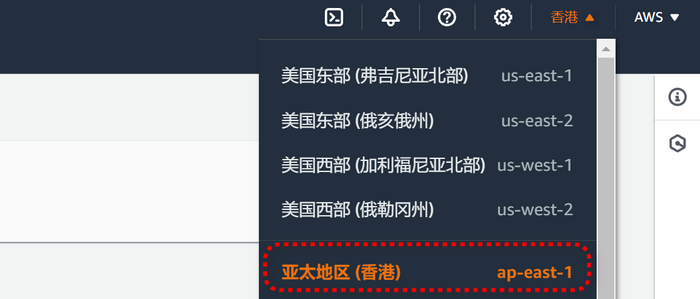
Next, in the S3 console: https://ap-east-1.console.aws.amazon.com/s3/home?region=ap-east-1, click the region switch in the top right corner. The author selected Asia Pacific (Hong Kong).
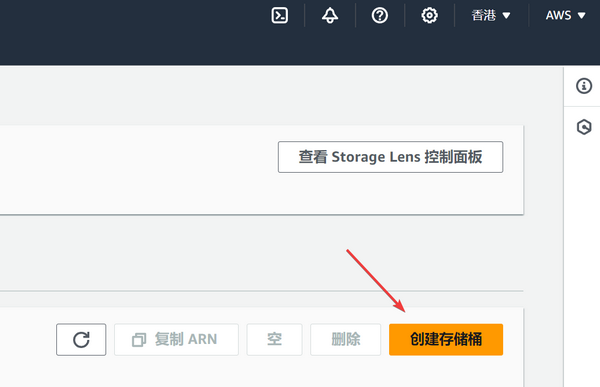
After selecting the region, click the Create bucket button.
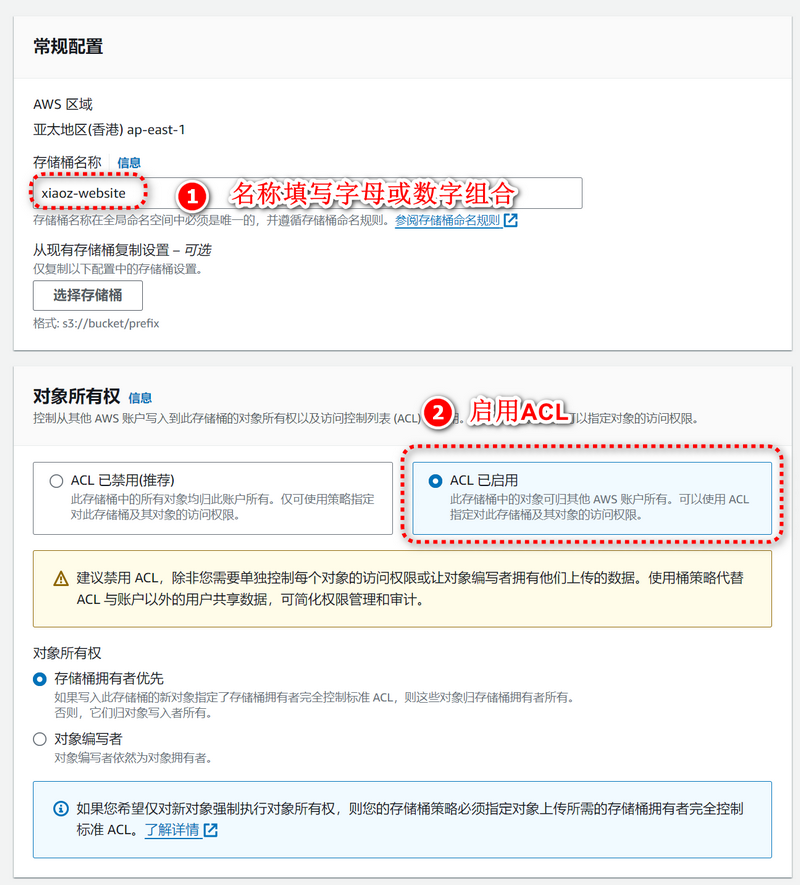
Enter a bucket name consisting of numbers or letters. For Object Ownership, select ACLs Enabled.
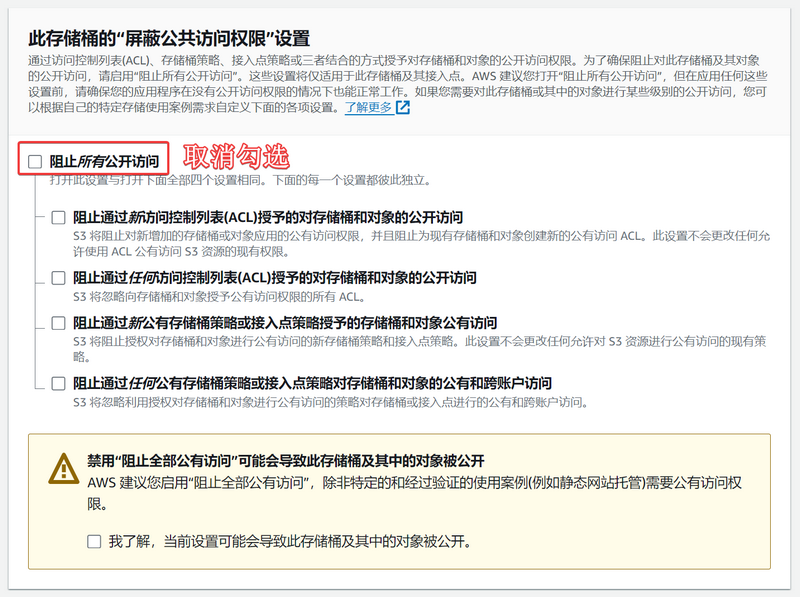
Since the static website requires public access, uncheck the box for Block all public access.
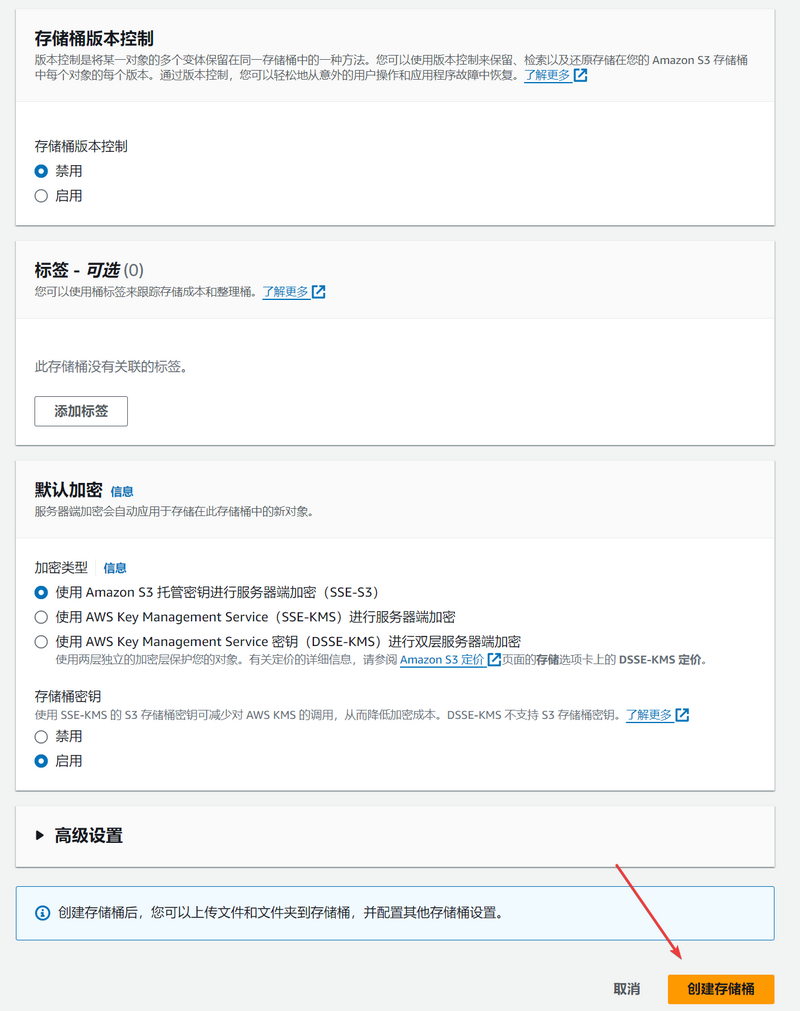
Keep the default options for Bucket Versioning, Tags, and Default Encryption, then click the Create bucket button.
Build a Static Website Using Amazon S3
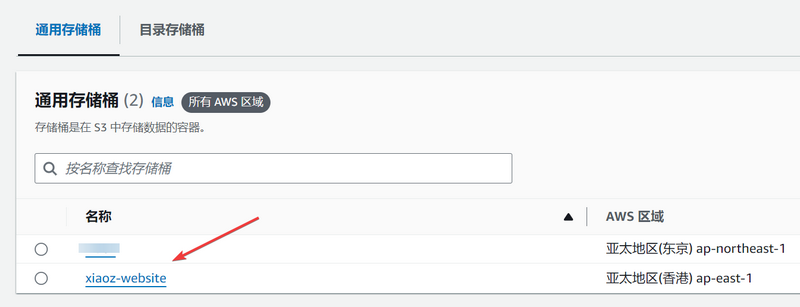
After completing the above steps, the author successfully created a bucket named xiaoz-website. You can see this bucket in the management interface; click it to enter the file manager for further operations.
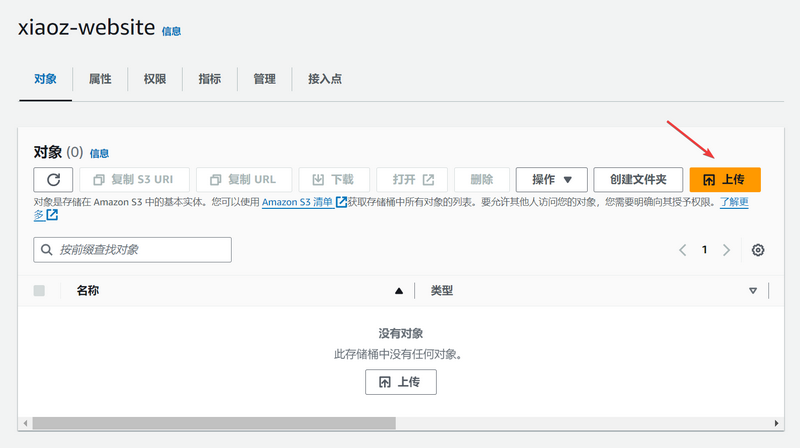
Click the Upload button.
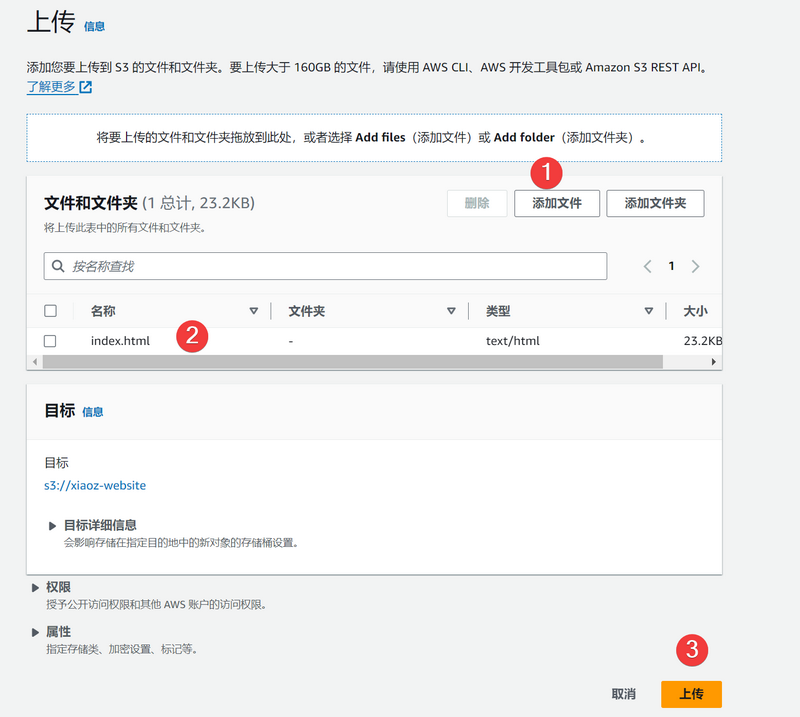
Click the Add files button, select your locally prepared .html webpage file, and then click Upload.
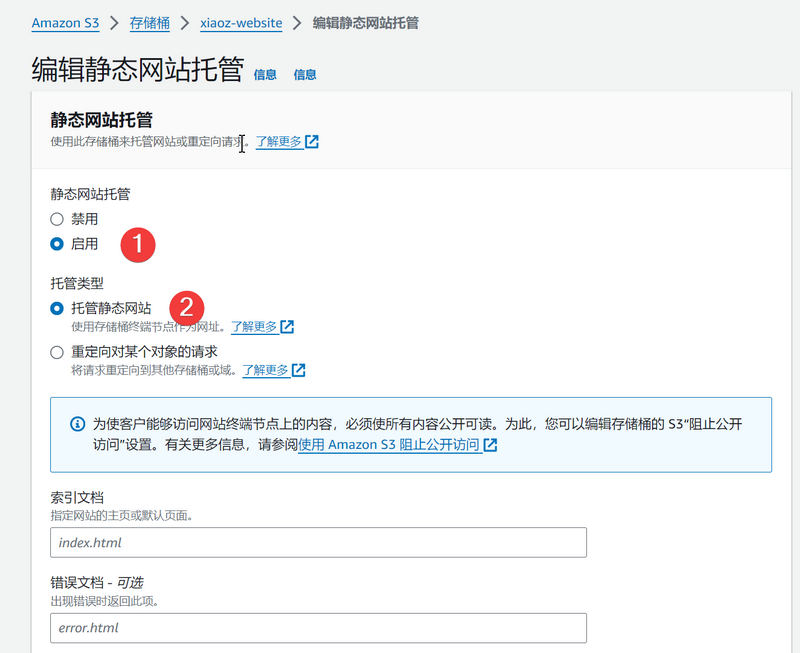
Return to the xiaoz-website bucket, switch to the Properties tab, scroll to the bottom to find Static website hosting, enter index.html for the Index document, and enable it.
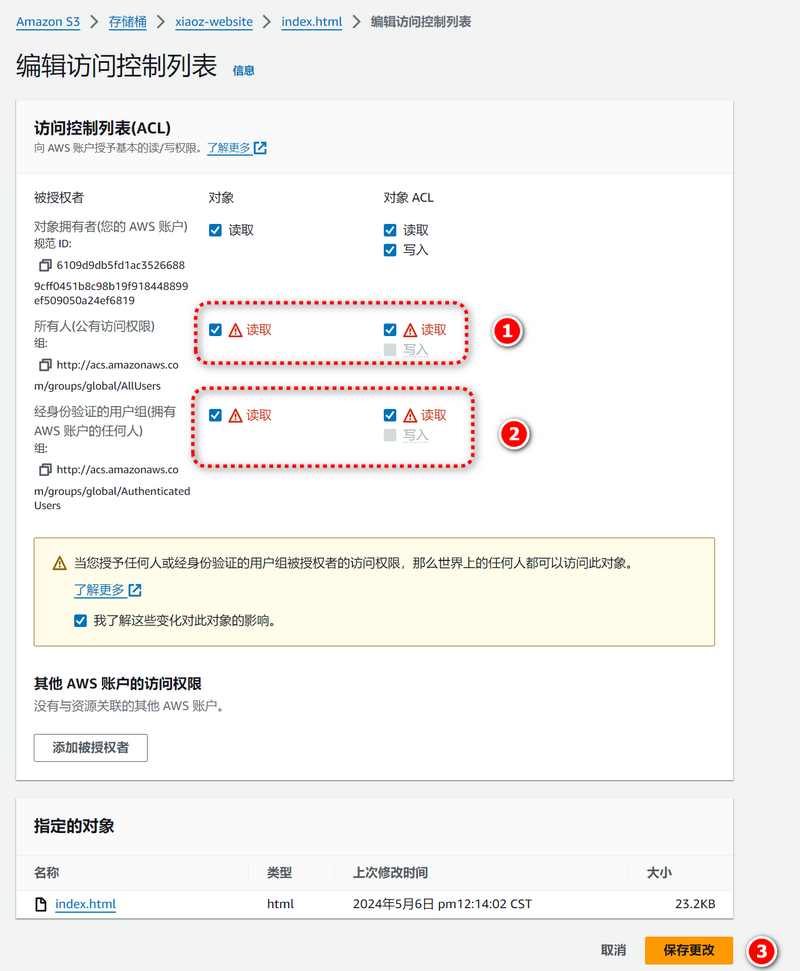
Then edit the permissions for the index.html object and check the Read permission.
Find the access address under Static website hosting at the bottom of the bucket properties.
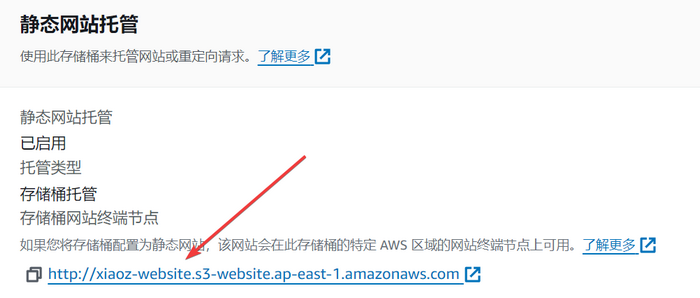
Visit the address to test. You will see the index.html file you just uploaded. Thus, we have successfully built a static website using Amazon S3.

Conclusion
Thank you for following this tutorial to learn how to use Amazon Web Services' S3 object storage to build a static website. We hope this information is helpful for your projects. If you encounter any questions during the setup process, you can visit Amazon Web Services to find more resources and support.