Map Samba Share to Network Drive in Windows 10
If you have a QNAP NAS with a Samba share configured on your local network, accessing it in Windows usually requires opening Network or typing \\IP in the Run dialog, which can be inconvenient. However, you can map it as a network drive to access it just like a local Windows disk.

Set Up Samba Share
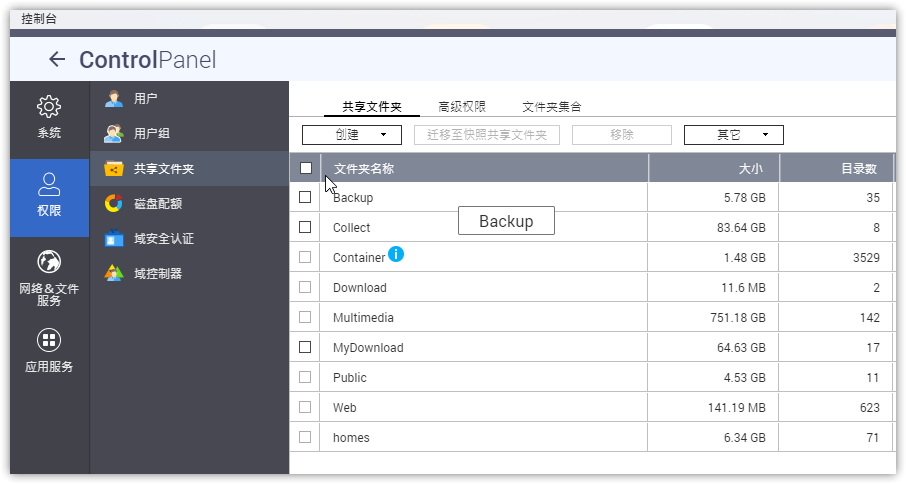
The Samba share setup may vary depending on the device. For CentOS 7, refer to CentOS 7 Install Samba and Share Files with Windows. Below is a screenshot of the QNAP Samba share settings; detailed steps are not covered here.
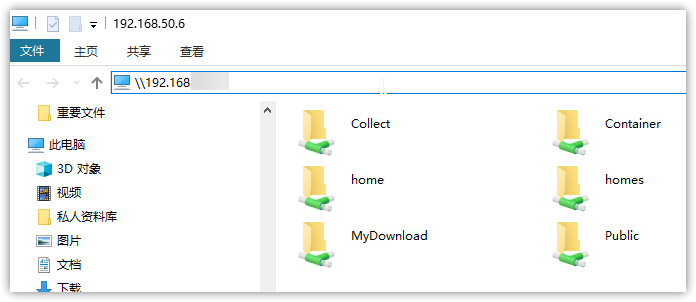
Next, open the Windows Start Menu, select Run, and enter \\IP, for example \\192.168.50.x, to ensure you can access the Samba share normally. (Note: If the Samba share is password-protected, you will be prompted to enter credentials here.)
Map as a Network Drive
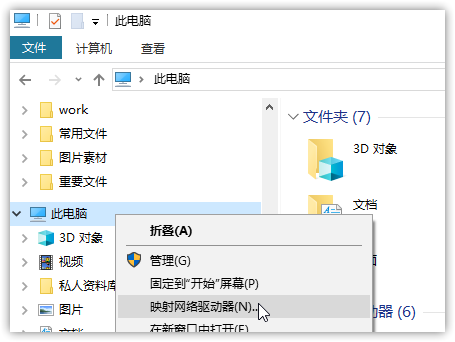
Open File Explorer, right-click on "This PC", and select "Map network drive", as shown below.
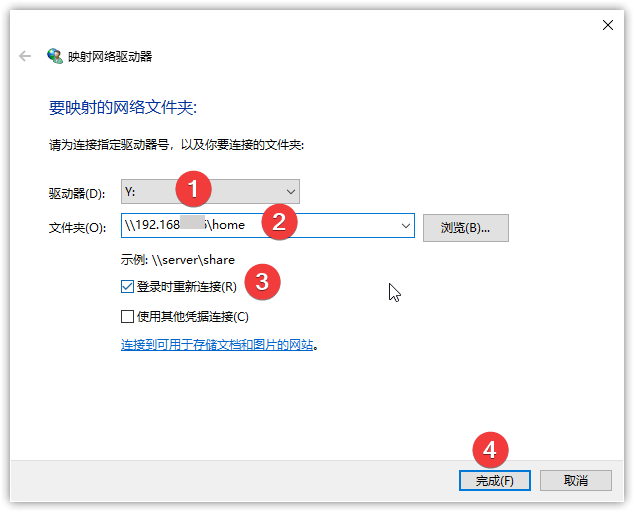
Choose a drive letter towards the end of the alphabet (such as X, Y, or Z). You must specify the folder path, for example \\192.168.50.x\home. If the path is not specified, the mount will fail. Refer to the screenshot below.
Conclusion
If the mount is successful, refresh File Explorer to see the newly mounted Samba network drive. This makes accessing the shared folder much more convenient in the future.
