Deploy OneNav Bookmark Manager on QNAP Using Docker
OneNav is a free, open-source bookmark (navigation) management program developed by xiaoz using PHP + SQLite 3. It features a clean interface, simple installation, and ease of use. OneNav helps you centrally manage browser bookmarks, solving the difficulties of synchronization and access across devices, platforms, and browsers. With a single deployment, you can access your bookmarks anywhere.
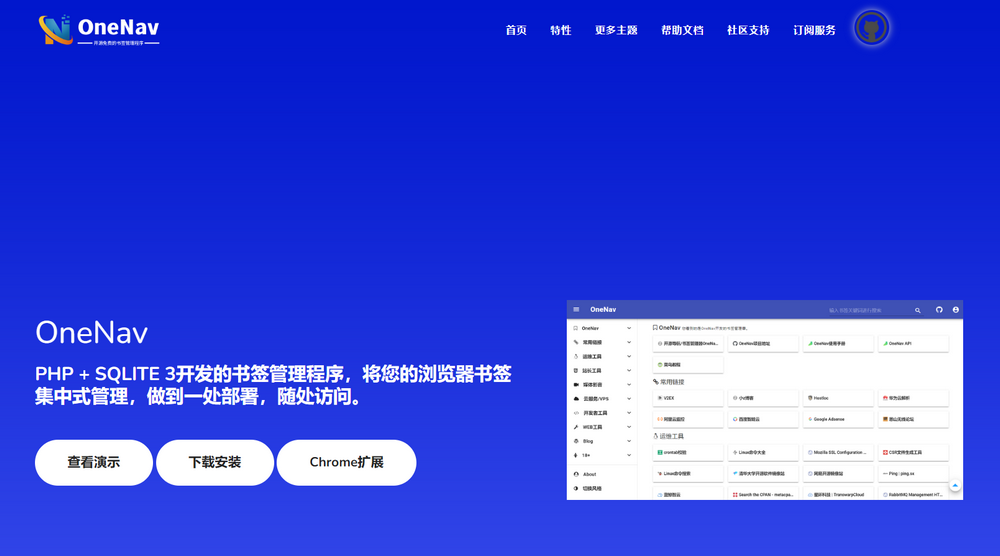
Below is a guide on how to deploy OneNav on QNAP using Docker.
Deploy OneNav on QNAP via Docker
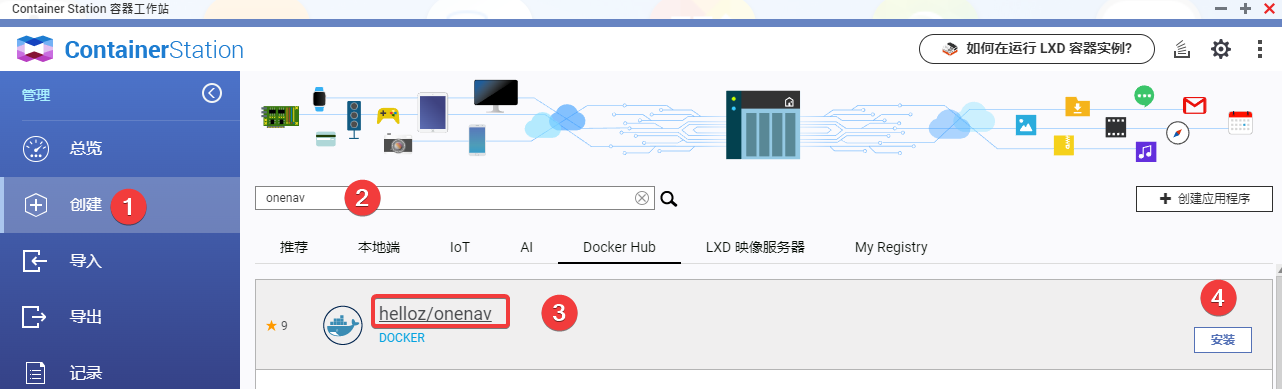
First, open the "ContainerStation" suite on QNAP, select "Create," and search for the keyword "onenav". Click the install button on the right.
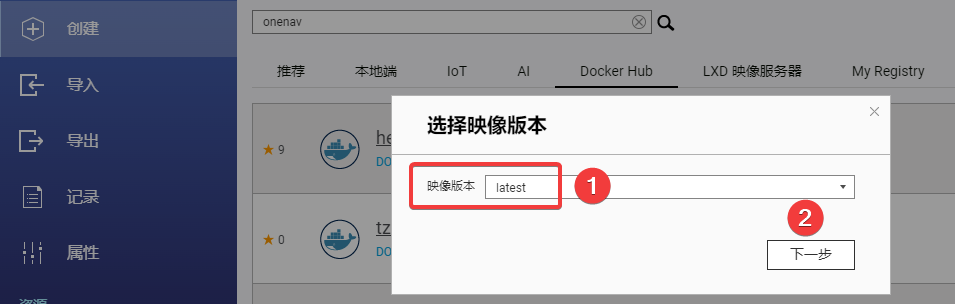
After clicking install, you will be prompted to select an image version. Choose the default "latest" version and click Next.
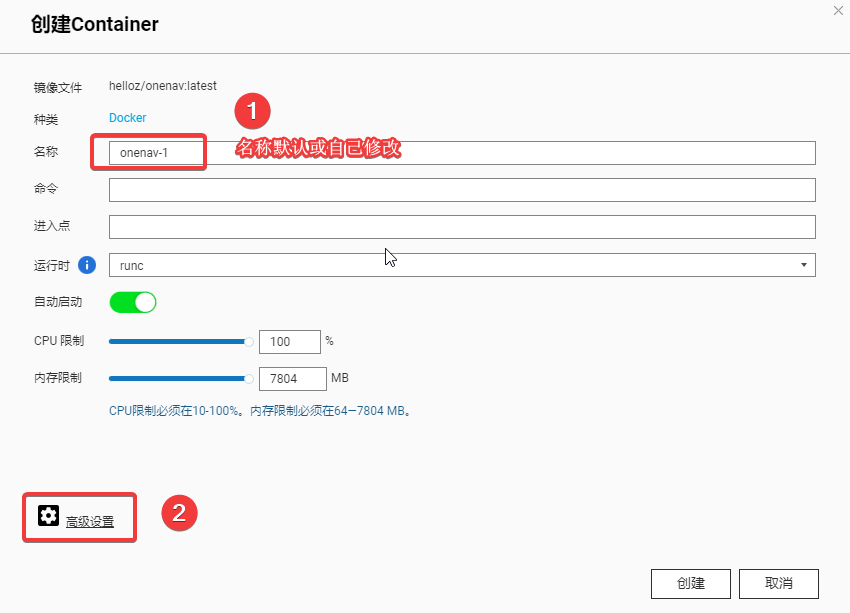
Next, create the container. You can keep the default name or modify it, then click Advanced Settings to configure some necessary additional parameters.
Switch to Advanced Settings - Network - Port Forwarding. Enter an unused port for the Host Port; the Container Port must be set to the default 80, as shown in the screenshot below:
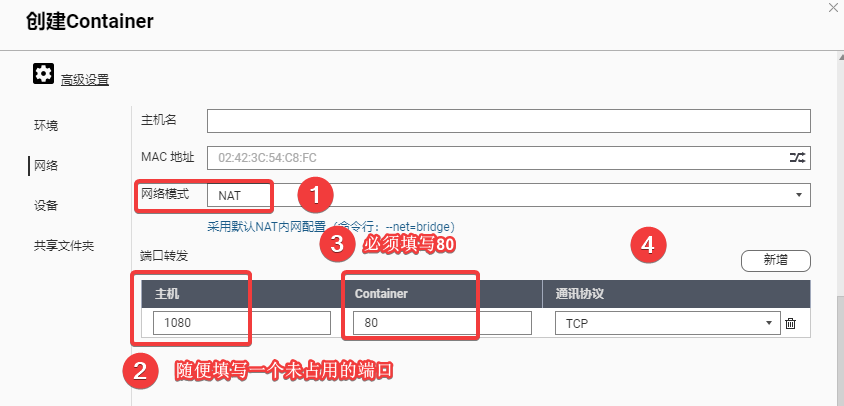
- Network Mode: NAT
- Host Port: Enter any unused port (e.g., 1080 in this example)
- Container Port: Must be 80
- Communication Protocol: TCP
Switch to Advanced Settings - Shared Folders - Mount Local Shared Folder, and fill in the details as follows:
- Mount Local Shared Folder: Create a directory to save OneNav data and select it.
- Mount Path: Must be set to
/data/wwwroot/default/data(do not modify).
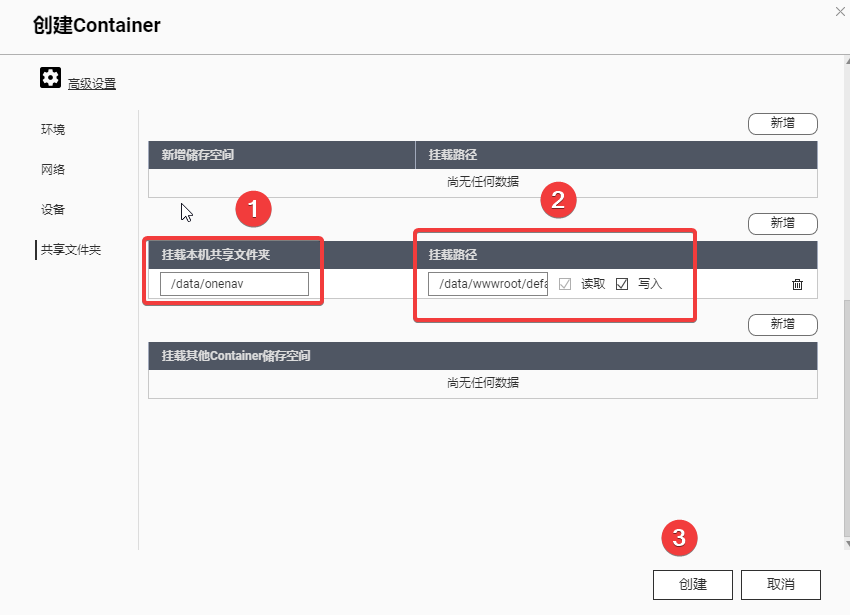
Finally, click Create and Confirm.
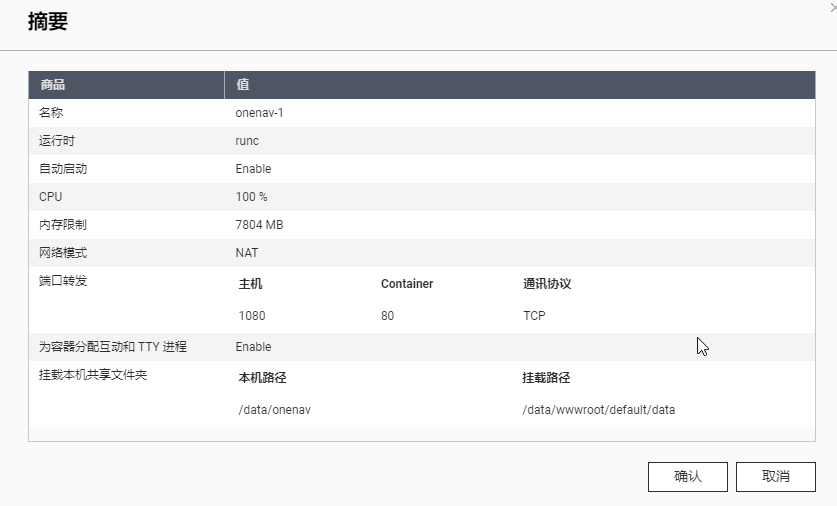
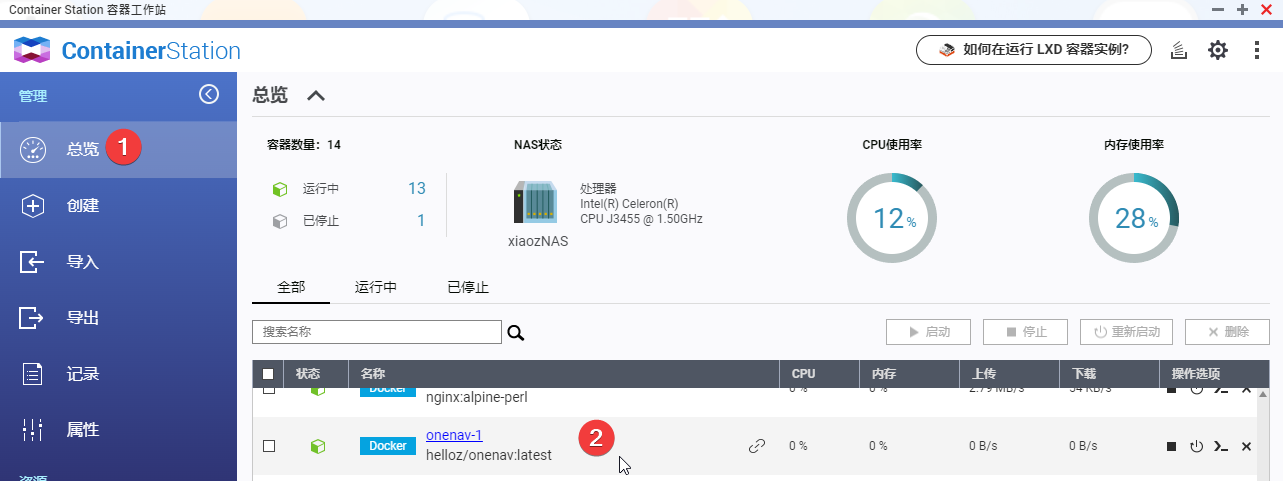
Wait a few minutes (depending on network conditions) for the system to pull the image and complete the creation. Once done, you can see it in the ContainerStation overview.
Initialization
After creation, access OneNav for initialization by visiting http://IP:Port. Note the following:
- IP: Your QNAP's IP address
- Port: The Host Port set above (1080 in this example)

Once initialization is complete, you can start using OneNav.
Other Notes
For more usage instructions, please refer to the help documentation: https://doc.xiaoz.org/books/onenav
- Demo: http://demo.onenav.top/, Username/Password:
xiaoz/xiaoz.me - OneNav Project: https://github.com/helloxz/onenav
- OneNav Help Docs: https://doc.xiaoz.org/books/onenav