Getting Started with OpenMediaVault 6: A Quick Guide for NAS Users
In the previous article Wanxiang NAS HS-201P Unboxing and Pitfalls, I shared the unboxing experience of the Wanxiang HS-201P. Unable to tolerate the U-NAS system, I reinstalled the device with OpenMediaVault 6. Here is my experience, which I hope will serve as a reference for others.

About OpenMediaVault 6
OpenMediaVault is a free Linux distribution designed specifically for Network Attached Storage (NAS). The project was created in 2009 by lead developer Volker Theile. Based on the Debian operating system and licensed under GPLv3, OMV is essentially an open-source, free NAS system, referred to here as OMV.
The current stable version is 5.x, while the testing version is 6.x. The differences are:
6.xis based on Debian 11, featuring a newer kernel with better support for new hardware. However, not all OMV 5 plugins have been fully ported to version 6, though this has minimal impact.5.xis based on Debian 10 and may be relatively more stable.
I initially intended to install OMV 5, but the system failed to recognize the HS-201P's rtl8125b-2 network card (a relatively new model). Rather than troubleshooting drivers, I switched to OMV 6 and installed it smoothly. This article will not cover the installation process of OMV 6; interested readers can refer to the official documentation or search online.
OMV 6 System
If you have used Synology or QNAP systems, you will notice that OMV's interface style is completely different. Upon entering OMV 6, you will find the interface very simple with few built-in features.
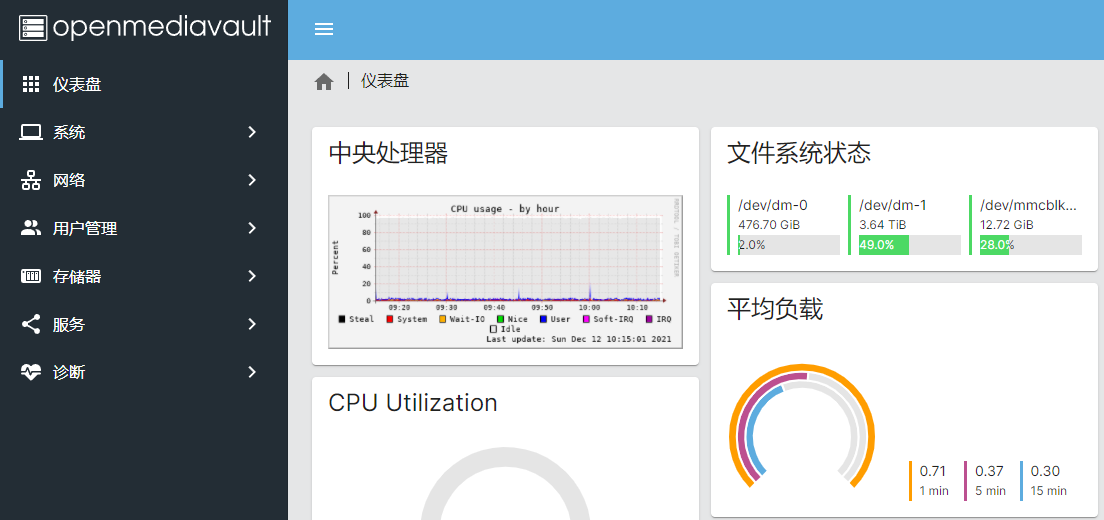
Simplicity is both a feature and a drawback of OMV. Unlike QNAP, which comes pre-loaded with many unused applications that can slow down the interface, OMV focuses on essential shared management. Most software requires manual installation, offering high flexibility and freedom. Consequently, this system may be highly appreciated by experienced users but perceived as difficult by beginners.
My advice is that if you are familiar with Linux systems and Docker, give this system a try. If not, it is not recommended to tinker with it, as you may encounter issues with missing software or installation failures.
Additionally, OMV 6 can directly recognize Linux file systems (ext4/xfs). If your hard drive is already formatted with a Linux file system, OMV 6 can mount it without reformatting.
Default Account and Password
- Username:
admin - Password:
openmediavault
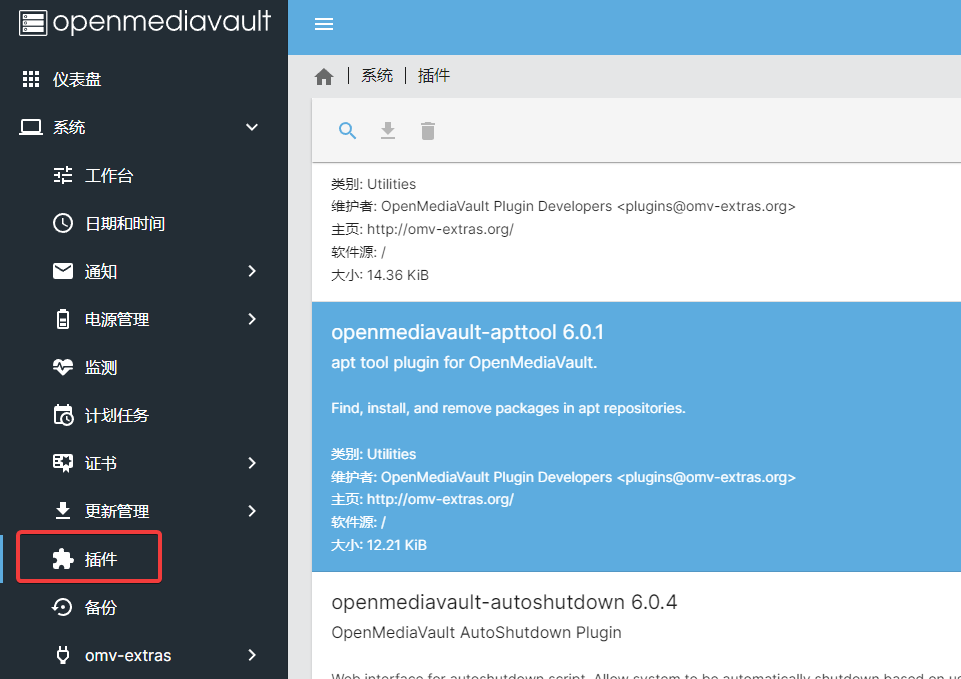
OMV 6 Plugins
Plugins in OMV 6 can be searched and installed under System > Plugins. However, the plugin library is limited, and many applications must be installed via Docker (discussed later).
Installing Docker and KVM in OMV 6
Installing Docker:
OMV 6 does not natively support Docker or virtualization. You need to install the omv-extras-plugins plugin. To install omv-extras-plugins on OMV 6, execute the following command as the root user in the command line:
# Install omv-extras-plugins
wget -O - https://github.com/OpenMediaVault-Plugin-Developers/packages/raw/master/install | bash
Afterward, refresh the OMV 6 web management interface. You will see options for Docker and Portainer. Follow the prompts to complete the installation, as shown below.
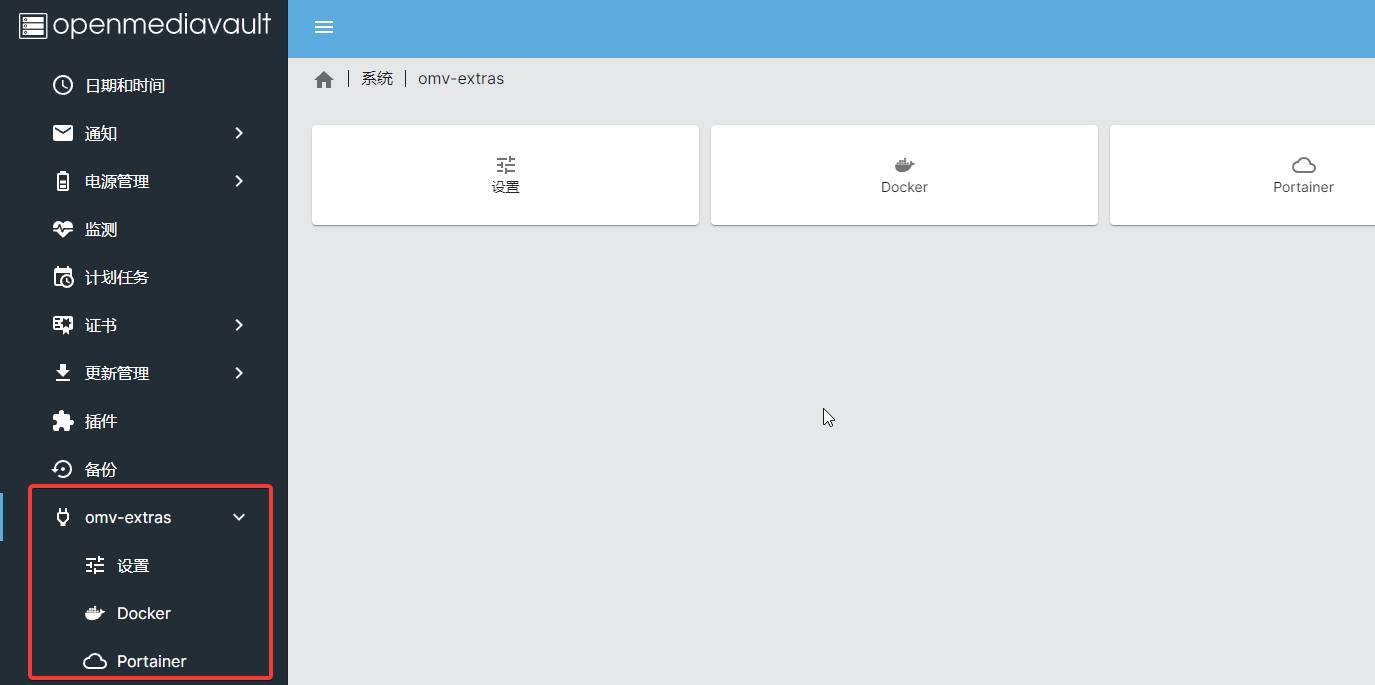
Portainer is a powerful web interface for managing Docker, suitable for professionals. Beginners might find it confusing.
Installing KVM:
Once omv-extras-plugins is installed, you can search for kvm in the plugin center to install the virtualization plugin, officially named openmediavault-kvm.
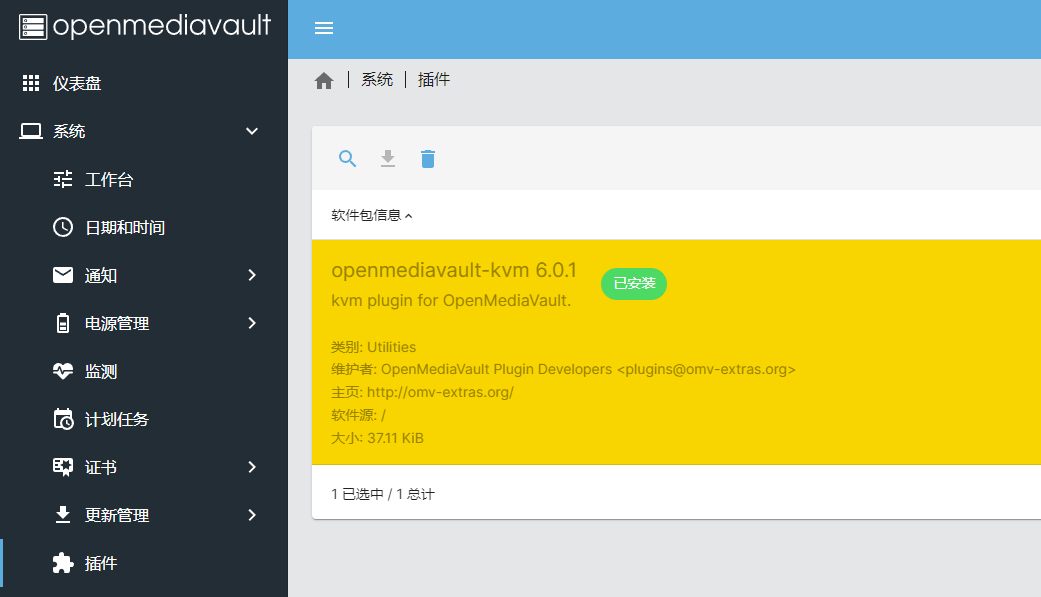
After openmediavault-kvm is installed, a new KVM option will appear in the Services section for managing virtual machines.
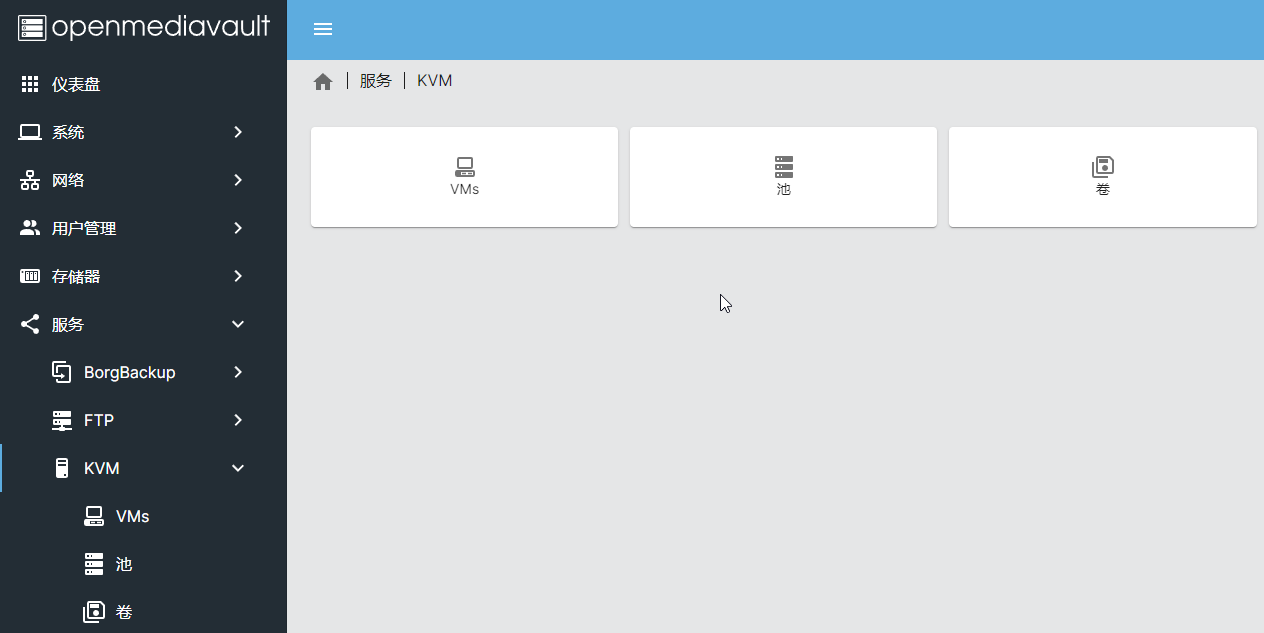
However, you may find that the storage pool cannot be selected. To resolve this, you need to install an additional dependency plugin called sharerootfs (search in the plugin center). This allows you to create storage pools.
I have not yet started experimenting with KVM, so I will not elaborate further. I will share more details in a future post.
OMV 6 Server Software
With Docker and KVM installed, the system becomes highly versatile. Most open-source software can be installed via Docker. My principle is to install software in Docker whenever possible to avoid affecting system stability due to direct system installation errors. This article will not cover how to install various software via Docker; instead, I will share the server software I currently use and will provide installation methods later.
Here is a screenshot of the software installed on my OMV:
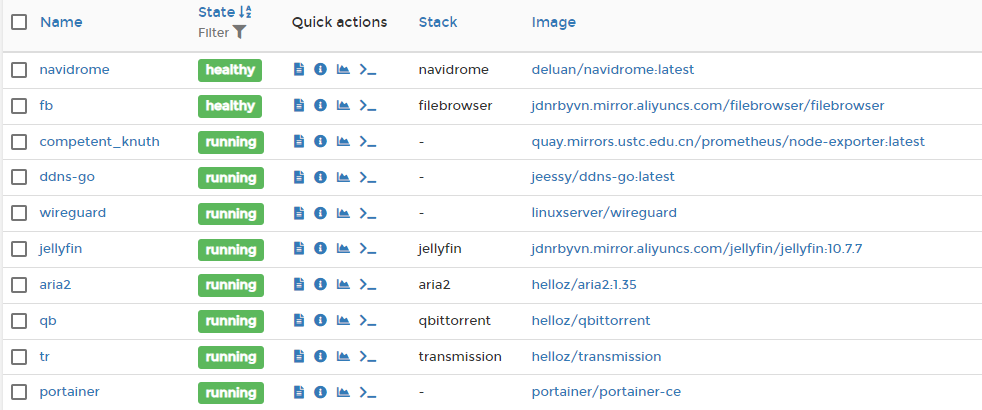
Here is a brief introduction to their functions from top to bottom:
- navidrome: An open-source music management software, similar to QQ Music, though not as feature-rich.
- filebrowser: A file manager developed in Golang, supporting web-based file management and sharing.
- ddns-go: Dynamic DNS resolution tool with a web interface for configuration.
- wireguard: An open-source VPN software. If you do not want to expose OMV services to the public internet, this is essential for connecting to your internal network.
- jellyfin: An open-source multimedia management software, excellent for managing movies, with full-platform client support.
- aria2: A multi-threaded download tool supporting HTTP, FTP, and BT protocols.
- qbittorrent: A BT download tool known for high upload speeds, often used for PT (Private Tracker) sites.
- transmission: Another BT download tool, excellent for seeding with low resource usage.
- portainer-ce: A professional Docker management tool.
Corresponding Client Software
After introducing the server software, here are the corresponding Android client applications for convenient mobile access and management. Unless specified otherwise, all the following software can be searched for in the Google Play Store.
Navidrome Client:
For Android, I recommend Ultrasonic (search in Google Play). It supports Chinese interfaces and can connect to Navidrome.
Wireguard Client:
Simply search for wireguard in the Google Play Store and install it.
File Management
You must first connect to the internal network using the Wireguard VPN client. For file management, I recommend "File Manager+" or "CX File Manager" (search in Google Play). Both support Samba and SFTP connections.
Jellyfin
The client is also called Jellyfin; simply search for it in the Google Play Store.
Download Clients
I highly recommend a powerful tool called "Transdrone," which supports managing multiple download clients like aria2, qbittorrent, and transmission.
Conclusion
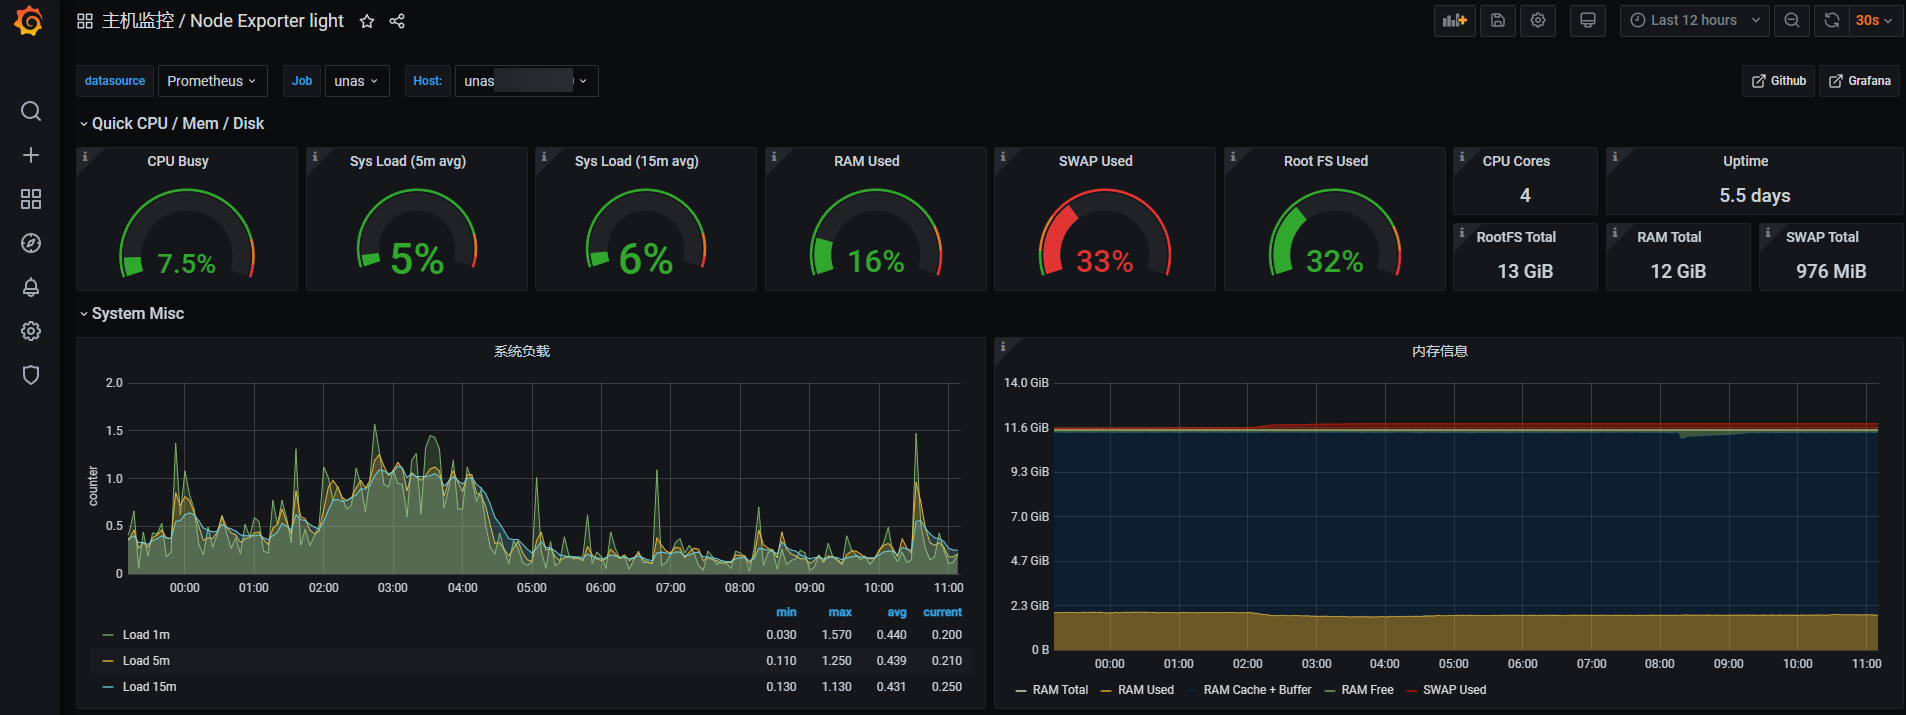
That's all for today. I will share installation methods for various software in future posts. Recently, I also integrated my OMV 6 with Prometheus for monitoring. Here is a screenshot of the setup.
OpenMediaVault Official Website: https://www.openmediavault.org/