Install Jellyfin Multimedia Player on QNAP QTS Using Docker
Jellyfin is an open-source multimedia player that supports multiple platforms. However, it does not currently offer direct support for QNAP. In a previous article, we shared how to install Jellyfin 10.5.5 using a community-made .qpkg installer that supports GPU hardware acceleration. This guide demonstrates how to install Jellyfin using Docker instead.

Install Docker Container and Enable SSH on QNAP (QTS)
If you haven't installed Docker yet, please refer to the article Install Jellyfin on QNAP QTS Using Docker and ensure that the SSH service is enabled.
Install Jellyfin Using Docker
The Docker container management tool (Container Station) provided by QNAP (QTS) cannot mount hardware devices. Therefore, you must first log in to QTS using an SSH tool with your QTS administrator username and password.
After logging in, execute the following command:
docker run --name jellyfin -d \
 --volume /share/Web/jellyfin/config:/config \
 --volume /share/Web/jellyfin/cache:/cache \
 --volume /share/Multimedia:/media \
 --net=host \
 --restart=always \
 --device /dev/dri/renderD128:/dev/dri/renderD128 \
 jellyfin/jellyfin
/share/Web/jellyfin/config: Path to save Jellyfin configuration files/share/Web/jellyfin/cache: Path for Jellyfin cache files/share/Multimedia: Path to the media library
Note: Local mount paths must start with share. For example, if you see the folder as /Multimedia in QNAP, you must specify /share/Multimedia when mounting.
Access and Test
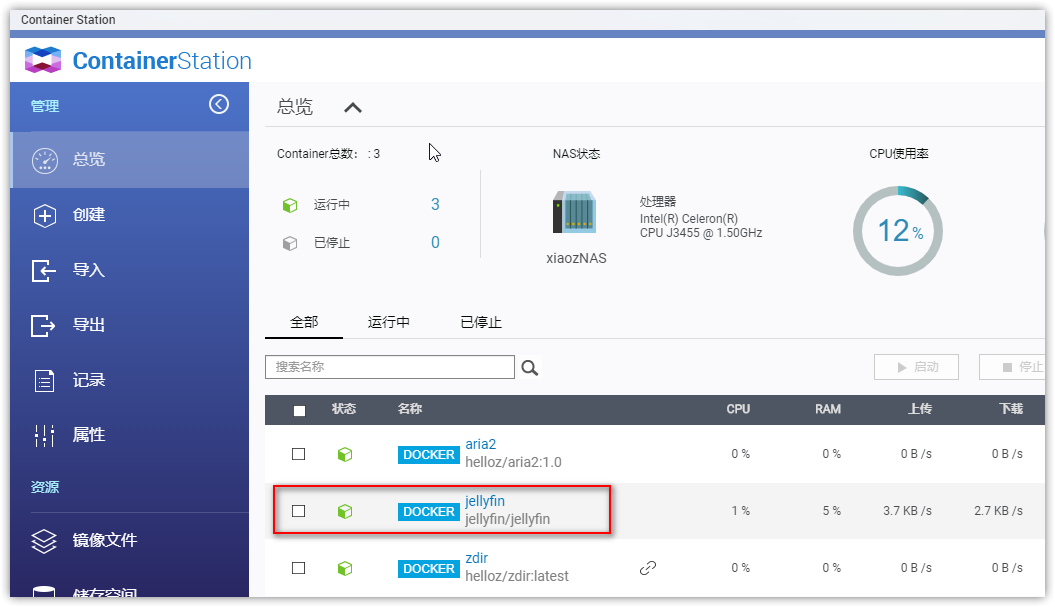
After the command executes successfully, you will see the Jellyfin container in Container Station. Do not modify settings randomly in the Container Station interface, as this may overwrite previous parameters and cause errors.
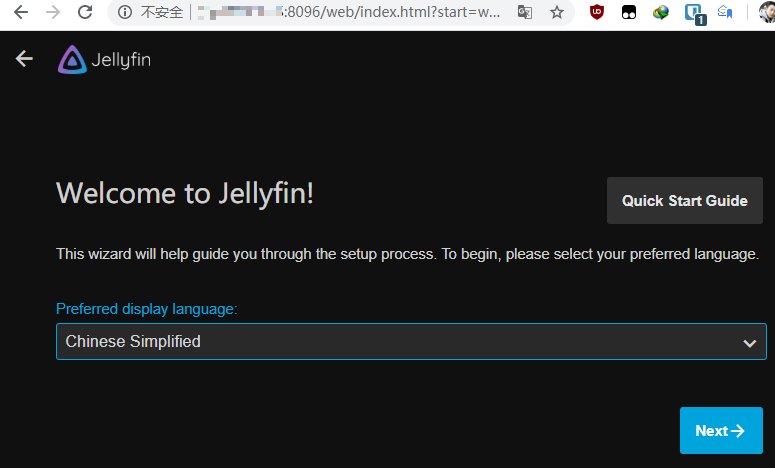
Enter http://NASIP:8096 in your browser address bar to access the Jellyfin setup interface. Follow the on-screen prompts to complete the setup and enter the backend.
Enable Hardware Acceleration
Open the Jellyfin Console, navigate to Server > Playback, and enable hardware acceleration according to the settings below.
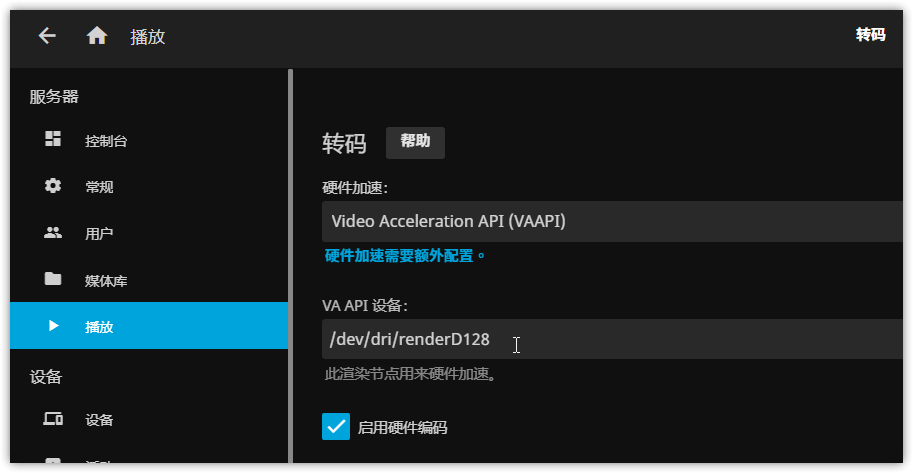
- Hardware Acceleration: Select VAAPI
- VA API Device: Enter
/dev/dri/renderD128
Conclusion
The above method has been tested on QNAP TS-453B mini. Hardware acceleration requires a CPU with integrated graphics support, so some devices may not be compatible. The benefits of installing Jellyfin via Docker include the ability to stay synchronized with the official version and improved security and convenience.
For more details, refer to the official Jellyfin documentation: https://jellyfin.org/docs/general/administration/installing.html#docker