Baidu Launches Public DNS: Setup Guide and Configuration
A few months ago, Alibaba launched its public DNS service. Now, Baidu has also introduced its own DNS service, offering users another choice for internet browsing. Those interested can try it out.

Windows Setup Method
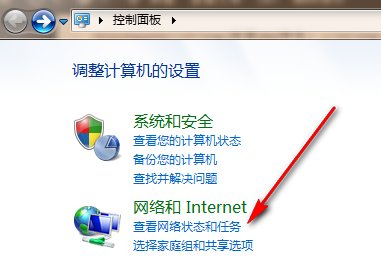
Open the Control Panel and navigate to View network status and tasks.
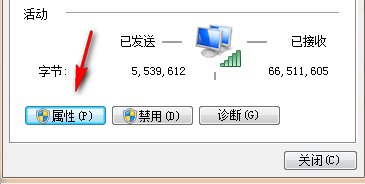
View the current active network, click on your current connection, and open its properties as shown in the figure.

Click the Properties button.
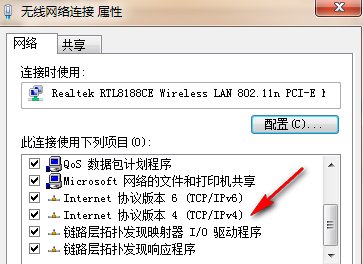
Locate the Internet Protocol Version 4 (TCP/IPv4).
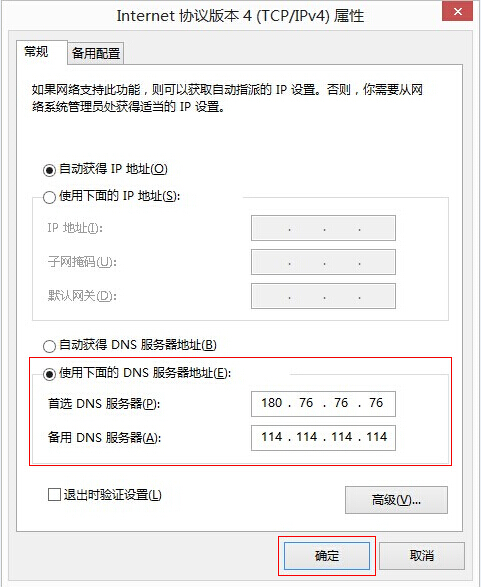
Select Use the following DNS server addresses and set the DNS to Baidu's DNS: 180.76.76.76.
Final Thoughts:
Currently, the Baidu DNS official website displays a Beta label, indicating it is in the public testing phase. Its stability is not yet fully confirmed. Additionally, it only provides one IP address (the backup DNS in the screenshot above still uses 114), whereas Alibaba's public DNS offers two IP addresses. Therefore, it is recommended for users who enjoy experimenting and trying new technologies.
For more detailed information, please visit the official website: Baidu Public DNS.