How to Install Proxmox VE 6 on Debian 10
Proxmox VE (abbreviated as PVE) is an open-source virtualization management software, similar to ESXi, used primarily for creating and managing virtual machines. Recently, I replaced the hard drive on my dedicated server from ServerStadium. Since ServerStadium only offers PVE version 5 while the latest version is PVE 6, and PVE is based on Debian, I requested the provider to install Debian 10 and then proceeded to install PVE 6 myself. This article records the installation process.
Configure Host
PVE requires the following modifications to /etc/hosts:
# First, set the hostname. Modify according to your actual situation; here I set it to pve
hostnamectl set-hostname pve
# Modify /etc/hosts and add the following content
127.0.0.1       localhost.localdomain localhost
192.168.15.77   pve.proxmox.com pve
192.168.15.77is your server's public IP address; please modify it accordingly.- If your hostname is set to
pve, the domain name must be set topve.proxmox.com. Similarly, if the hostname istest, the domain should betest.proxmox.com.
Add PVE Installation Repository
Execute the following commands in sequence:
echo "deb http://download.proxmox.com/debian/pve buster pve-no-subscription" > /etc/apt/sources.list.d/pve-install-repo.list
wget http://download.proxmox.com/debian/proxmox-ve-release-6.x.gpg -O /etc/apt/trusted.gpg.d/proxmox-ve-release-6.x.gpg
chmod +r /etc/apt/trusted.gpg.d/proxmox-ve-release-6.x.gpg
apt update && apt full-upgrade
Install PVE
# Install
apt -y install proxmox-ve postfix open-iscsi
Follow the prompts; I selected "NO" and continued with the installation.

If you are not installing a dual-boot system, you can remove the os-prober package:
apt remove os-prober
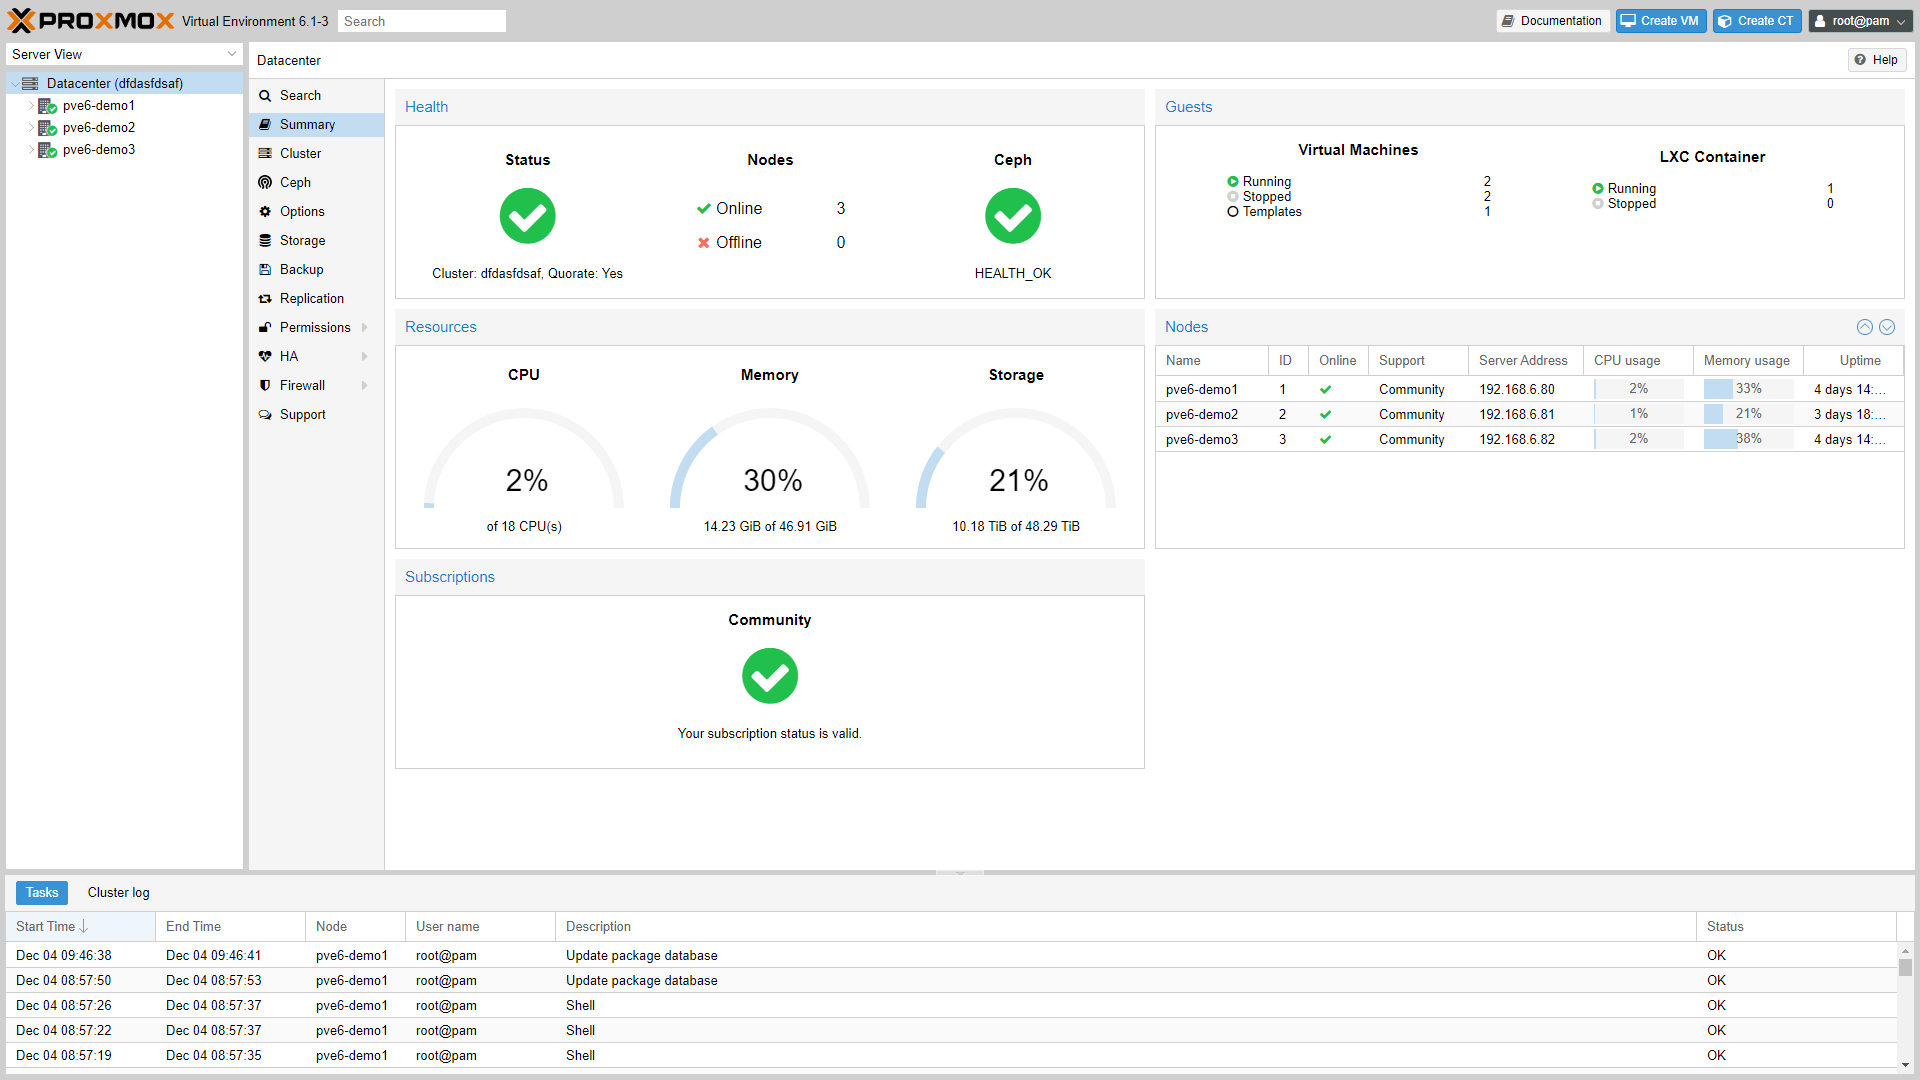
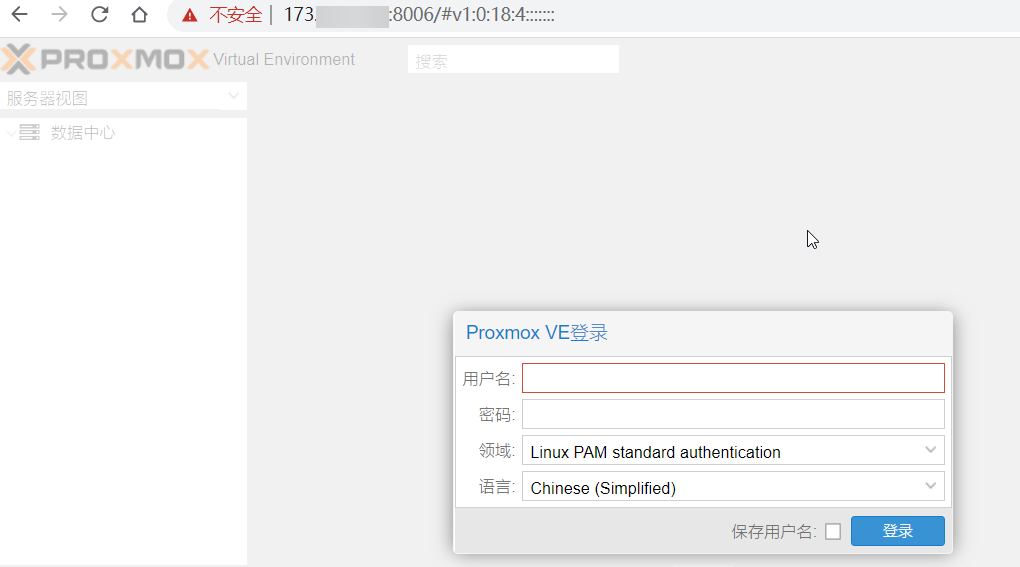
Reboot the server to load the PVE kernel. After a successful reboot, access the PVE web interface at https://IP:8006. Note that it must be the https protocol; otherwise, the page will not open. The username and password are the same as those used for the server.
Optimize Kernel Parameters
For dedicated servers located overseas, it is recommended to enable BBR to optimize TCP transmission. The method to enable it is as follows:
# Modify kernel configuration
cat >>/etc/sysctl.conf << EOF
net.core.default_qdisc=fq
net.ipv4.tcp_congestion_control=bbr
EOF
# Apply the configuration
sysctl -p
Verify using the command lsmod | grep bbr. If you see tcp_bbr, BBR has been successfully enabled.
Linux defaults the file descriptor limit to 1024. To avoid potential issues later, it is recommended to modify the ulimit descriptor limit as follows:
echo 'fs.file-max = 65535' >> /etc/sysctl.conf
echo '* soft nofile 65535' >> /etc/security/limits.conf
echo '* hard nofile 65535' >> /etc/security/limits.conf
echo 'ulimit -SHn 65535' >> /etc/profile
Download Images
PVE system images are stored in the /var/lib/vz/template/iso directory. You only need to download or upload .iso images to this directory and then install them via the PVE web management interface.
Conclusion
If conditions permit, it is recommended to use the official .iso image provided by PVE for installation rather than installing on Debian to avoid potential issues. Similar software includes ESXi, Mofang Cloud, and nano Cloud.
This article references the official documentation: https://pve.proxmox.com/wiki/Install_Proxmox_VE_on_Debian_Buster