How to Install MinDoc Documentation System on CentOS 7
MinDoc is a documentation system developed using Go, supporting Markdown formatting. It is suitable for personal Wiki knowledge bases or API documentation management, and the deployment process is relatively simple. Here is a guide to installing and configuring it.
Download
Visit https://github.com/lifei6671/mindoc/releases to download the latest version and extract it. The following commands are for reference; please adjust them according to your actual situation.
# Create a directory
mkdir mindoc && cd mindoc
# Download the binary package
wget https://github.com/lifei6671/mindoc/releases/download/v0.9/mindoc_linux_amd64.zip
# Unzip
unzip mindoc_linux_amd64.zip
Configure Database
MinDoc supports MySQL or SQLite3 databases. For personal use with low demand, SQLite3 is fully capable. For team use, consider using MySQL. Modify the conf/app.conf configuration file to comment out the MySQL information:
db_adapter=mysql
db_host=127.0.0.1
db_port=3306
db_database=mindoc_db
db_username=root
db_password=123456
And uncomment the SQLite3 configuration:
adb_adapter=sqlite3
db_database=./database/mindoc.db
Installation
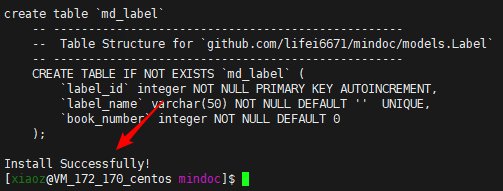
Run the command ./mindoc_linux_amd64 install to initialize the database. If you see "Install Successfully!", the installation is successful. If an error occurs, troubleshoot based on the error message.
Run and Access
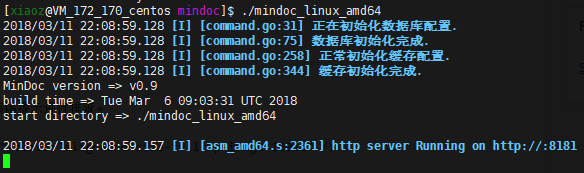
Continue to run ./mindoc_linux_amd64 to start MinDoc. If you see the prompt below, the startup is successful. Access it via http://IP:8181.
If you cannot access it, ensure that port 8181 is allowed in the firewall or security group. The Firewalld commands to allow the port are:
firewall-cmd --zone=public --add-port=8181/tcp --permanent
firewall-cmd --reload
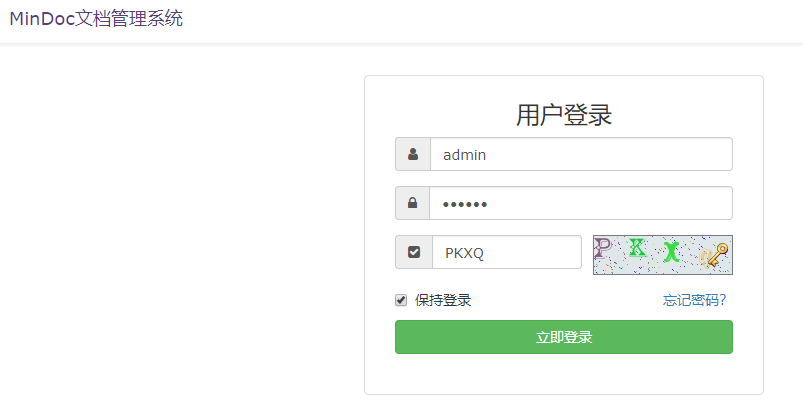
Access http://IP:8181 to open the interface. The default username is admin and the password is 123456. Please log in and change the password.

If you want MinDoc to run in the background, replace the startup command with nohup ./mindoc_linux_amd64 &.
Set Domain Access
Accessing via http://IP:8181 is not user-friendly or easy to remember. You can use Nginx reverse proxy to bind a domain for access. The following Nginx configuration is for reference:
server {
  listen 80;
  server_name doc.xiaoz.me;
  access_log /data/wwwlogs/doc.xiaoz.me_nginx.log combined;
  charset utf-8;

  location / {
    try_files /_not_exists_ @backend;
  }

  location @backend {
    proxy_set_header X-Forwarded-For $remote_addr;
    proxy_set_header Host            $http_host;
    proxy_set_header   X-Forwarded-Proto $scheme;

    # Configure the address and port of the MinDoc program here
    proxy_pass http://127.0.0.1:8181;
  }
}
Summary
MinDoc supports Memcache and Redis caching to improve speed. For specific configurations, refer to the official documentation. If you find this troublesome, there are ready-made documentation tools like GitBook or Kancloud available.
Project Home: https://github.com/lifei6671/mindoc Demo: http://doc.iminho.me/ Reference: Linux Installation and Configuration for MinDoc