How to Build a Personal Browser Bookmark Manager with Amazon Lightsail
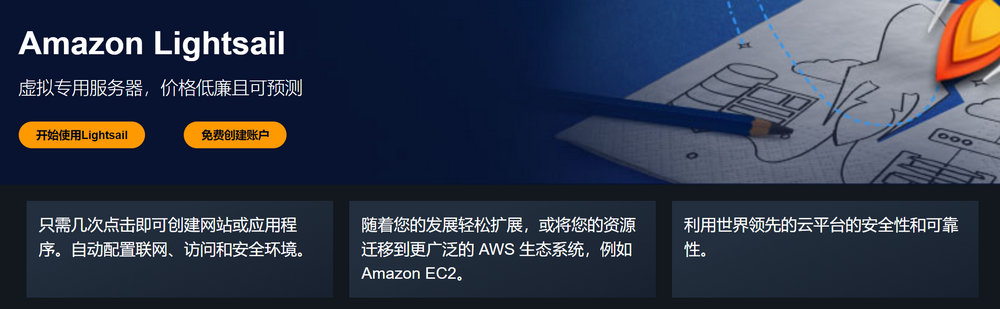
Amazon Lightsail is a simplified virtual private server (VPS) service provided by Amazon Web Services. It offers pre-configured virtual server instances and a range of convenient features, allowing users to quickly create, manage, and scale server instances for various applications and workloads. New users can also enjoy a 3-month free trial to experience its powerful capabilities.
The article covers the following steps:
- Register for an Amazon Web Services account
- Activate VPS service
- Install Baota Panel
- Deploy the OneNav browser bookmark manager
Register for an Amazon Web Services Account
Before using Amazon Lightsail, you need to register for an Amazon Web Services account. You will need:
- A frequently used email address
- A phone number
- A UnionPay, VISA, or MasterCard credit card
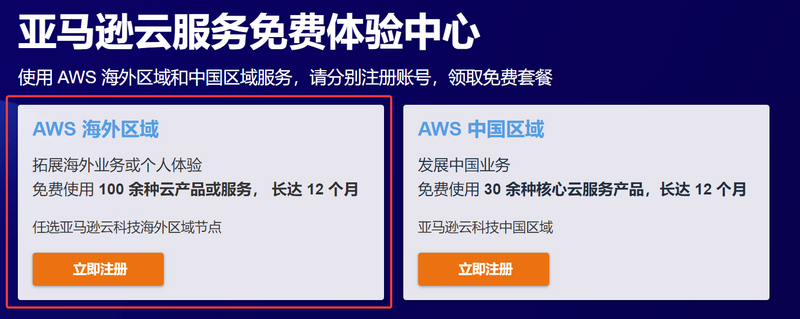
Click the link: Amazon Web Services to register. During registration, be sure to select the "Amazon Web Services Overseas Region," as enterprise certification is not required for overseas regions.
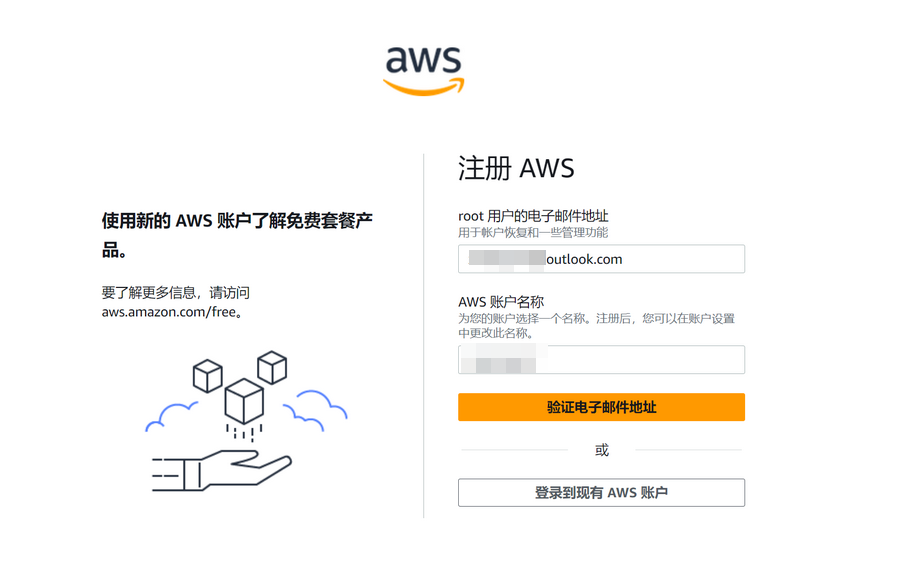
Enter your email and account name.
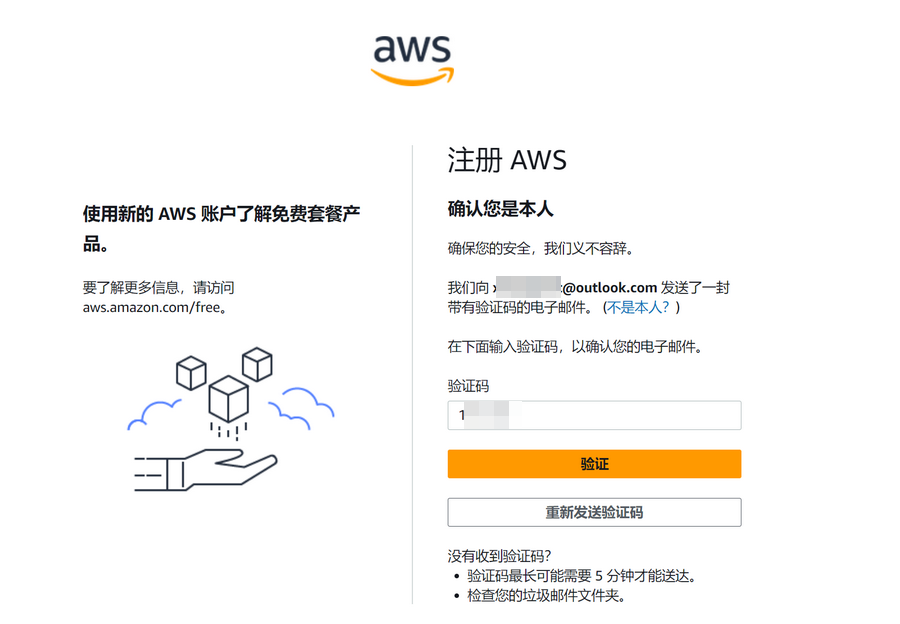
Enter the verification code sent to your email by Amazon Web Services.
Continue to set your account password.

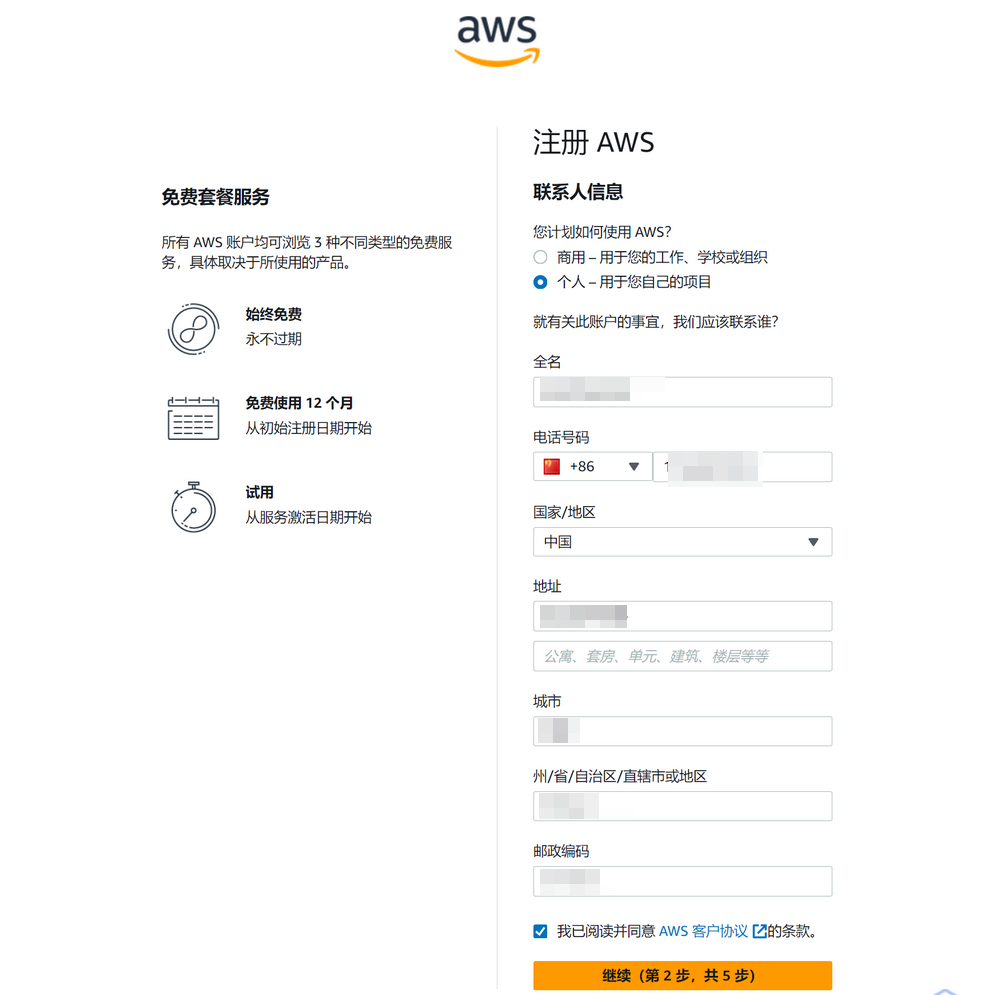
Next, fill in your contact information. Please note:
- Select "Individual" or "Business" based on your actual situation (the author selected "Individual").
- Ensure your full name, phone number, and address are accurate; do not fabricate information, as this may trigger risk control measures.
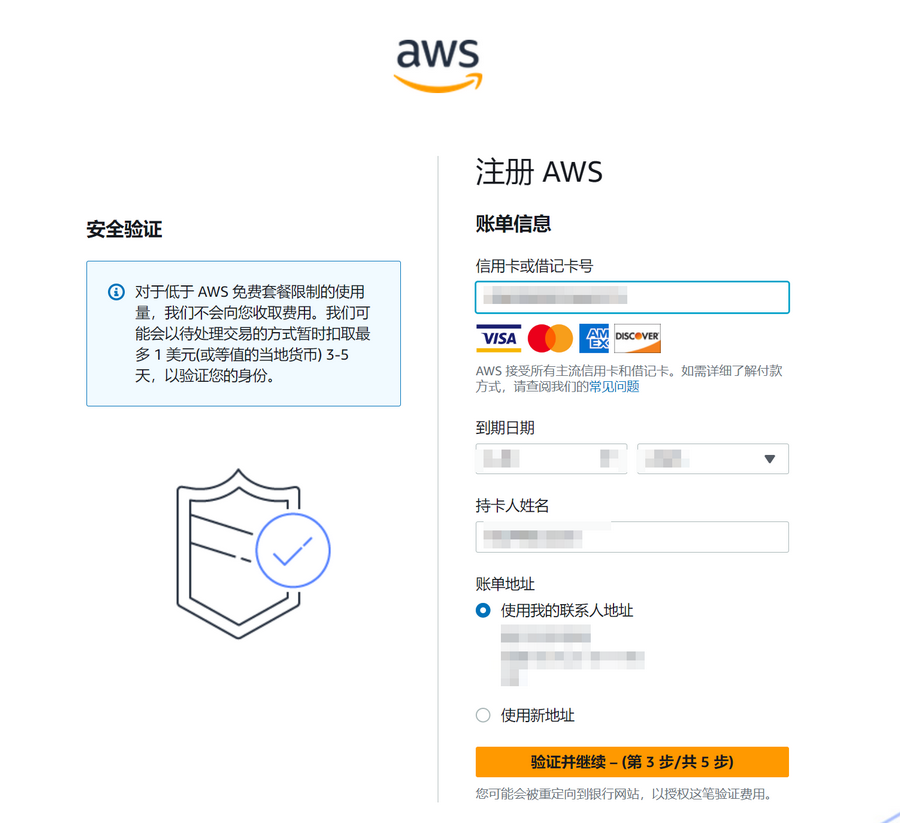
You will also need to verify your credit card. Supported cards include UnionPay, VISA, MasterCard, and AE. Fill in your credit card, name, and address details as appropriate. A temporary hold of up to $1 will be made for verification and refunded upon successful completion.
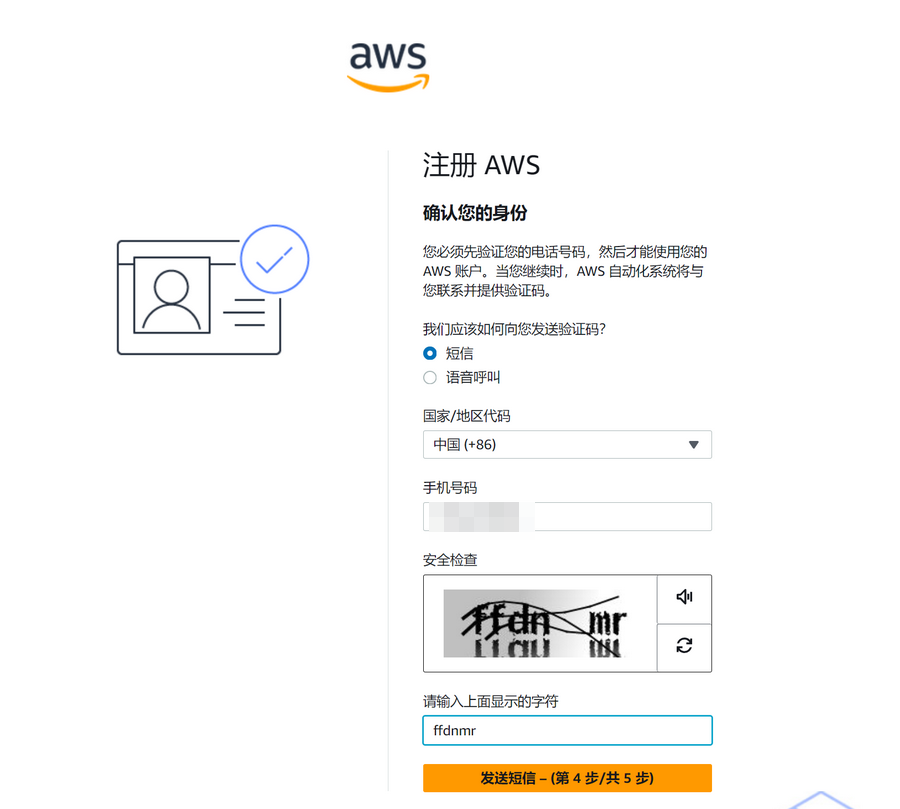
Continue with phone number verification.
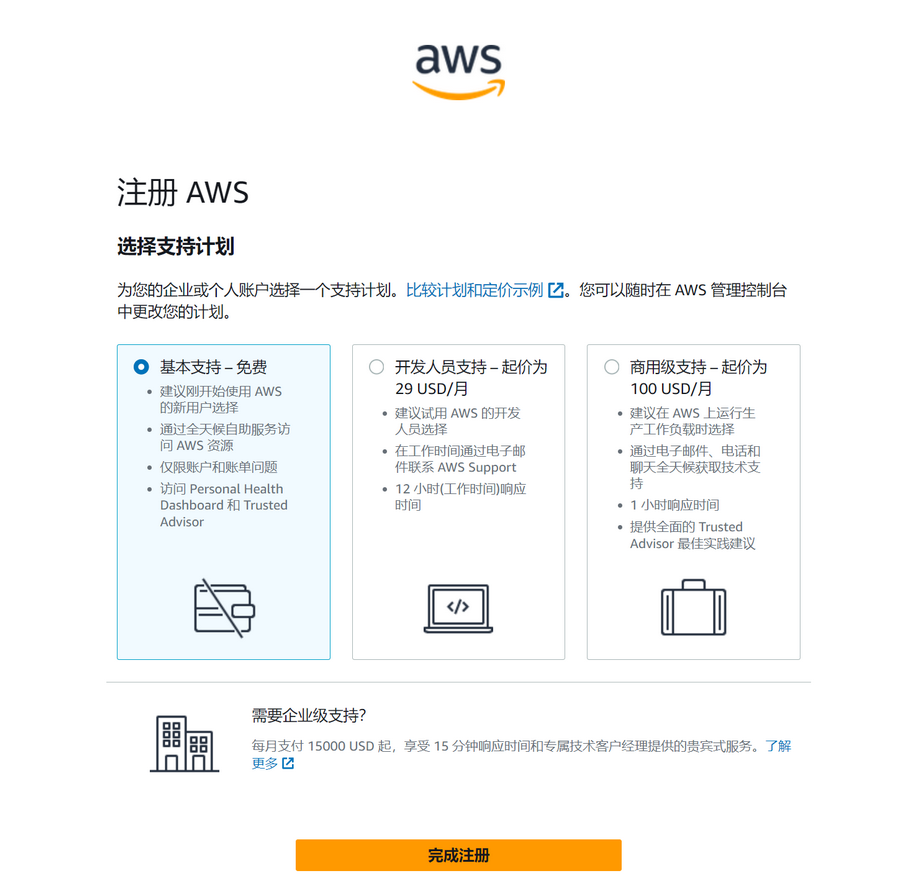
Finally, select a "Support Plan." The author chose "Basic Support - Free."
After registration, wait for account verification to complete before enjoying the free tier offered by Amazon Web Services.
Create an Amazon Lightsail Instance
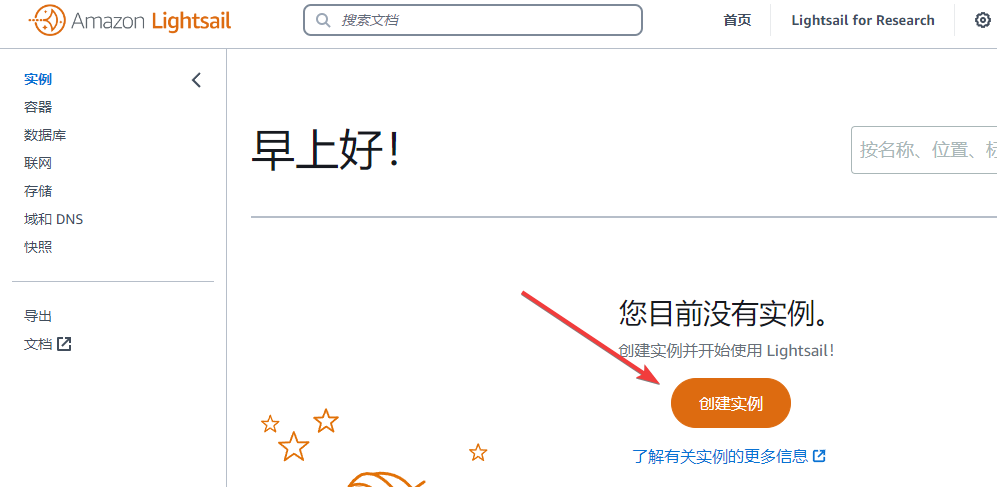
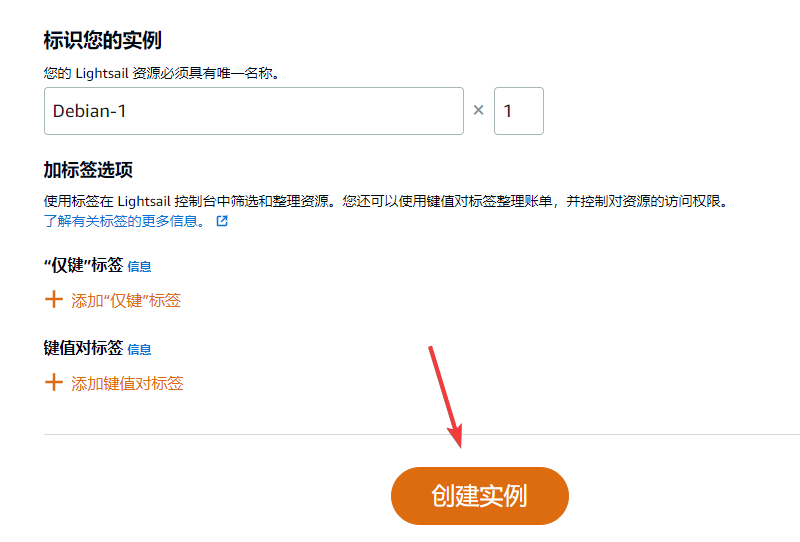
Next, go to the Amazon Lightsail Console and click Create Instance.
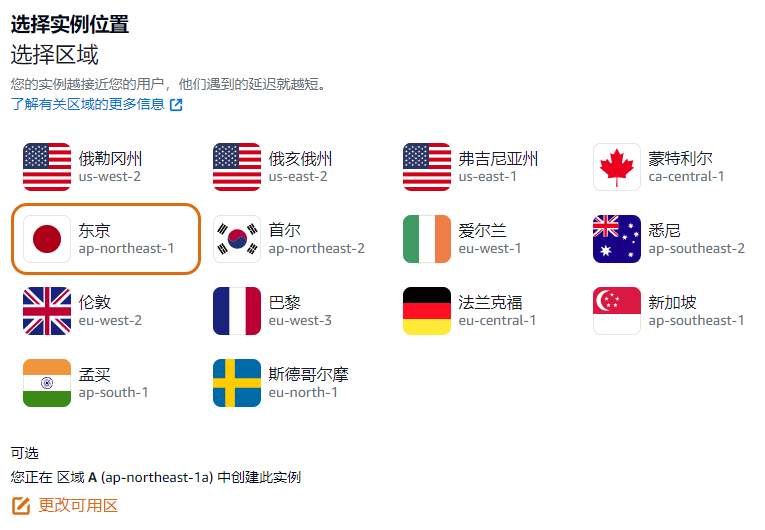
Region: Choose based on your preference; the author selected Tokyo, Japan.
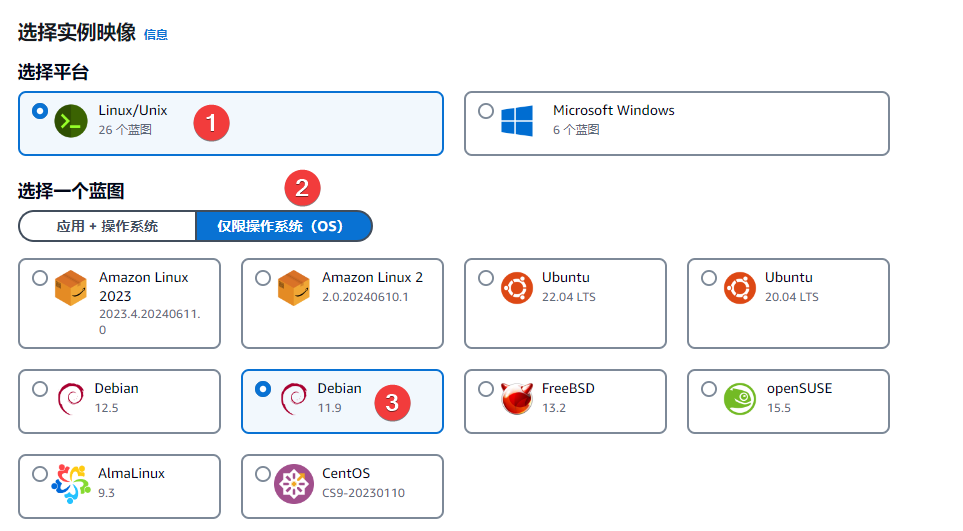
Platform: Select "Linux/Unix". Switch the blueprint to OS Only and choose a system you are familiar with. If unsure, select Debian 11.x as the author did.
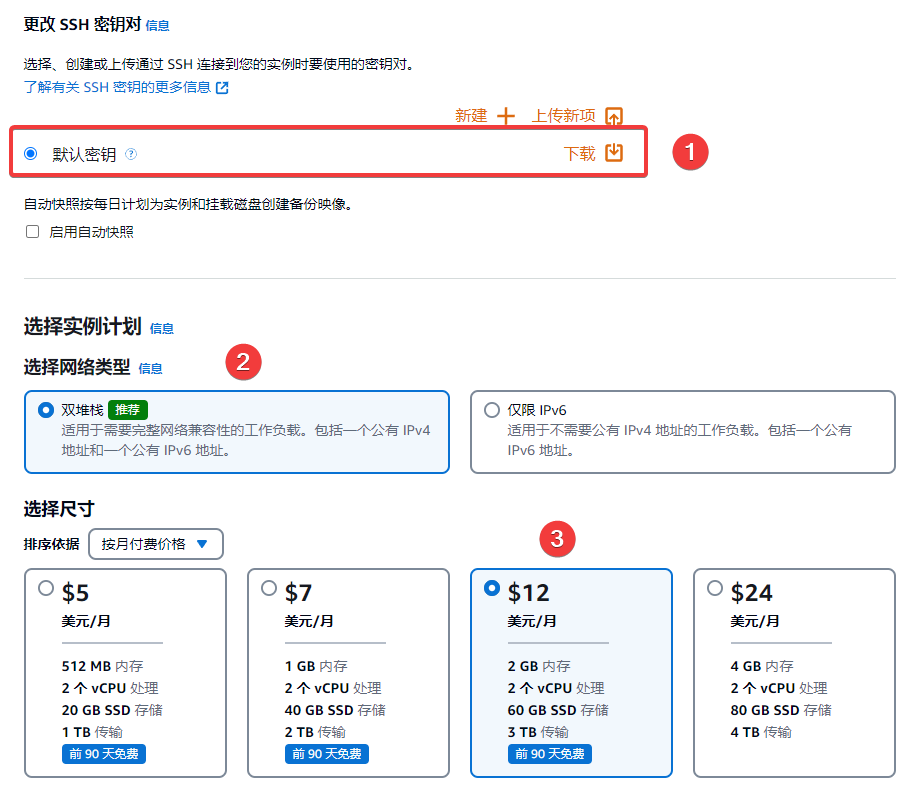
Download the default key to your local machine for backup. Set the network type to Dual Stack. Choose a size based on your needs; for the first 3 months, you can use the free tier, so the author selected the $12/month plan (anything above this is not free).
Finally, click Create Instance and wait a few seconds for it to be ready.
Install Baota Panel on Amazon Lightsail
Baota Panel is an easy-to-use server management tool that supports one-click configuration for websites, FTP, databases, and more, providing a visual interface for quick server environment setup. Since Amazon Lightsail system images do not include Baota Panel, we must install it first. Here, we will install the latest version, Baota 9.2.
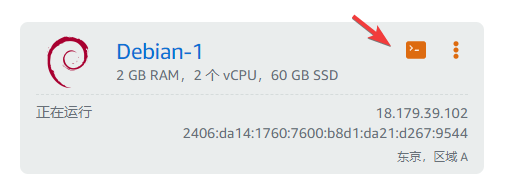
After creating the Amazon Lightsail instance, click the Terminal icon.
Once in the terminal, the first step is to reset the root password (as Baota requires the root user). Use the command sudo passwd root to reset it.

After setting the root password, enter the command su - to switch to the root user.

Next, run the command apt-get update && apt-get install -y curl to update system software.

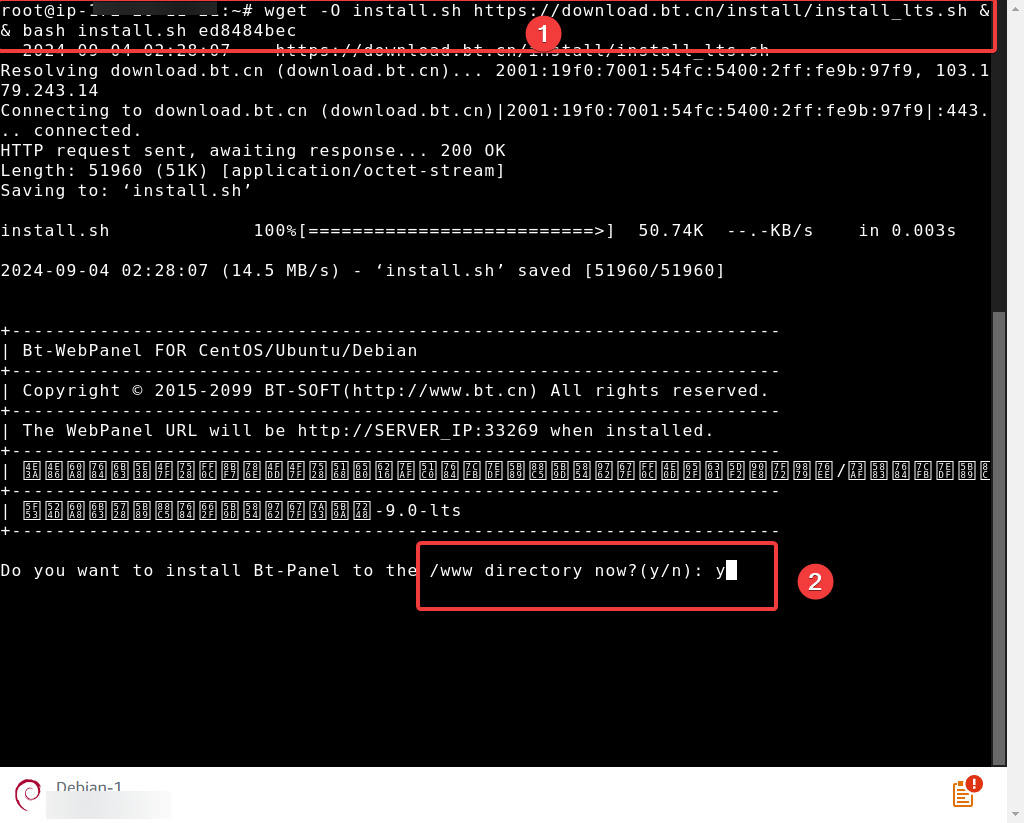
Copy and paste the following Baota installation command into the terminal:
if [ -f /usr/bin/curl ];then curl -sSO https://download.bt.cn/install/install_panel.sh;else wget -O install_panel.sh https://download.bt.cn/install/install_panel.sh;fi;bash install_panel.sh ed8484bec
A prompt will appear; enter y and press Enter to confirm and start the installation.
Wait a few minutes. Upon completion, login information will be displayed. Save this information for later use.
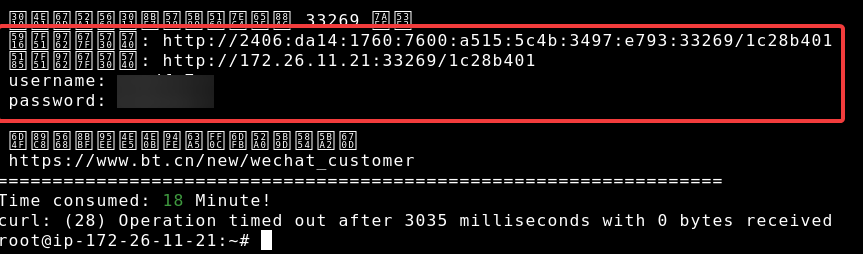
Go to the Amazon Lightsail management page, navigate to Networking >> IPv4 Firewall >> Add Rule, and add the Baota port 33269 to allow traffic.
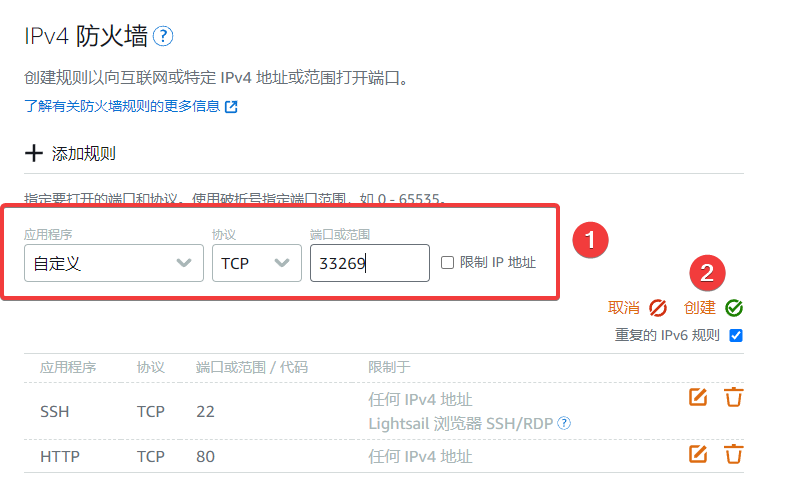
Note: The Baota port is random after installation; check the port number in the installation prompt link.
Additionally, you must allow ports
80and443; otherwise, your website will not be accessible.
Replace the Baota access address with your IPv4 address and log in.
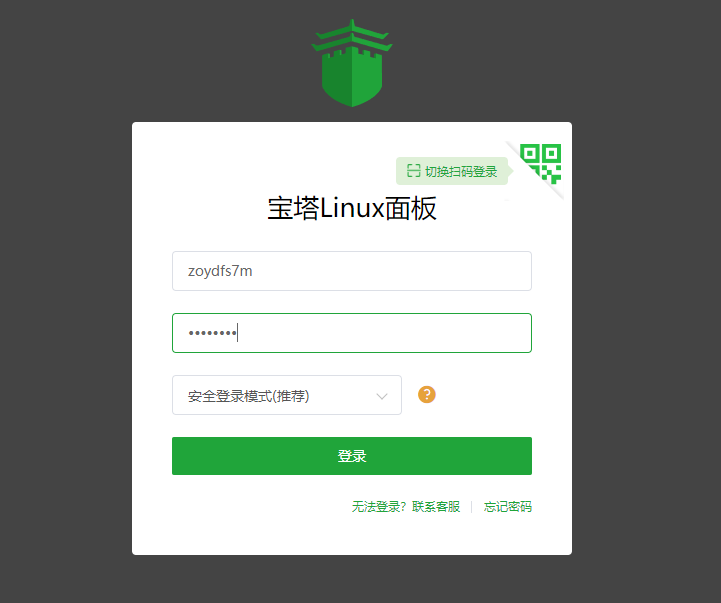
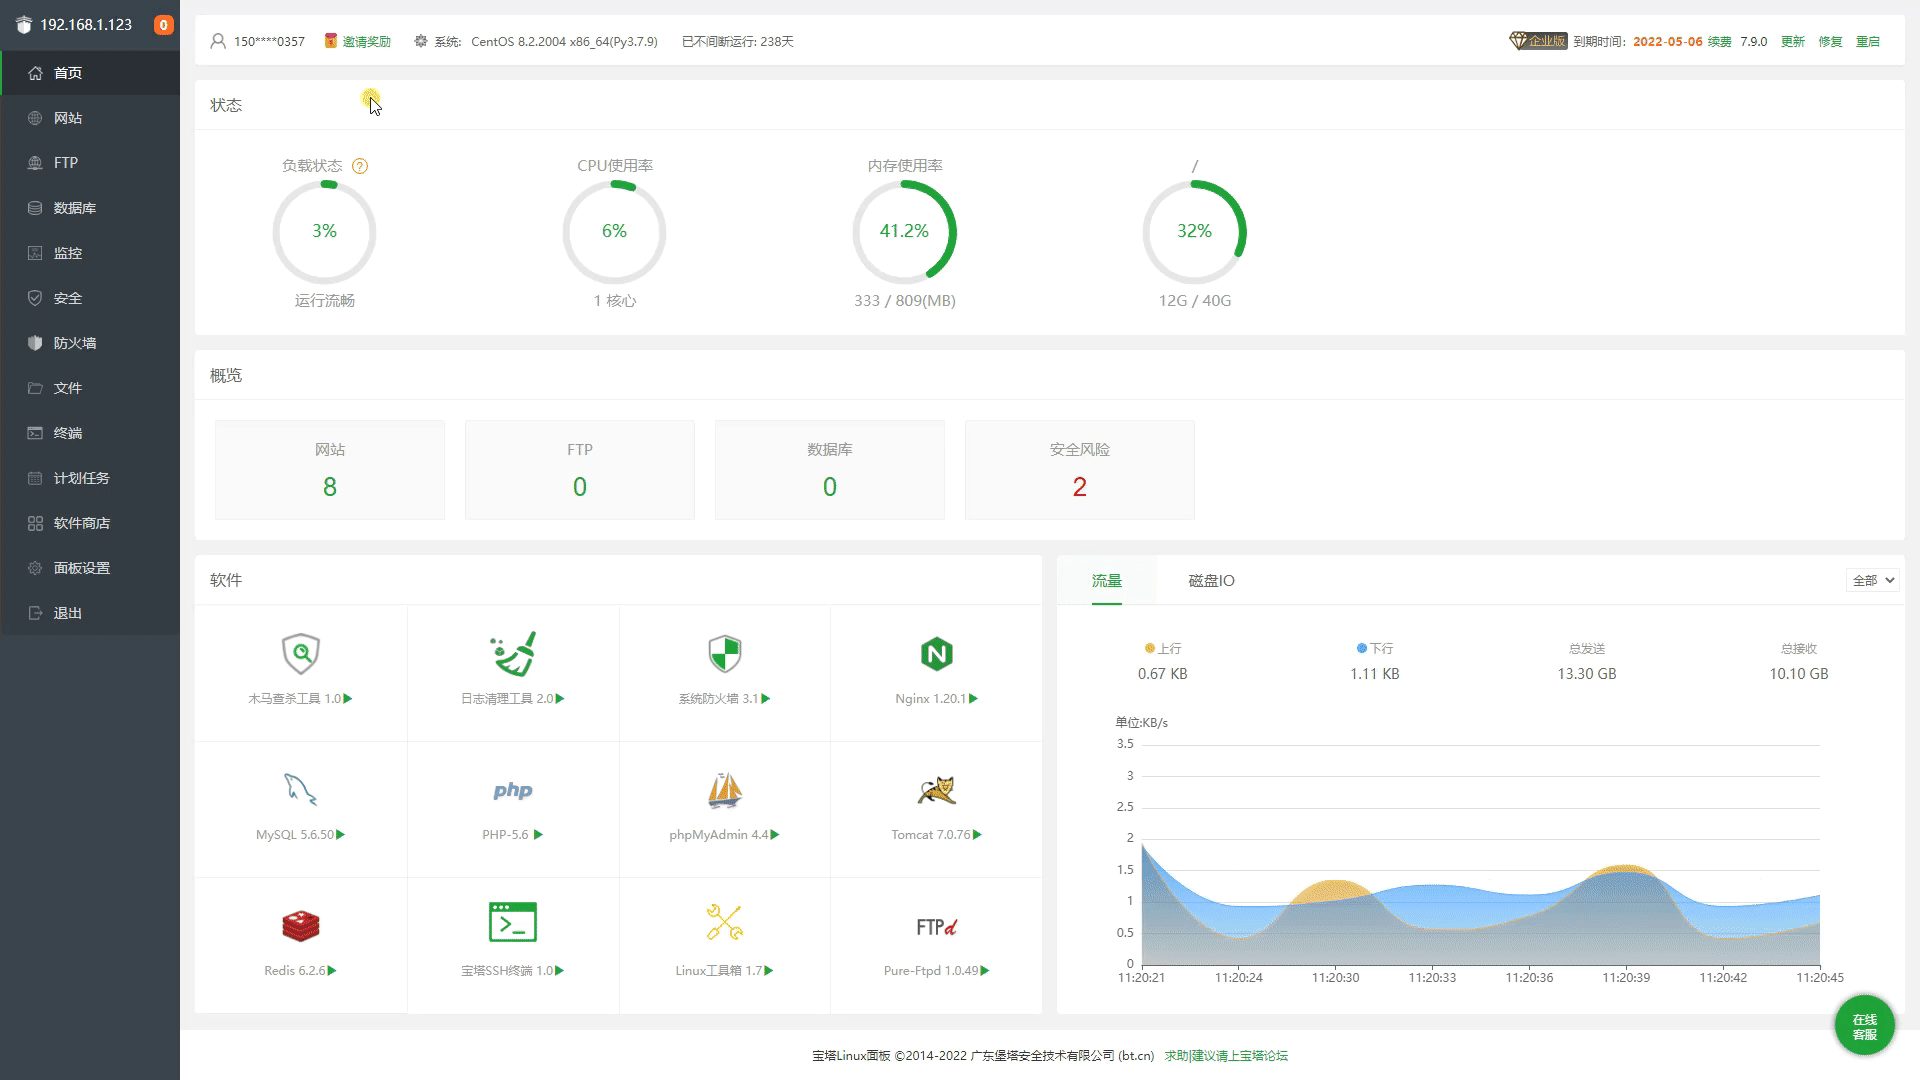
At this point, we have successfully installed and logged into Baota Panel via Amazon Lightsail. Next, we will install the OneNav browser bookmark manager.
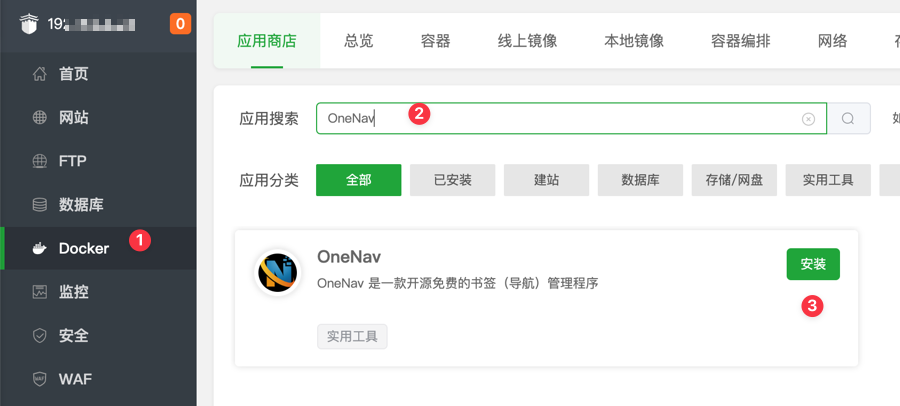
Install OneNav
Open the Docker - App Store, search for OneNav, and click Install.
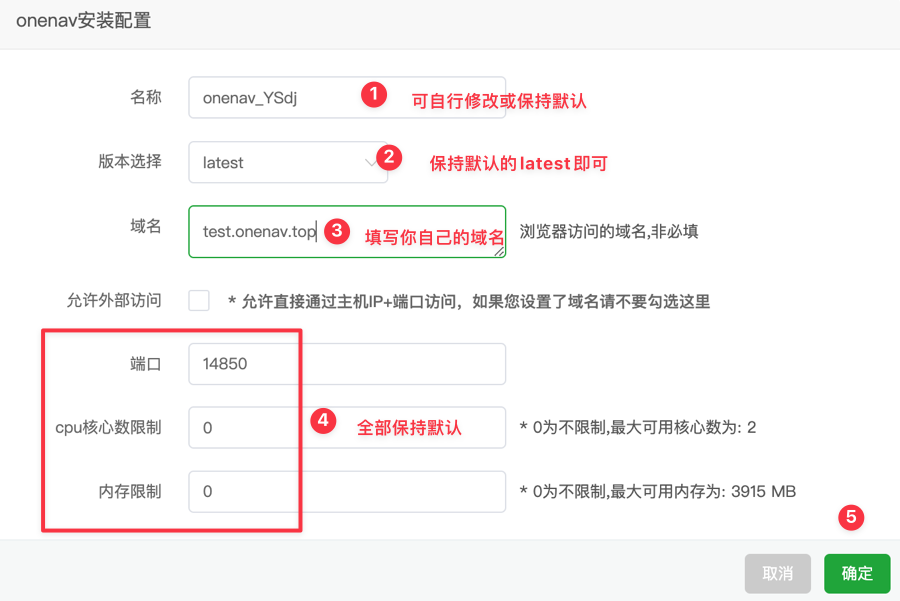
Fill in the installation details:
- Name: Keep default or modify as needed.
- Version: Select
latest. - Domain: Enter your own domain name.
- Allow External Access: Uncheck this if you have entered a domain name.
- Port, CPU Core Limit, Memory Limit: Keep defaults.
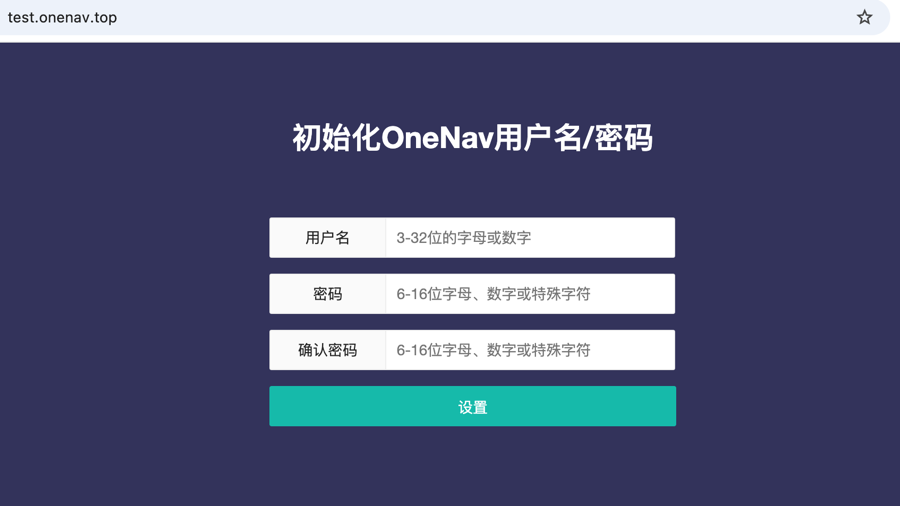
Resolve your domain to your server IP, then visit the domain to complete initialization.
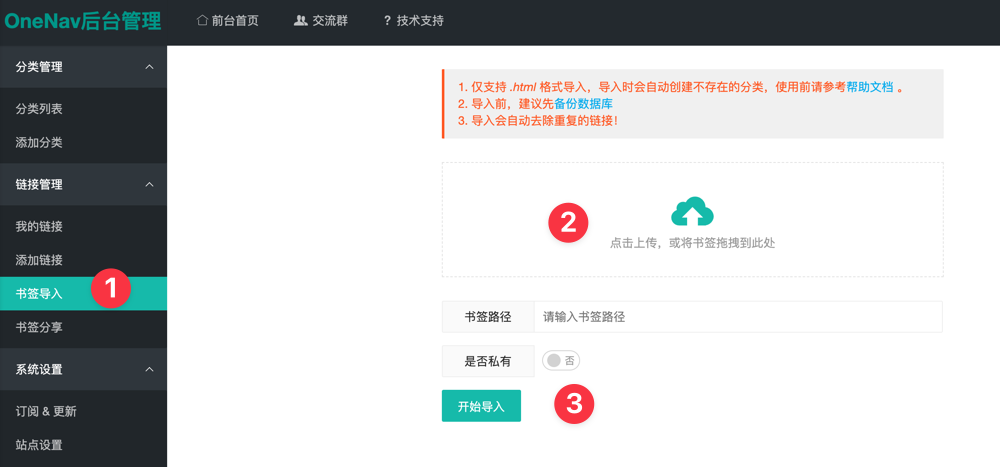
Log in to the OneNav backend, go to Link Management - Bookmark Import, and import bookmarks from your local browser for centralized management and access.
We have now successfully built our own browser bookmark manager, OneNav, using Amazon Lightsail. OneNav supports rich template themes and can be used with browser plugins, offering powerful functionality. Interested users are encouraged to explore further!
Conclusion
If you are interested in other free services from Amazon Web Services, visit the Amazon Web Services Free Tier page for more details. Through these free services, you can further explore and leverage various cloud solutions from Amazon Web Services to enhance your work efficiency and business capabilities.