Build a High-End Terminal with Windows Terminal, Alpine Linux, and ZSH
Windows Terminal is a modern terminal application designed for command-line tools and shells, such as Command Prompt, PowerShell, and Windows Subsystem for Linux (WSL). Its key features include multiple tabs, panes, support for Unicode and UTF-8 characters, a GPU-accelerated text rendering engine, and the ability to create custom themes for text, colors, backgrounds, and shortcuts.
After installing Windows Terminal, you may find it doesn't match the official demo's aesthetic—it can still look plain and dark. However, Windows Terminal offers extensive customization options. This article shares xiaoz's personal setup for achieving a polished terminal environment.
Installing Windows Terminal
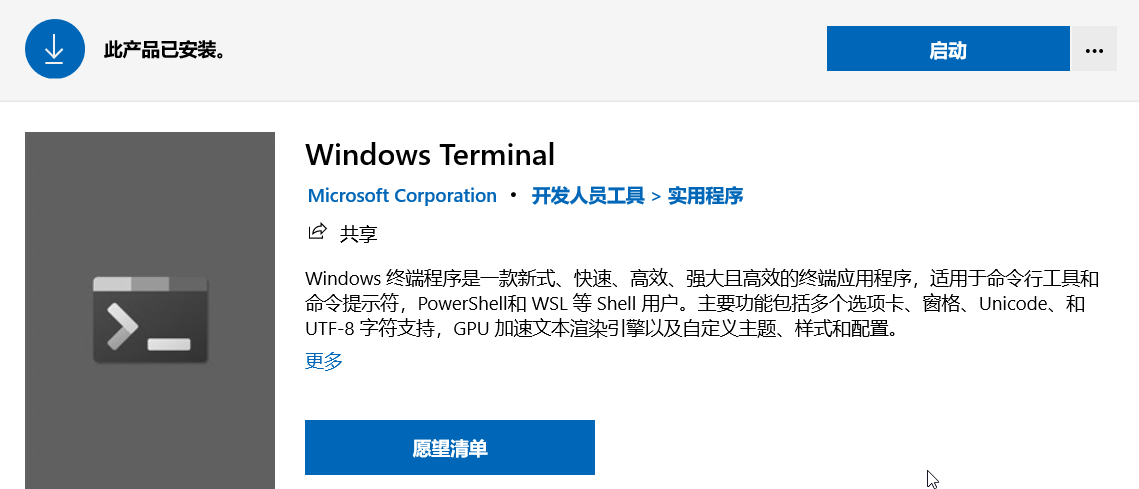
Windows Terminal has reached its official release. Open the Microsoft Store, search for "Windows Terminal," and install it.
Customizing Windows Terminal Colors
The default color scheme of Windows Terminal is not particularly attractive (though slightly better than the built-in CMD). You can customize it by editing the configuration file. Press Ctrl + , in the terminal to open the JSON configuration file.
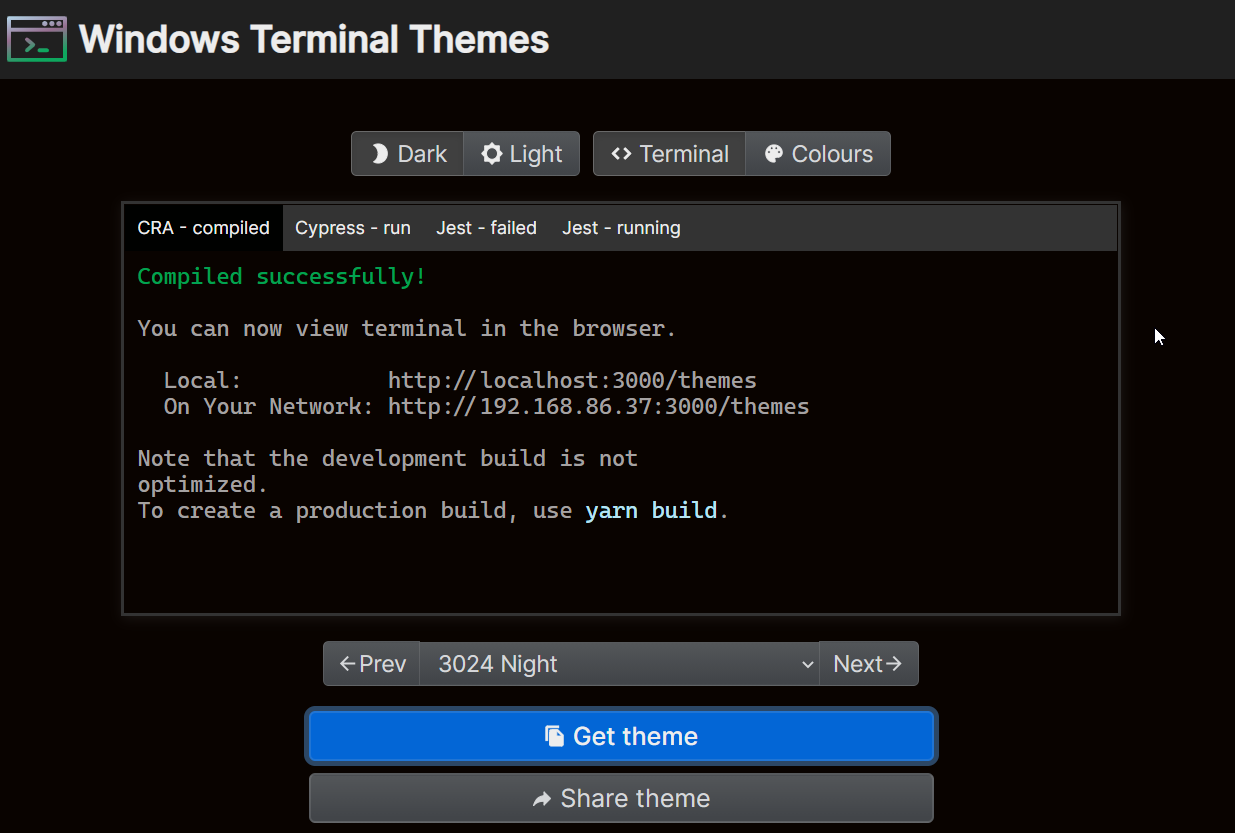
We recommend the Windows Terminal theme website: https://windowsterminalthemes.dev/. Browse and select a preferred theme, then click "Get theme" to copy the configuration to your clipboard.
Open the Windows Terminal configuration file and paste the theme code into the profiles.defaults field. The result will look like this:
To add transparency effects, add the following two lines to the profiles.defaults field:
"useAcrylic": true,
"acrylicOpacity": 0.8,
useAcrylic: Enables the acrylic texture effect.acrylicOpacity: Sets the transparency level (requiresuseAcrylicto betrue).
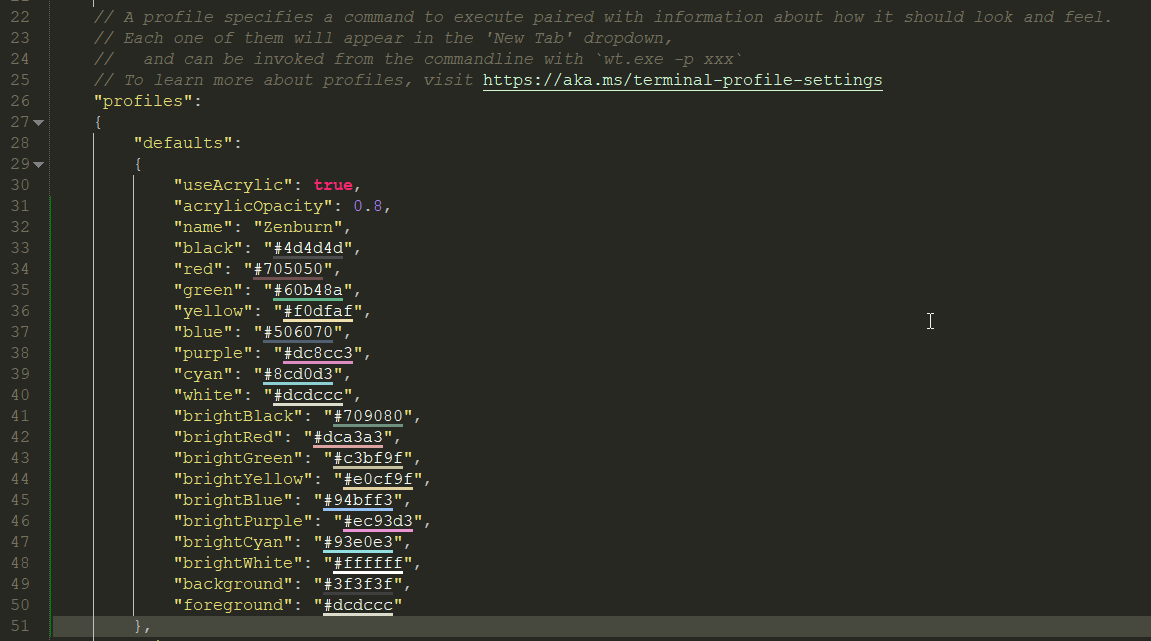
Here is my personal color configuration for reference:
"defaults":
        {
	        "useAcrylic": true,
         	"acrylicOpacity": 0.8,
			"name": "Zenburn",
		   	"black": "#4d4d4d",
			"red": "#705050",
		   	"green": "#60b48a",
		   	"yellow": "#f0dfaf",
		   	"blue": "#506070",
		   	"purple": "#dc8cc3",
		   	"cyan": "#8cd0d3",
		   	"white": "#dcdccc",
		   	"brightBlack": "#709080",
		   	"brightRed": "#dca3a3",
		   	"brightGreen": "#c3bf9f",
		   	"brightYellow": "#e0cf9f",
		   	"brightBlue": "#94bff3",
		   	"brightPurple": "#ec93d3",
		   	"brightCyan": "#93e0e3",
		   	"brightWhite": "#ffffff",
		   	"background": "#3f3f3f",
		   	"foreground": "#dcdccc"
		},
Installing Alpine Linux
This step is optional. If you want to experience Linux on Windows, you can install a Linux distribution via WSL. First, refer to: Enable Linux Subsystem on Windows 10 (WSL). Then, search for "Alpine Linux" in the Microsoft Store to install it (you may also choose other Linux subsystems).
Installing ZSH in Alpine Linux
Run the following commands to install ZSH:
# Install required dependencies
apk add zsh curl wget git
# Install Oh My ZSH
sh -c "$(curl -fsSL https://raw.github.com/ohmyzsh/ohmyzsh/master/tools/install.sh)"
# Set ZSH as the default shell
sed -i -e "s/bin\/ash/bin\/zsh/" /etc/passwd
Conclusion
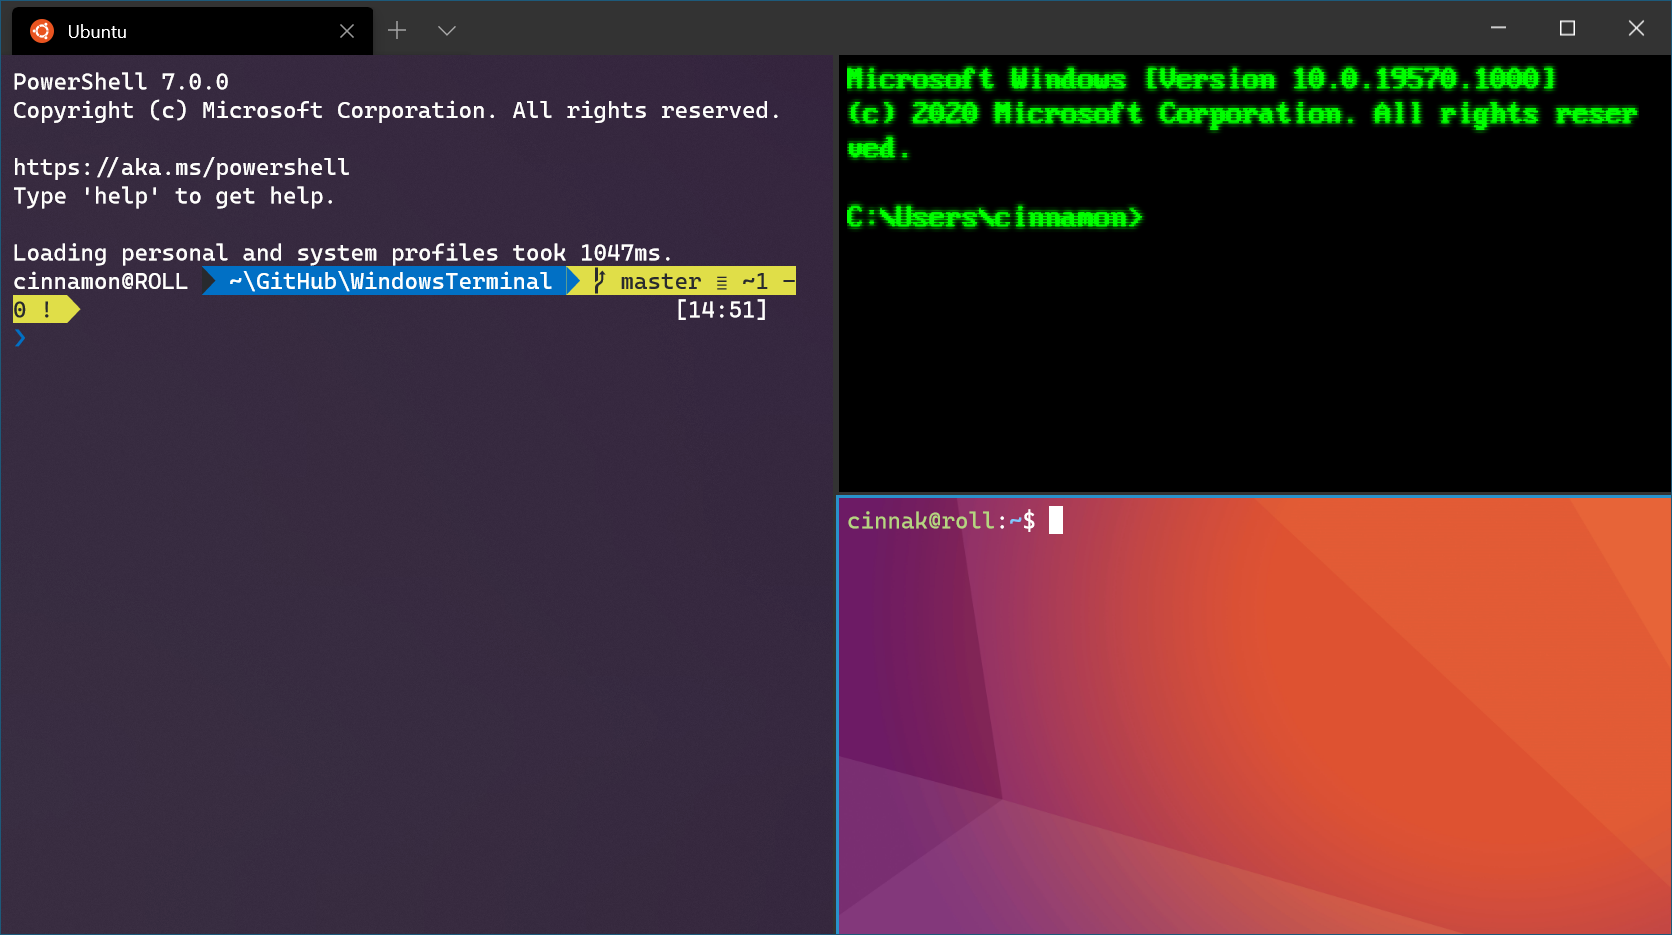
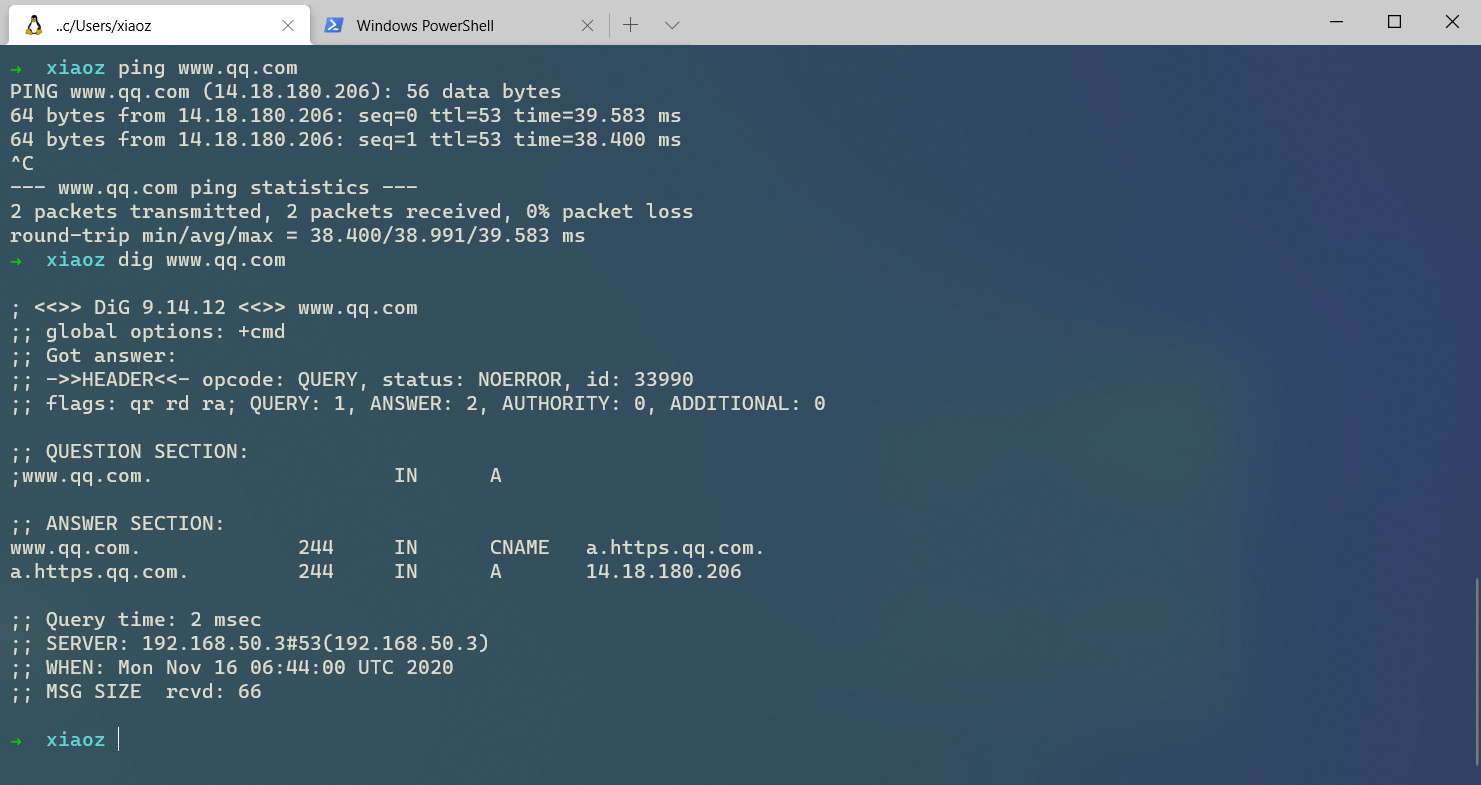
Windows Terminal settings are not fully graphical and require manual editing of the configuration file. While not overly complex, it can be slightly cumbersome, which feels less user-friendly. However, once configured, the setup is permanent. Those who enjoy tinkering should give it a try. Below is a screenshot of my final result.
This article references content from: Playing with Alpine Linux (4): Installing ZSH and Docker