Guide to Installing Nginx Proxy Manager in Docker: Build a Visual Reverse Proxy Server
Due to the presence of multiple different web services in an intranet environment, a common practice is to set up an Nginx service within the intranet for reverse proxying. This allows for centralized service management, domain-based access from the public internet, and SSL certificate deployment.
However, manual Nginx configuration can be troublesome, prone to errors, and not very beginner-friendly. Fortunately, Nginx Proxy Manager solves this problem easily.
About Nginx Proxy Manager
Nginx Proxy Manager is a lightweight, high-performance web proxy (including reverse proxy) and email proxy based on Docker. It features a user-friendly interface that makes it easy to create and manage Nginx proxy hosts.
Its key features include:
- User-friendly Interface: For users unfamiliar with Nginx configuration files, Nginx Proxy Manager provides an intuitive interface to easily create and manage Nginx proxy hosts.
- SSL Support: It supports Let's Encrypt, allowing for automatic acquisition and renewal of SSL certificates to ensure communication security.
- WebSockets Support: Nginx Proxy Manager fully supports WebSockets, which are required by many modern web applications.
- Access Control: You can control access, such as setting basic HTTP authentication or restricting access based on IP addresses.
- HTTP/2 Support: It supports HTTP/2, offering higher transmission efficiency.
- Custom Nginx Configuration: Although default configurations cover most use cases, you can provide custom Nginx configurations if needed.
- Docker Support: Being based on Docker, it can run on any platform that supports Docker.
- 100% Free and Open Source: Nginx Proxy Manager is open source and can be freely used and modified.
Overall, Nginx Proxy Manager is a powerful tool that simplifies the management of Nginx reverse proxies, especially for users unfamiliar with Nginx configuration files.
Installing Nginx Proxy Manager with Docker-Compose
First, ensure you have Docker-Compose installed, then create a directory to store Nginx Proxy Manager data:
# Create a directory
mkdir nginx
# Enter the directory
cd nginx
In the newly created directory, create a file named docker-compose.yaml and paste the following content:
version: '3.8'
services:
  app:
    image: 'jc21/nginx-proxy-manager:latest'
    restart: unless-stopped
    ports:
      - '880:80'
      - '81:81'
      - '8443:443'
    volumes:
      - ./data:/data
      - ./letsencrypt:/etc/letsencrypt
880is the Nginx HTTP port; you can modify it according to your needs.8443is the Nginx HTTPS port; you can modify it according to your needs.81is the port for the Nginx Proxy Manager management interface.
Then, use the command docker-compose up -d to start Nginx Proxy Manager. Once started successfully, open the Nginx Proxy Manager visual (WEB) interface by entering http://IP:81.
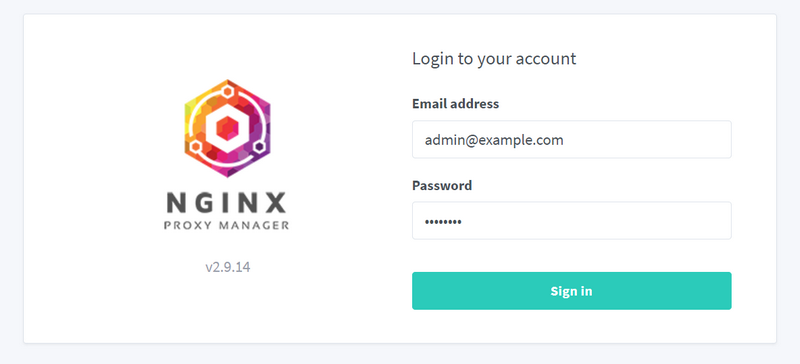
- Default username:
admin@example.com - Default password:
changeme
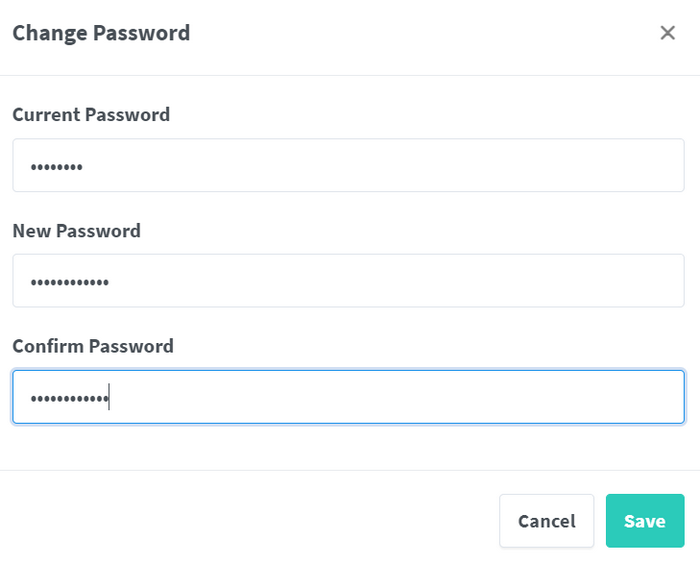
On first use, you will be prompted to modify the email, password, and other information. Please follow the prompts to complete the changes.
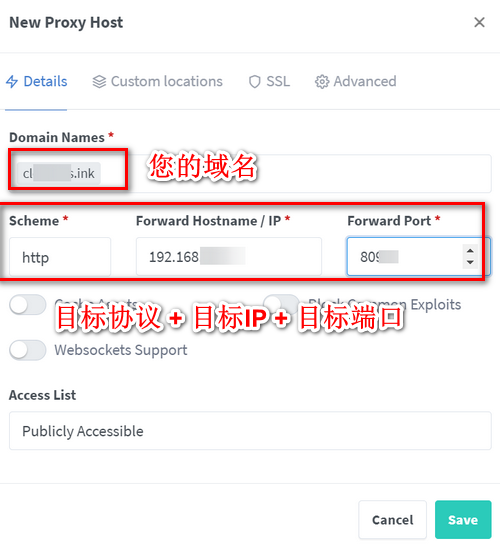
Adding a Reverse Proxy
Navigate to "Hosts - Proxy Hosts - Add Proxy Host" in the sidebar. Enter your domain name, the reverse proxy target protocol, target IP, and target port, then click SAVE.
Next, resolve your domain name to the IP address of the server where Nginx Proxy Manager is located. You can then access it via http://your-domain:880 (Note: The HTTP port used above is 880).
Deploying SSL Certificates
Nginx Proxy Manager defaults to providing "Let's Encrypt" SSL certificates, but due to network restrictions in China, this may not work. However, Nginx Proxy Manager also supports adding your own applied SSL certificates.
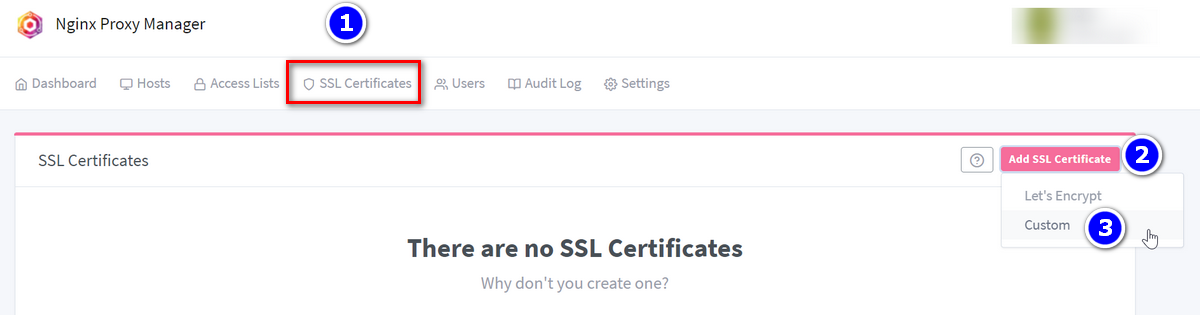
Navigate to "SSL Certificates - Add SSL Certificate - Custom".
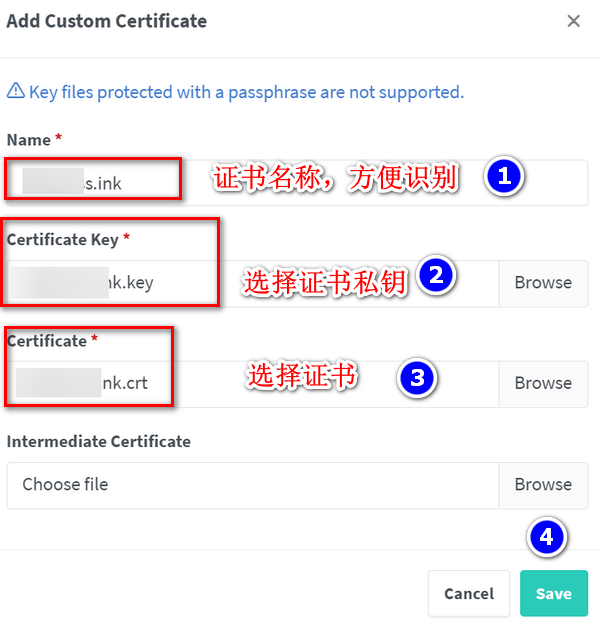
Follow the instructions to fill in the SSL certificate name and select the private key and certificate files, then click SAVE.
Return to "Proxy Hosts", find the domain you added earlier, and click to modify it. Switch to the "SSL" tab, select the custom SSL certificate you just added, and click Save.

After deployment, access the service again using the HTTPS protocol. If you are using a non-standard port (other than 443), you must include the port in the URL, for example: https://your-domain:8443.
Upgrading Nginx Proxy Manager
Since Nginx Proxy Manager is deployed using Docker-Compose, upgrading is very simple. Just execute the following commands:
# Pull the new image
docker-compose pull
# Restart Nginx Proxy Manager
docker-compose up -d
Other Features
In addition to the basic functions introduced above, Nginx Proxy Manager supports other features, such as:
- Custom reverse proxy configurations to meet complex requirements.
- Basic password authentication.
- IP access restrictions.
- Stream port forwarding.
All of these can be completed directly through the WEB interface, which is very convenient. Feel free to explore them further.
Conclusion
Nginx Proxy Manager is ideal for NAS users. With its help, Nginx reverse proxy configuration becomes much simpler. Whether you are a beginner or an experienced user, the WEB interface significantly improves efficiency.
Nginx Proxy Manager Official Website: https://nginxproxymanager.com/