Deploying mailcow: A Guide to Self-Hosted Email Services with Docker
In earlier articles, xiaoz shared how to set up Poste using Docker to build a self-hosted mail server. Poste is a lightweight mail server with relatively simple deployment, suitable for personal light use. However, based on customer feedback (xiaoz has deployed it for clients), Poste becomes unstable when sending large volumes of emails and is prone to issues. Additionally, Poste places all related dependent services into a single container without using Docker Compose to orchestrate multiple containers, significantly reducing stability.
Today, we share another open-source self-hosted mail server solution: mailcow. mailcow offers richer functionality than Poste and provides an official Docker Compose deployment method. Let's install the mailcow email service together with xiaoz.
Note: This tutorial requires a certain level of Linux and Docker knowledge.
Prerequisites
- A VPS with a dedicated IP. Minimum configuration: 1 CPU, 2GB RAM; recommended: 2 CPU, 4GB RAM or higher. The server must support email sending services (email ports not blocked; consult your provider) and support PTR reverse DNS resolution (consult your provider).
- Operating System: CentOS, Debian, or Ubuntu.
- Docker and Docker Compose must be installed.
- A domain name; the longer the registration time, the better. It is recommended to use mainstream suffixes such as
.com,.net, or.org.
Note: Please confirm with your provider whether they support PTR reverse DNS resolution. If not supported, emails are likely to end up in spam folders. As far as xiaoz knows, UltraVPS (EU) supports PTR resolution and allows you to configure it in the backend.
If you have not installed Docker, refer to: Installing Docker and Common Docker Commands on Linux.
If you have not installed Docker Compose, you can use the following commands to install it:
# Download docker-compose
curl -L "https://github.com/docker/compose/releases/download/1.25.5/docker-compose-$(uname -s)-$(uname -m)" -o /usr/local/bin/docker-compose
# Add execute permissions
chmod +x /usr/local/bin/docker-compose
# Create a symbolic link
ln -s /usr/local/bin/docker-compose /usr/bin/docker-compose
Some CentOS 7 systems may have the postfix service built-in, which can conflict with mailcow ports. You can try executing the following commands to uninstall postfix:
# Uninstall postfix on CentOS
yum -y remove postfix
# Uninstall postfix on Debian or Ubuntu
apt-get remove postfix
Set Linux Hostname
Assuming your top-level domain is domain.com, your hostname should be set to mail.domain.com or mx.domain.com. You can choose the prefix yourself, but it must be a subdomain.
The command to set the hostname is:
hostnamectl set-hostname mail.domain.com
Then, modify /etc/hosts to add a hosts entry pointing mail.domain.com to your server's public IP:
echo '173.0.xx.xxx mail.domain.com' >> /etc/hosts
Deploy mailcow
First, clone the mailcow code and scripts:
# Install Git on CentOS
yum -y install git
# Install Git on Debian
apt-get install git

# Clone mailcow code
git clone https://github.com/mailcow/mailcow-dockerized
Enter the code directory cd mailcow-dockerized and execute the initialization script: ./generate_config.sh. Follow the prompts to set the domain name, timezone, and other information. Note:
- The domain name must match the hostname set above (e.g.,
mail.domain.com). - If you need to modify it later, you can edit the
mailcow.confconfiguration file.
mailcow uses ports 80/443 by default for the web interface. If you already have a web service running on your server, it may cause port conflicts. You can modify the mailcow.conf configuration file to change:
HTTP_PORT=80
HTTPS_PORT=443
To other ports, for example:
HTTP_PORT=880
HTTPS_PORT=8443
Then execute the following commands to pull the container images and start them:
# Pull images
docker-compose pull
# Start containers
docker-compose up -d
Initialize mailcow and Add Domain
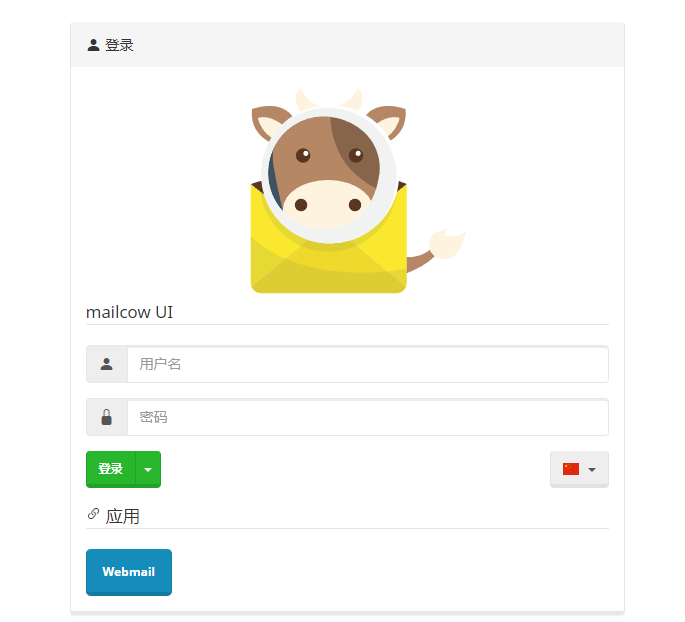
After installation is successful, visit your IP + port to access the web management interface. The default username is admin, and the password is moohoo.
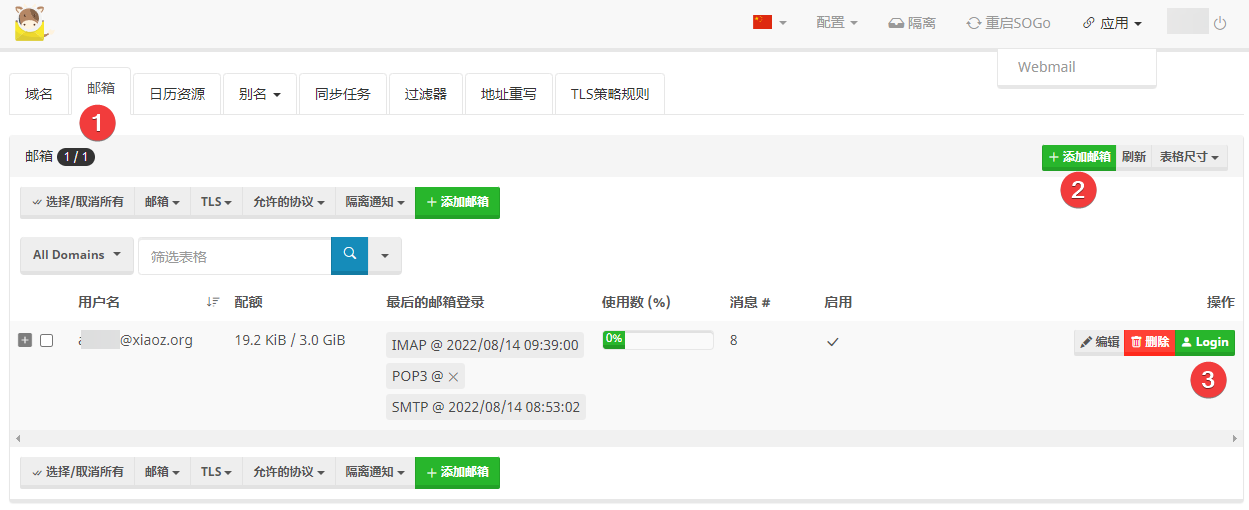
After entering the backend, click "Configuration" > "Mail Settings" > "Add Domain" in the top right corner.
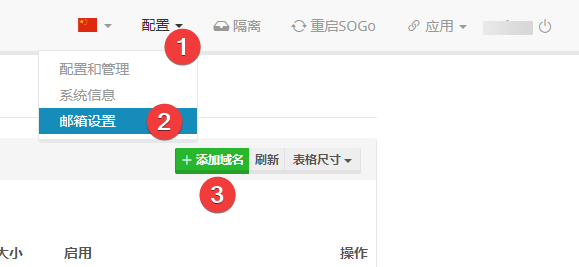
Note: When adding the domain, you need to enter your top-level domain (e.g., domain.com). If your hostname is set to mail.domain.com, enter domain.com here.
Add Email DNS Records
After adding the domain, there is a "DNS" button on the right. Clicking this button will check and guide your domain DNS settings.
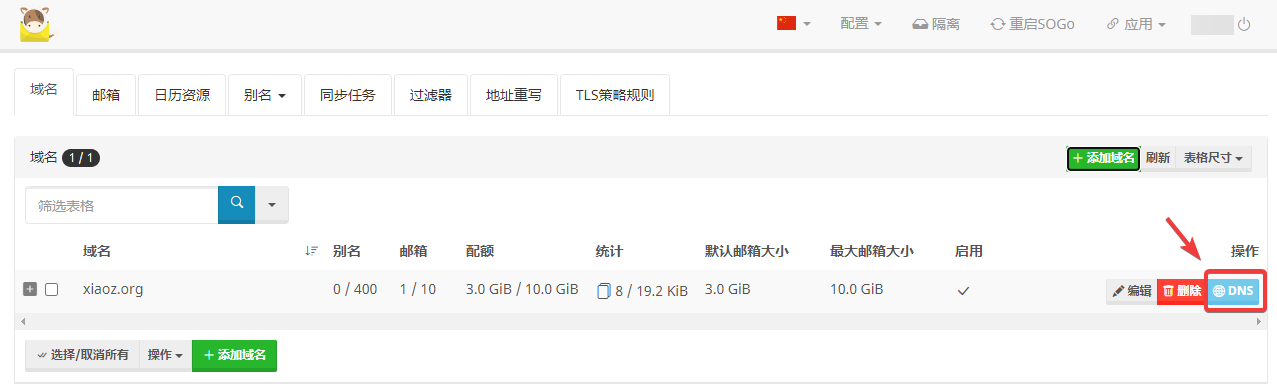
However, the check may not be entirely accurate, and not all records need to be added. Below are the required records:
| Host | Record Type | Record Value | Remarks |
|---|---|---|---|
| mail.domain.com | A | Your IP | Enter your VPS public IP |
| Your IP | PTR | mail.domain.com | May require contacting your provider to add |
| domain.com | MX | mail.domain.com | |
| autodiscover.domain.com | CNAME | mail.domain.com | |
| autoconfig.domain.com | CNAME | mail.domain.com | |
| domain.com | TXT | v=spf1 a mx ip4:173.0.xx.xxx ~all | Replace IP with your own |
| dkim._domainkey.domain.com | TXT | Obtain from mailcow backend | DKIM record obtained from mailcow backend |
Email Testing
After adding the DNS records, wait a few minutes for them to take effect. Then, add an email account in the mailcow backend and log in to the webmail to test sending emails.
Open the website https://www.mail-tester.com/, send an email from your mailcow account, and check the score after sending.
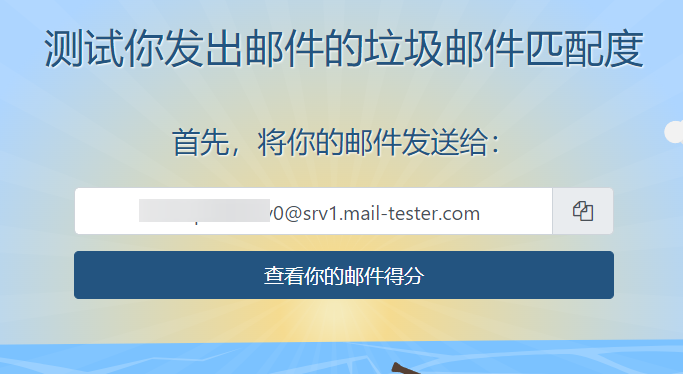
The maximum score is 10. If the score is poor, mail-tester will provide suggestions. Follow the suggestions to make corrections.
Summary
The steps above only cover installation and initialization. There is still much configuration and maintenance work to be done later, such as disabling IPv6, setting up reverse proxies, configuring SSL certificates, and data backup and recovery. Interested readers can refer to the official mailcow documentation. xiaoz will share more content on mailcow configuration in the future.
Building a self-hosted mail server is complex and involves many steps. If details are not handled correctly, emails are likely to end up in spam folders. Unless there are special requirements, it is recommended to use third-party enterprise email services. While self-hosted mail servers are not limited by sending volume, it is not recommended to send large volumes of spam emails in a short period, as your IP or domain may easily get blacklisted, resulting in a loss greater than the gain.
- mailcow Official Website: https://mailcow.email/
If you also need to build a self-hosted mail server, you can contact me via
QQ: 446199062orWeChat: xiaozme.