How to Use Proxifier for Application-Level Proxy: A Step-by-Step Guide
Proxifier is a powerful network tool that allows users to set up dedicated proxy servers for each independent application and supports Windows UWP apps. In this article, the author will demonstrate step-by-step how to use Proxifier to implement application-level proxying. Whether you want to improve network access speed or have specific proxy configuration needs, you will find a solution here.

Use Cases
Have you ever encountered a situation where some programs cannot connect to the network due to mysterious interference, yet these programs do not support proxy settings? In such cases, we often have to rely on global proxying to access the internet, but this affects the normal use of other applications. If there were a tool that allowed specified software to connect to the network through an independent proxy, it would effectively solve this problem. Proxifier is exactly such a tool, capable of achieving precise application-level proxying.
Download Proxifier
Proxifier supports Windows, macOS, and Android. The download link is: https://www.proxifier.com/
Note: Please download from the official website whenever possible. It is not recommended to use cracked or modified versions to avoid potential viruses.
Install Proxifier
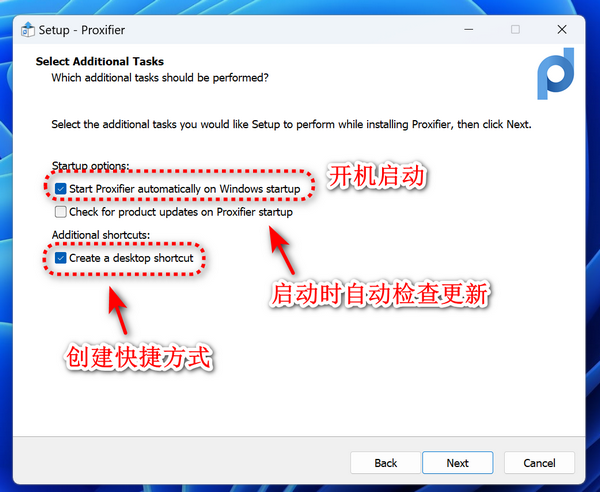
Installing Proxifier is straightforward. Choose whether to set up "Startup on boot" and "Shortcuts" based on your needs.
Proxifier is paid software. After the first installation, you can choose to try the trial version or enter a license key. If possible, it is recommended to purchase the genuine version to support the developers, or find a license key online (not recommended).
Using Proxifier
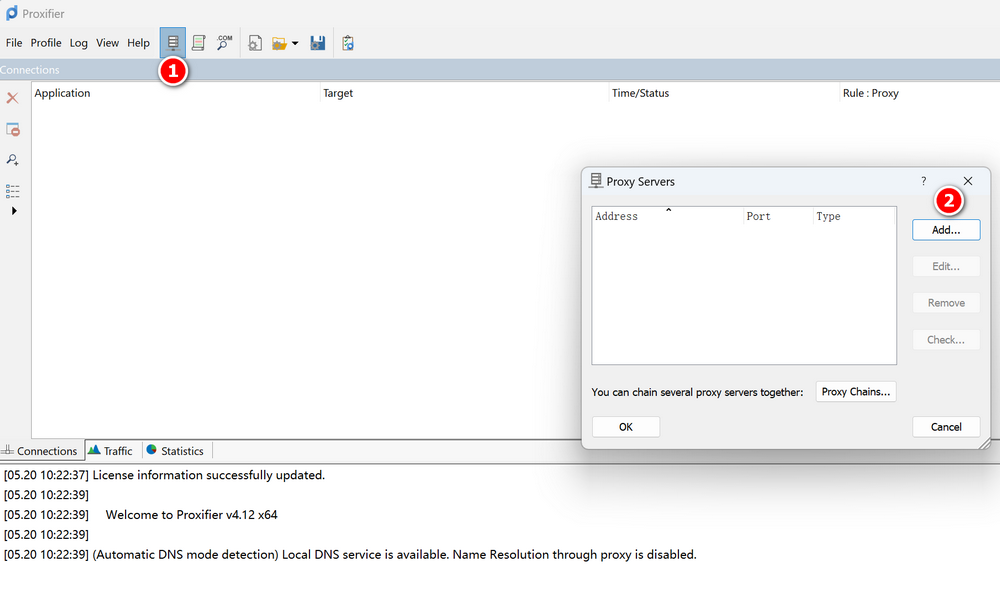
Open the "Server" icon and click the "Add" button to add an HTTPS or SOCKS5 proxy.
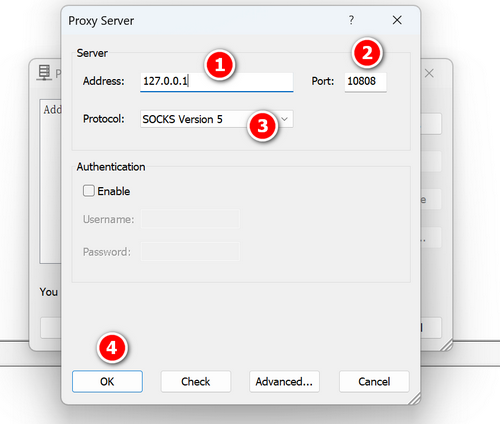
Enter the SOCKS5 proxy information. The following screenshots are for demonstration purposes only; please modify them with your own SOCKS5 IP and port.
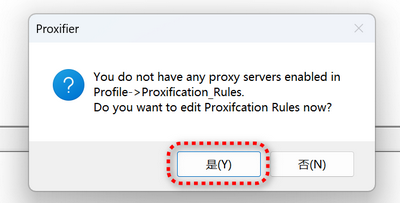
Next, you may see a prompt like the screenshot below. Choose "No". If you choose "Yes", it will route through the global proxy.

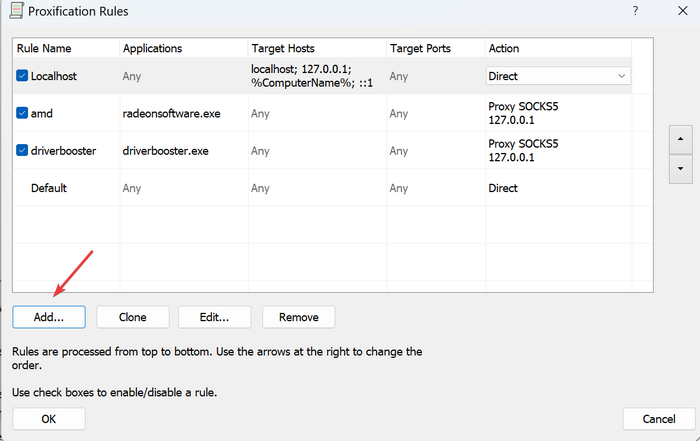
You will be prompted that there are no proxy rules. Choose "Yes" to add them now.
Click the Add button to proceed.
Then, select the applications that need to route through the proxy as shown in the following screenshot.
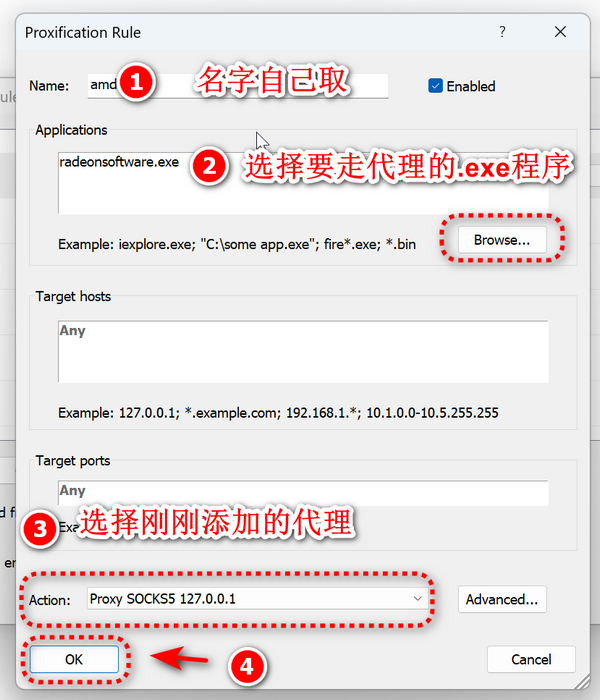
At this point, the setup is complete. You can see in the software's log that the corresponding applications are accessing the network via the proxy.

Other Alternative Software
The author has found some software similar to Proxifier but has not tried them personally. Those interested can research them on their own.
- Win2Socks: https://win2socks.com/zh/
- netch: https://github.com/netchx/netch
Conclusion
Through this tutorial, you can not only configure proxies for specific applications but also ensure that the network performance of other applications remains unaffected. We hope this article helps you better utilize Proxifier to meet your personalized network needs.
Proxifier Official Website: https://www.proxifier.com/