How to Install SNI Proxy on CentOS 7 for HTTPS Reverse Proxying
When discussing reverse proxies, Nginx is often the first solution that comes to mind. However, if you use Nginx to reverse proxy HTTPS sites and need to access them via HTTPS, you must configure an SSL certificate on the Nginx server. SNI Proxy solves this problem, allowing you to access sites via HTTPS without deploying SSL certificates on the reverse proxy server.
For Example
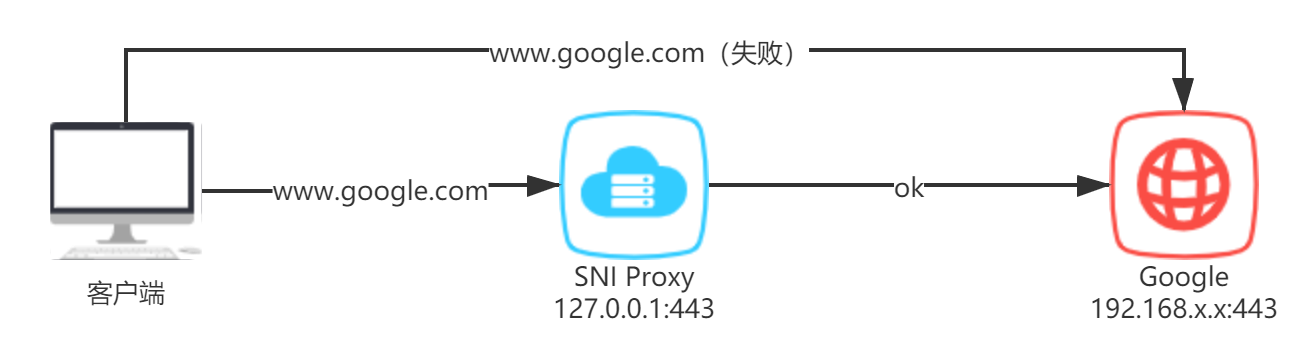
One day, you might want to access https://www.google.com, but due to certain restrictions, you find it impossible to open. You might wonder if there is a way to successfully access https://www.google.com without changing the access domain. SNI Proxy can achieve this.
To make it easier to understand, I have drawn a simple diagram:
Installing SNI Proxy
First, install the required dependencies:
yum -y install gcc gcc-c++ autoconf automake curl gettext-devel libev-devel pcre-devel perl pkgconfig rpm-build udns-devel
Visit https://github.com/dlundquist/sniproxy/releases to download the source code and extract it. Enter the SNI Proxy directory and execute the compilation commands:
./autogen.sh && ./configure && make dist
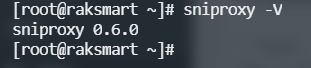
If the installation process completes without errors, you can run the command sniproxy -V to check the version.
Creating Configuration File and Starting
The default configuration file for SNI Proxy is located at /etc/sniproxy.conf. The content can refer to the following:
user daemon

pidfile /tmp/sniproxy.pid

error_log {
    syslog daemon
    priority notice
}

listener 127.0.0.1:443 {
    protocol tls
    table TableName

    # Specify a server to use if the initial client request doesn't contain
    # a hostname
    fallback 192.0.2.5:443
}

table TableName {
    # Match exact request hostnames
    example.com 192.0.2.10:4343
    # If port is not specified the listener port will be used
    example.net [2001:DB8::1:10]
    # Or use regular expression to match
    .*\\.com    [2001:DB8::1:11]:443
    # Combining regular expression and wildcard will resolve the hostname
    # client requested and proxy to it
    .*\\.edu    *:443
}
Finally, enter the command sniproxy to start it. You can input ps -ef|grep 'sniproxy' to check if the process has started. Note: You also need to allow the listening port in the firewall.

Access Testing
You can test whether access is possible by modifying the hosts file to point the domain to the SNI Proxy server.
Conclusion
The advantage of SNI Proxy compared to Nginx reverse proxy is that the configuration is simpler, and there is no need to deploy SSL certificates on the SNI Proxy service. Traffic is simply forwarded to the target server based on the HOST in the HTTP header. Since the scenarios are different, it is not necessarily better than Nginx reverse proxy; it depends on the specific use case.
Additionally, Xiaoz has not tested under high concurrency, so it is unclear whether SNI Proxy can handle high-concurrency tasks. However, SNI Proxy combined with a self-built DNS can be very effective—you know what I mean.
SNI Proxy Project Address: https://github.com/dlundquist/sniproxy