How to Install bitwarden_rs on CentOS 7 for Self-Hosted Password Management
Bitwarden is an open-source password management software similar to KeePass and LastPass. It supports full-platform clients and self-hosted services. This article shares how to set up bitwarden_rs on CentOS 7, rather than the original Bitwarden. We will discuss the differences between the two later. This guide is recommended for users with some Linux experience.
Introduction
I had heard about Bitwarden, an open-source password manager, and its good reputation online, but never tried it. Recently, LastPass frequently failed to connect to its servers, was extremely unstable, and discontinued support for the Chinese version. This finally convinced me to self-host Bitwarden.
Bitwarden vs. bitwarden_rs
The bitwarden_rs project extends Bitwarden. bitwarden_rs implements similar functionality using Rust, and both are open-source. However, Bitwarden requires many dependencies (such as MSSQL) and consumes more memory. For personal or home use, the more lightweight bitwarden_rs is recommended. Additionally, bitwarden_rs allows free use of some advanced Bitwarden features, such as file attachments and TOTP.
Installing bitwarden_rs
The author provides a Docker installation method, so we need to install Docker first (Note: OpenVZ virtualization does not support Docker). The installation steps are as follows:
# Install Docker
yum -y install docker
# Start Docker
systemctl start docker
# Enable auto-start on boot
systemctl enable docker
Next, pull the bitwarden_rs image using Docker and run it:
docker pull bitwardenrs/server:latest
docker run -d --name bitwarden -v /bw-data/:/data/ -p 80:80 bitwardenrs/server:latest
The above command uses port 80. If you have already installed a web server, this may cause a conflict. You can change the mapped port for bitwarden_rs to another port, such as 8880:
docker run -d --name bitwarden -v /bw-data/:/data/ -p 8880:80 bitwardenrs/server:latest
Configuring Reverse Proxy
Below is the Nginx reverse proxy configuration used by xiaoz, mainly to facilitate accessing bitwarden_rs via a domain name. The content is for reference only; please modify it according to your actual situation:
server
    {
    listen 443 ssl http2;
  # certs sent to the client in SERVER HELLO are concatenated in ssl_certificate
    ssl_certificate /data/ssl/youdomain.com.crt;
    ssl_certificate_key /data/ssl/youdomain.com.key;
    ssl_session_timeout 1d;
    ssl_session_cache shared:SSL:50m;
    ssl_session_tickets off;


    # intermediate configuration. tweak to your needs.
    ssl_protocols TLSv1 TLSv1.1 TLSv1.2;
    ssl_ciphers 'ECDHE-ECDSA-CHACHA20-POLY1305:ECDHE-RSA-CHACHA20-POLY1305:ECDHE-ECDSA-AES128-GCM-SHA256:ECDHE-RSA-AES128-GCM-SHA256:ECDHE-ECDSA-AES256-GCM-SHA384:ECDHE-RSA-AES256-GCM-SHA384:DHE-RSA-AES128-GCM-SHA256:DHE-RSA-AES256-GCM-SHA384:ECDHE-ECDSA-AES128-SHA256:ECDHE-RSA-AES128-SHA256:ECDHE-ECDSA-AES128-SHA:ECDHE-RSA-AES256-SHA384:ECDHE-RSA-AES128-SHA:ECDHE-ECDSA-AES256-SHA384:ECDHE-ECDSA-AES256-SHA:ECDHE-RSA-AES256-SHA:DHE-RSA-AES128-SHA256:DHE-RSA-AES128-SHA:DHE-RSA-AES256-SHA256:DHE-RSA-AES256-SHA:ECDHE-ECDSA-DES-CBC3-SHA:ECDHE-RSA-DES-CBC3-SHA:EDH-RSA-DES-CBC3-SHA:AES128-GCM-SHA256:AES256-GCM-SHA384:AES128-SHA256:AES256-SHA256:AES128-SHA:AES256-SHA:DES-CBC3-SHA:!DSS';
    ssl_prefer_server_ciphers on;

    # HSTS (ngx_http_headers_module is required) (15768000 seconds = 6 months)
    add_header Strict-Transport-Security max-age=15768000;

    # OCSP Stapling ---
    # fetch OCSP records from URL in ssl_certificate and cache them
    ssl_stapling on;
    ssl_stapling_verify on;

    server_name     youdomain.com;
   client_max_body_size 128M;
    location / {
        proxy_set_header  Host  'youdomain.com';
        proxy_pass http://127.0.0.1:8880;
        proxy_redirect off;
        proxy_set_header X-Real-IP $remote_addr;
        proxy_set_header X-Forwarded-For $proxy_add_x_forwarded_for;
}
location /notifications/hub {
    proxy_pass http://127.0.0.1:3012;
    proxy_set_header Upgrade $http_upgrade;
    proxy_set_header Connection "upgrade";
  }

  location /notifications/hub/negotiate {
    proxy_pass http://127.0.0.1:8880;
  }

}
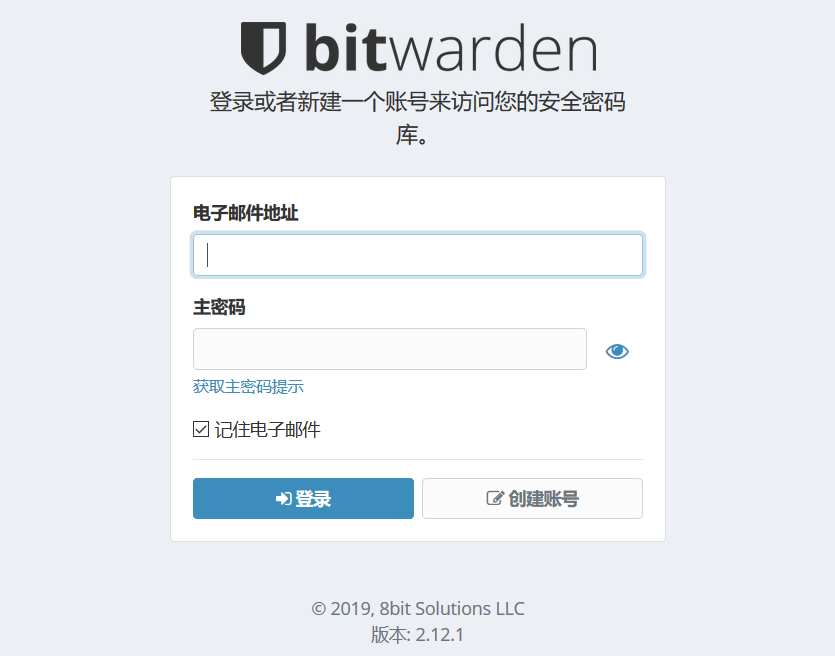
If everything goes as expected, visiting your domain https://youdomain.com will display the Bitwarden interface.
Common Issues Encountered
Unable to log in with Google Chrome?
Some web browsers (such as Chrome) do not allow the use of the Web Crypto API in insecure contexts. In this case, you might receive an error like Cannot read property 'importKey'. The solution is to configure HTTPS access.
SMTP configuration referenced from bitwarden_rs, but email sending failed?
xiaoz used SMTP SSL to send emails but was unsuccessful. The solution is to disable TLS: SMTP_EXPLICIT_TLS=true
Summary
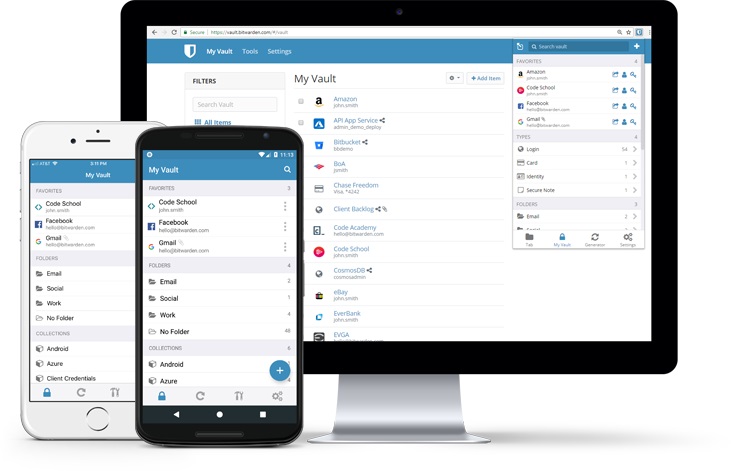
bitwarden_rs makes it easy to implement self-hosted password management. Bitwarden offers full-platform clients, making it very convenient to use. Compared to KeePass, Bitwarden has a better UI and a more convenient management method. Compared to LastPass, Bitwarden is open-source and can be fully self-hosted, allowing you to no longer endure LastPass's poor network performance.
If you do not want to self-host, Bitwarden also provides online services: https://vault.bitwarden.com/#/, where you can directly register an account and use it.
- bitwarden_rs project address: https://github.com/dani-garcia/bitwarden_rs
- Part of this article references: bitwarden_rs documentation
- Bitwarden official address: https://bitwarden.com/