How to Set Up AdGuard Home for an Ad-Free and Tracking-Free Public DNS
AdGuard Home is a comprehensive ad-blocking and anti-tracking software. Once installed, it protects all your home devices without requiring any client-side software. With the rise of IoT and connected devices, taking control of your entire network environment has become increasingly important.

Simply put, AdGuard Home is a public DNS service, similar to Google's public DNS 8.8.8.8. Like DNSmasq, AdGuard Home is open-source and can be self-deployed and configured on client devices. Previously, I shared a project called PHPDNS, which developed a web interface based on DNSmasq. However, that project is no longer maintained. Here, I recommend the more powerful AdGuard Home.
AdGuard Home is developed in Golang and provides pre-compiled binary files for various platforms, making installation very simple. This guide uses CentOS 7 as an example; other systems can refer to the official documentation.
Main Features of AdGuard Home
- Blocks ads everywhere
- Focuses on privacy protection
- Home protection mode
- Custom filtering
Installation on CentOS 7 X64
AdGuard Home binary files are available at https://github.com/AdguardTeam/AdGuardHome/releases. Download the latest version suitable for your platform. The installation method for CentOS 7 is as follows:
# Download AdGuard Home
wget http://soft.xiaoz.org/linux/AdGuardHome_v0.93_linux_amd64.tar.gz
# Extract the archive
tar -zxvf AdGuardHome_v0.93_linux_amd64.tar.gz
# Enter the AdGuardHome directory
cd AdGuardHome
# Allow port 3000 (required for AdGuard Home initialization)
# Allow port 3000 via firewalld
firewall-cmd --zone=public --add-port=3000/tcp --permanent
firewall-cmd --reload
# Allow port 3000 via iptables
iptables -A INPUT -p tcp --dport 3000 -j ACCEPT
service iptables save
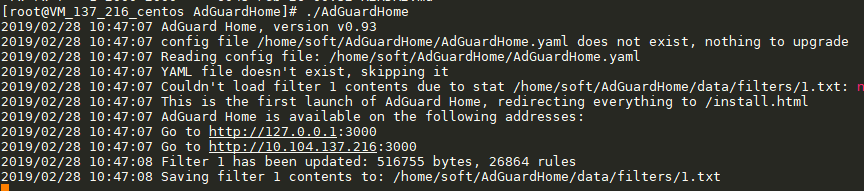
# Start AdGuard Home
./AdGuardHome
After running AdGuard Home, you will be prompted to open http://IP:3000 in your browser for initialization, as shown in the screenshot below.
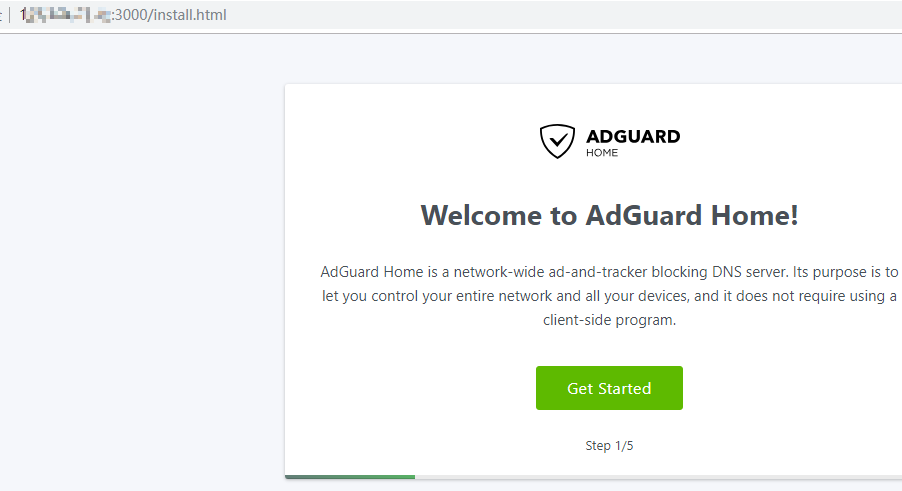
Open http://IP:3000 in your browser and follow the prompts to proceed. During the first initialization, you will be required to set a username and password (please remember them, as they are needed for future logins).
Basic Settings for AdGuard Home
Setting Chinese Language
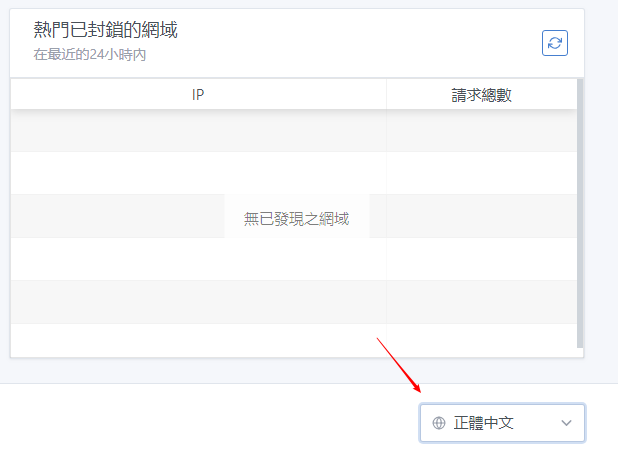
Enter the AdGuard Home backend, go to the bottom right of the webpage, and select Traditional Chinese. Note that it appears to be machine-translated and may not be entirely accurate, but it is usable.
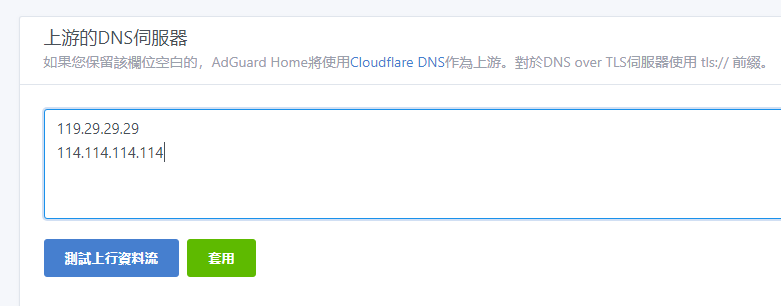
Setting Upstream DNS
AdGuard Home defaults to using Cloudflare DNS as the upstream server. If your server is located in China, the latency for upstream DNS requests may be high. You can change this in the backend under Settings to use a domestic DNS, such as Tencent's 119.29.29.29. However, note that this option does not support DNS over TLS.
Filters
In the backend under Filters, you can see that AdGuard Home includes some built-in ad-blocking rules. However, these may not work perfectly in China. To achieve better ad-blocking, you may need to add custom rules.
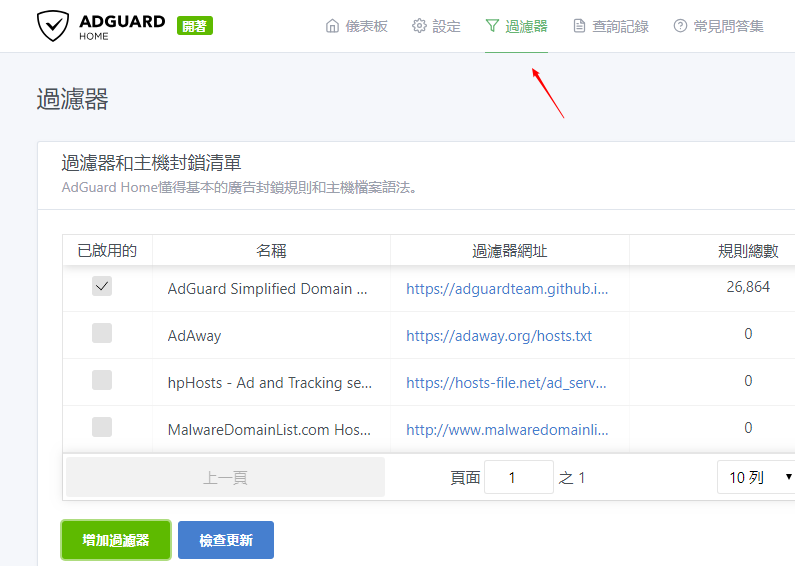
Below are explanations of some filter rules. More rules can be viewed in the AdGuard Home backend or in the official documentation.
||example.org^- Blocks the example.org domain and all its subdomains.@@||example.org^- Whitelists the example.org domain and all its subdomains.127.0.0.1 example.org- Redirects the example.org host to 127.0.0.1 (does not include subdomains).!- Comment symbol.#- Also a comment symbol./REGEX/- Regular expression pattern.
Additional Settings
For easier management, you can install AdGuard Home as a service by running the command ./AdGuardHome -s install. Afterward, you can use the following commands for management:
# Start
systemctl start AdGuardHome
# Enable auto-start on boot
systemctl enable AdGuardHome
# Restart
systemctl restart AdGuardHome
# Stop
systemctl stop AdGuardHome
DNS communication defaults to port 53 (TCP/UDP), so do not forget to allow this port; otherwise, DNS will not function properly.
# Allow port 53 via firewalld
firewall-cmd --zone=public --add-port=53/tcp --permanent
firewall-cmd --zone=public --add-port=53/udp --permanent
firewall-cmd --reload
# Allow port 53 via iptables
iptables -A INPUT -p tcp --dport 53 -j ACCEPT
iptables -A INPUT -p udp --dport 53 -j ACCEPT
service iptables save
Summary
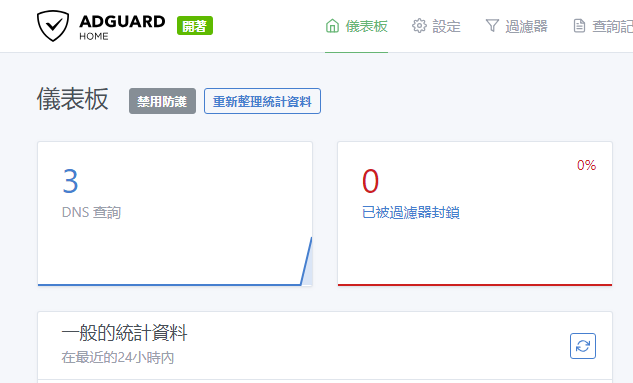
AdGuard Home supports macOS, Windows, Linux, Raspberry Pi, and other systems. It offers both binary and Docker installation methods, making it simple to set up. Additionally, AdGuard Home provides an intuitive statistics system for easy usage. If you plan to build your own public DNS, AdGuard Home is definitely worth trying.
Other Resources
- AdGuard Official Website: https://adguard.com/
- AdGuard Home Project Repository: https://github.com/AdguardTeam/AdGuardHome