How to Mount Tencent Cloud CFS File System to CVM
CFS is an scalable shared file storage service that can be mounted to Tencent Cloud Virtual Machines (CVM) via the internal network. Currently, it offers 10GB of free storage, which is suitable for website backups.
Enable CFS
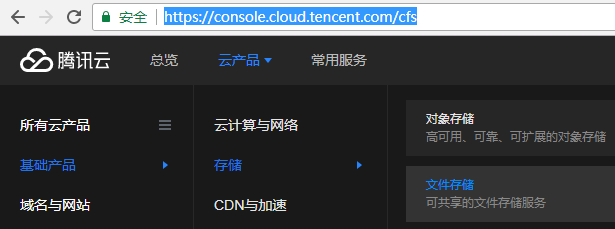
Log in to the Tencent Cloud console, navigate to Basic Cloud Products > File Storage to create a file system, or directly visit https://console.cloud.tencent.com/cfs.
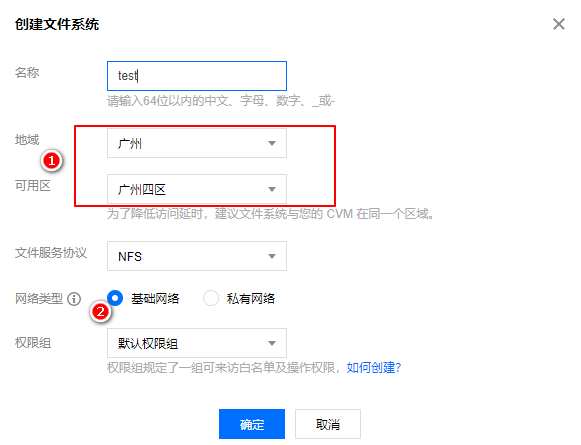
Create a new file system. Select the region/availability zone matching your Tencent Cloud CVM. If you are unsure about the network type, choose Basic Network, as shown in the screenshot below.
Mount CFS on CentOS 7
# Install NFS client
sudo yum -y install nfs-utils
# Create mount directory
mkdir -p /home/backup
# Mount CFS
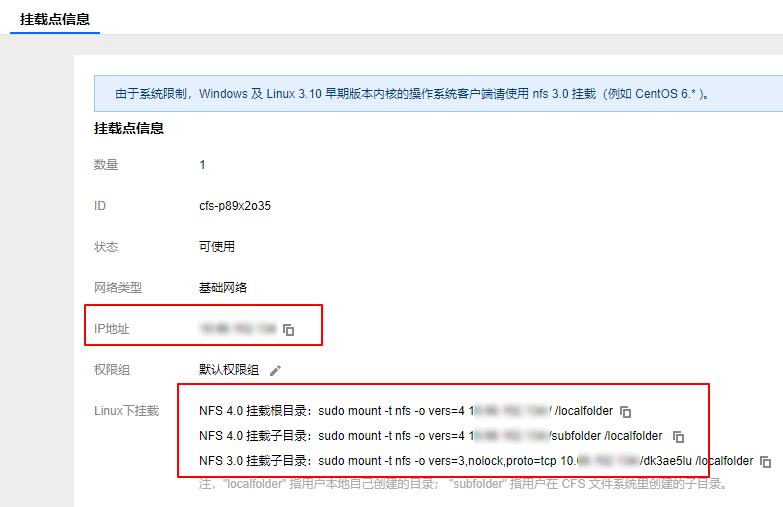
sudo mount -t nfs -o vers=4 <Mount_Point_IP>:/ <Target_Directory>
# For automatic mounting on boot
echo "<Mount_Point_IP>:/ <Target_Directory> nfs defaults 1 1" >> /etc/fstab
The Mount Point IP can be viewed under File Storage > Mount Point Information. The official console generates the default mount command; you only need to modify it slightly. If you are using a different operating system, refer to the official documentation for mounting instructions.
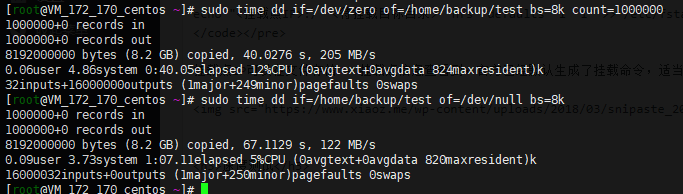
Speed Test
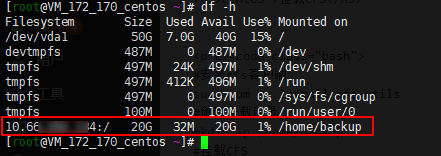
Use the df -h command to verify the mounted CFS.
Use the dd command for testing. The write speed reached 205 MB/s and the read speed reached 122 MB/s. This performance feels more impressive than the server's internal hard drive, possibly because the user base is still small.
Summary
CFS is currently in the testing phase. If you have already purchased a Tencent Cloud CVM, you can mount CFS to back up website data. However, it is not recommended to store important files in COS due to potential risks. For more information, you may refer to the article Using COS-Fuse to Mount COS to Tencent Cloud CVM.
Related Recommendations:
- Mounting Alibaba Cloud OSS to ECS using OSSFS on CentOS 6
- Installing CurlFtpFS to Mount FTP on Linux
This article references: Creating File Systems and Mount Points