How to Create a Windows Server Virtual Machine on Azure
Windows Azure, Microsoft's cloud computing platform, has officially launched in the Chinese market through 21Vianet. Microsoft offers generous free trials lasting several months; some users report their trial accounts from last year are still active. Recently, a new batch of trial applications was opened (though it ended quickly). Fortunately, I successfully applied again and would like to share how to create a Windows Server host using Windows Azure.
1. Access the Portal
Click the portal link in the top-right corner of the homepage to log in to the backend. You will see the interface shown in Figure 1-1.
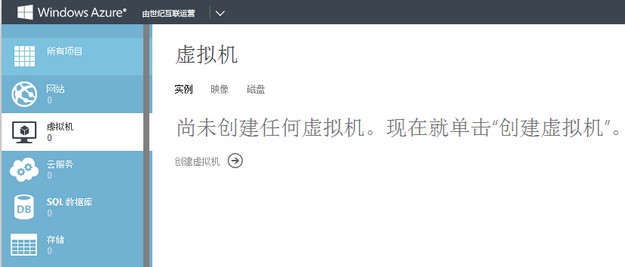 Figure 1-1: Windows Azure
2. Create a Virtual Machine
Hover over the Virtual Machines option on the left sidebar. A prompt indicating no virtual machines have been created will appear (Figure 1-1). Click the "Create Virtual Machine" button to see the creation options: Compute >> Virtual Machines >> Quick Create.
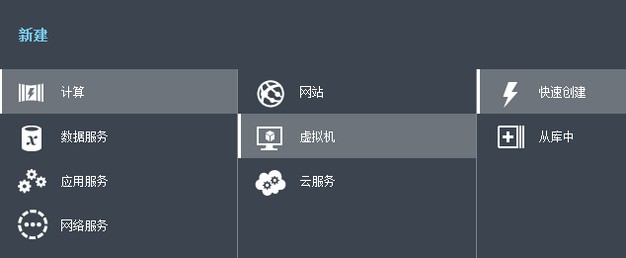 Figure 2-1: Create Virtual Machine
Although this is a quick creation, you still need to fill in some necessary information:
- DNS Name: 3-15 characters.
- Image: Select from the dropdown menu. For this guide, we are creating a Windows Server virtual machine, so I selected Windows Server 2008 R2 SP1 (zh-cn).
- Size: I selected A2 (Dual-core, 3.5GB RAM). This step is equivalent to choosing the operating system and configuration; you can select based on your needs.
- Username and Password: Enter as required.
- Region: Options include China North and China East. I selected China East.
Click "Create Virtual Machine." For detailed settings, refer to Figure 2-2.
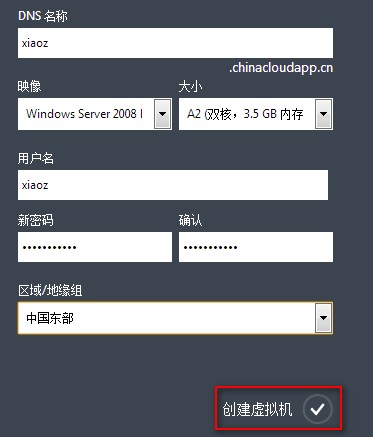 Figure 2-2: Windows Azure Configuration Information
3. Wait for Creation
Creation may take a few minutes, so you can take a break. Once completed, you will see the interface in Figure 3-1. Click the button for the virtual machine you just created.
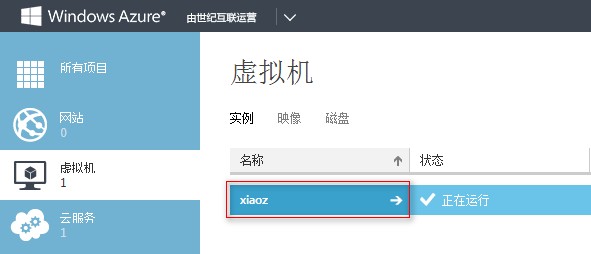 Figure 3-1: Windows Azure Virtual Machine
4. Access the Dashboard
Click on the Dashboard.
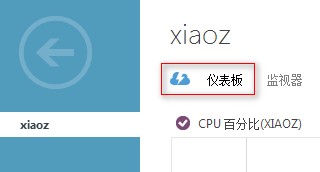 Figure 4-1: Windows Azure Dashboard
5. Copy the Endpoint
Scroll down on the dashboard page. On the right side, you will see endpoint information. Copy the second endpoint (the second one is for Windows remote connection).
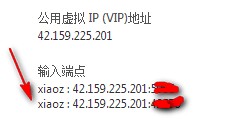 Figure 5-1: Windows Azure Endpoint
6. Connect via Remote Desktop
Click your computer's Start Menu >> All Programs >> Accessories >> Remote Desktop Connection. Enable Remote Desktop Connection and paste the endpoint you obtained earlier. The format is IP + Port, as shown in Figure 6-1.
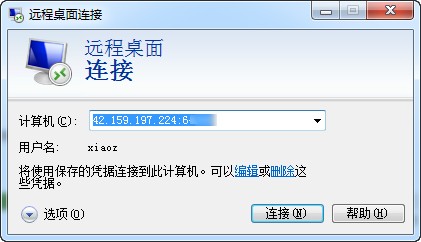 Figure 6-1: Remote Desktop Connection
7. Complete the Connection
Click the Connect button. If prompted, select Yes. You will then be asked to enter the username and password, which were created in Step 2 (refer to Figure 2-2). Finally, the connection will be successful.
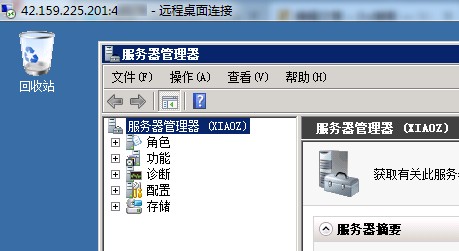 Figure 7-1: Remote Desktop
With just a few simple steps, you can easily create a virtual machine. If you have any questions, feel free to leave a comment below, and I will do my best to answer.