Three Methods to Install WordPress Plugins
This tutorial is aimed at beginners who are new to WordPress and unsure how to install plugins and themes. It is very simple, and there are several installation methods available that you can choose from based on your situation.
Method 1: Online Installation
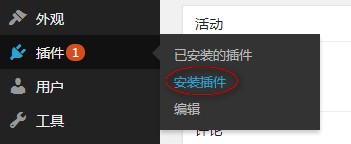
Go to the Plugins section in the backend and click "Add New".
You will see a search box and popular tags below. If you know the name of a plugin, you can enter keywords directly to search. For example, searching for "qiniu" will show many results.
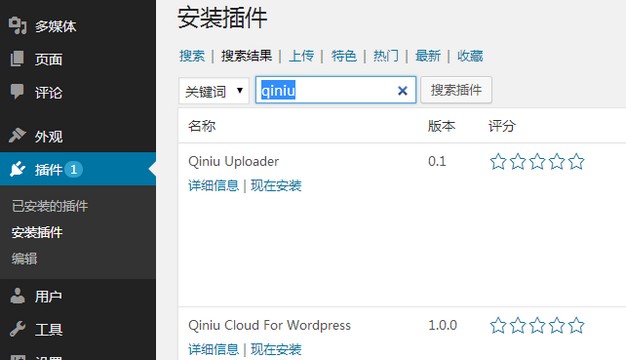
Find the plugin you need and click "Install Now". You will see a success message.
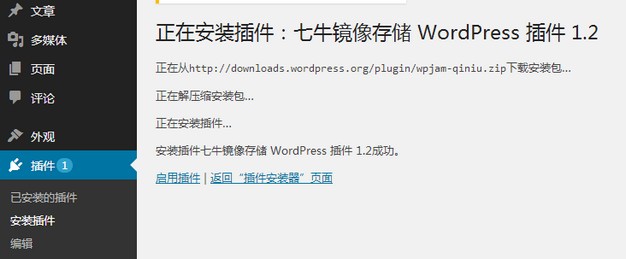
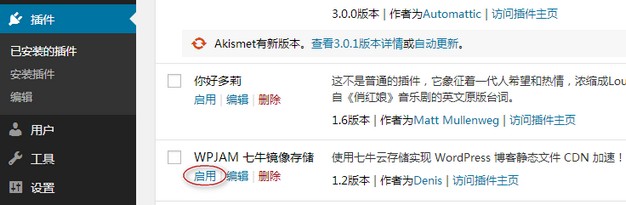
Finally, go to Plugins > Installed Plugins in the backend, find the plugin you just installed, and click "Activate" to use it.
Method 2: Upload Installation
If a plugin is not available in the official WordPress repository, you won't be able to search for it in the backend. In this case, you need to manually download the plugin and then upload it for installation. Go to Plugins > Add New > Upload Plugin to see the interface.

Download the desired plugin from a third-party source to your local machine. The standard plugin package is in zip format. Select the file path and click "Install Now".
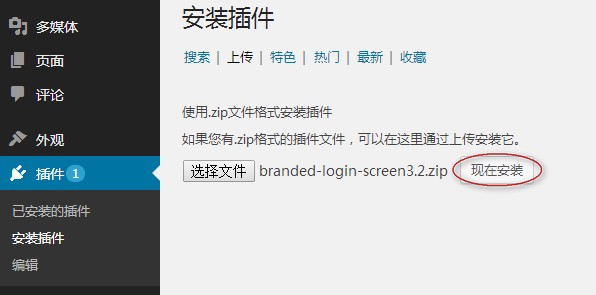
If the plugin meets the specifications and your host supports it, you will see a success message. Then, go to Plugins > Installed Plugins and click "Activate".
Method 3: Manual Installation
For manual installation, you need to know that the WordPress plugin directory is located at /wp-content/plugins in the website's root directory. Simply place the zip plugin file in this folder and extract it.
I downloaded a plugin named duoshuo.zip and used an FTP tool (such as FlashFXP) to upload it to the /wp-content/plugins directory.
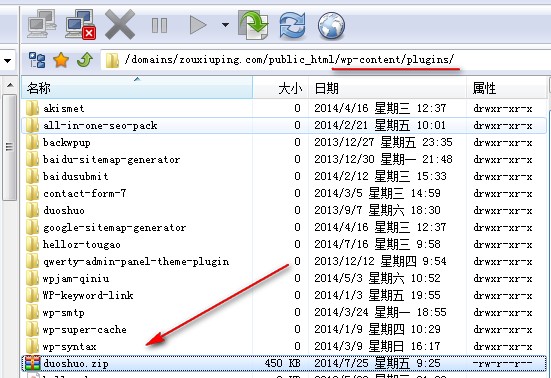
Log in to your virtual host control panel, use the file manager to locate the plugin, and click "Extract" to complete the installation. You can then find it under Plugins > Installed Plugins in the backend.
