How to Manually Backup and Restore Data Using DirectAdmin Panel
Virtual hosting typically uses either the cPanel (CP) or DirectAdmin (DA) control panel. Xiao Z Blog uses Hengchuang Host, which features the DA panel. This guide shares how to manually backup your site using the DA panel.
My blog runs on WordPress. I previously tried various backup plugins but was unsatisfied. Later, I discovered that DA includes a powerful built-in backup feature that allows for a complete backup with just a single click, making it very simple and convenient.
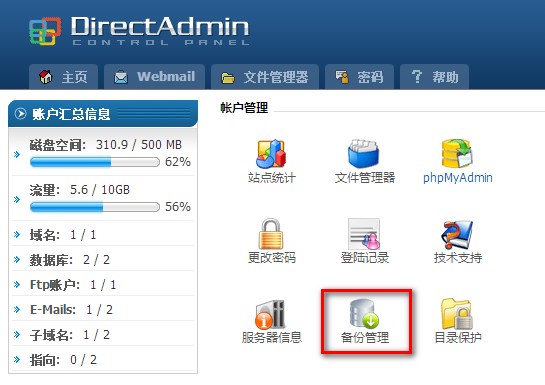
1. Log in to the DirectAdmin Panel
First, log in to the DirectAdmin panel backend. You will see a button for backup management.
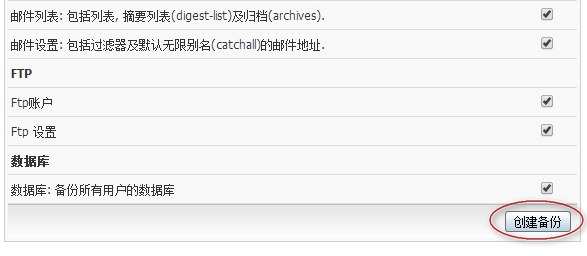
2. Create a Backup
Click the button and select the options you need to backup based on your requirements. Then, click Create Backup.
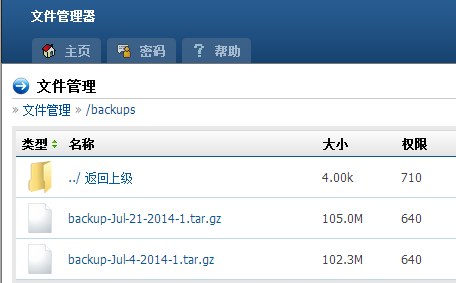
3. Verify the Backup
After creation, you will typically receive an email notification a few minutes later confirming the backup was successful. You can then use the File Manager to view the backup files in the /backups directory.
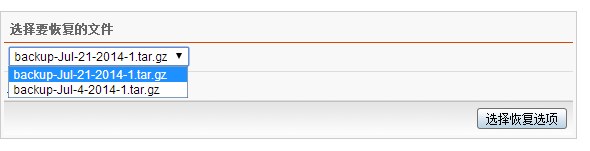
4. Restore Website Data
To restore your website data, click the backup button again, select the file you wish to restore, and proceed.
Manual backup may not be as convenient as automatic backups, but it ensures a complete dataset. Additionally, DA automatically packages the backup files. The safest security measure is to develop the habit of regularly backing up your website data; otherwise, you may regret not having a backup if the site goes down. Therefore, Xiao Z recommends backing up your data weekly. For added security, you can also use FTP tools to download the backups to your local storage.