Connecting Alpine to WireGuard Server for Remote Network Access
Following the previous article Installing Alpine System on iKuai Virtual Machine, we have successfully installed the Alpine system on the iKuai virtual machine. The next step is to use Alpine as a client to connect to the WireGuard server in the office and establish an internal network connection.
Network Situation
- Office Network Segment:
192.168.6.x - Home Network Segment:
192.168.50.x - Office Network Status: Has a public IP
Install WireGuard Server
A WireGuard server was installed on any virtual machine in the office. For reference, see: Installing WireGuard with Docker and Client Usage for Easy Home Access.
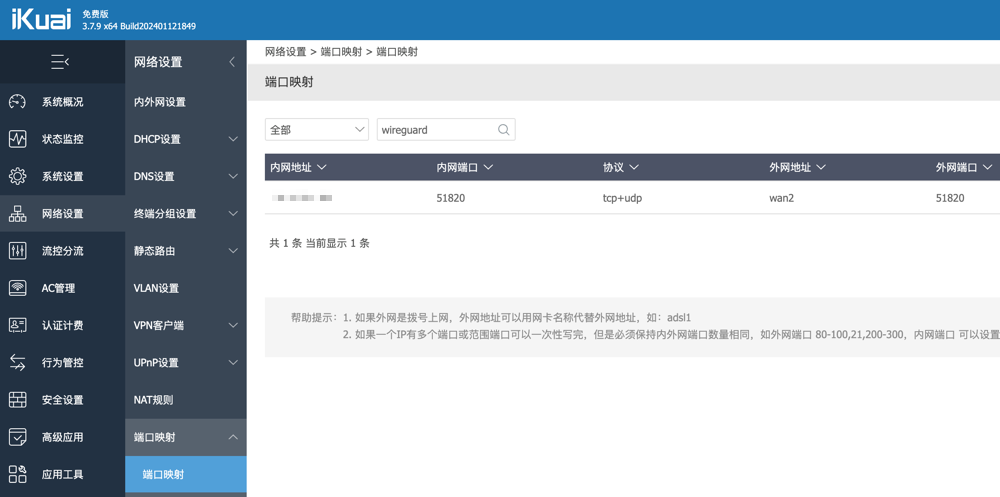
After the server installation is complete, configure port forwarding on the iKuai soft router in the office. WireGuard uses port 51820 with the TCP + UDP protocol.
Connect Alpine to WireGuard Server
Alpine needs to install the WireGuard client first. Use the following commands:
# Update packages
apk update
# Install wireguard client
apk add wireguard-tools
Then edit the /etc/wireguard/wg0.conf file, copy the configuration content from the WireGuard server into this file, save it, and run the command wg-quick up wg0 to start the WireGuard connection.
During this process, an error occurred: /usr/bin/wg-quick: line 32: iptables-restore: command not found. This is because iptables is not installed. Run the following command to install it:
# Install iptables
apk add iptables
After installation, restart the connection: wg-quick up wg0.
To reduce future operations, configure WireGuard to connect automatically on boot. Edit the file /etc/init.d/wireguard and write the following content:
#!/sbin/openrc-run

name="WireGuard VPN"
description="Starts WireGuard VPN connection"

depend() {
    need net
    after firewall
}

start() {
    ebegin "Starting WireGuard"
    /usr/bin/wg-quick up wg0
    eend $?
}

stop() {
    ebegin "Stopping WireGuard"
    /usr/bin/wg-quick down wg0
    eend $?
}
Then execute:
# Add execute permission
chmod +x /etc/init.d/wireguard
# Set boot startup
rc-update add wireguard default
There is still more to do. We need to enable forwarding on Alpine, otherwise packets cannot be forwarded, and subsequent communication will fail. Use the following commands to enable Alpine IP forwarding:
# Modify kernel parameters
echo "net.ipv4.ip_forward = 1" >> /etc/sysctl.conf
# Save and apply parameters
sysctl -p
You also need to set up NAT on Alpine; otherwise, the office network might not return traffic. Create /etc/local.d/nat.start and write the following content:
#!/bin/sh
iptables -t nat -A POSTROUTING -o wg0 -j MASQUERADE
Then execute:
chmod +x /etc/local.d/nat.start
rc-update add local default
service local start
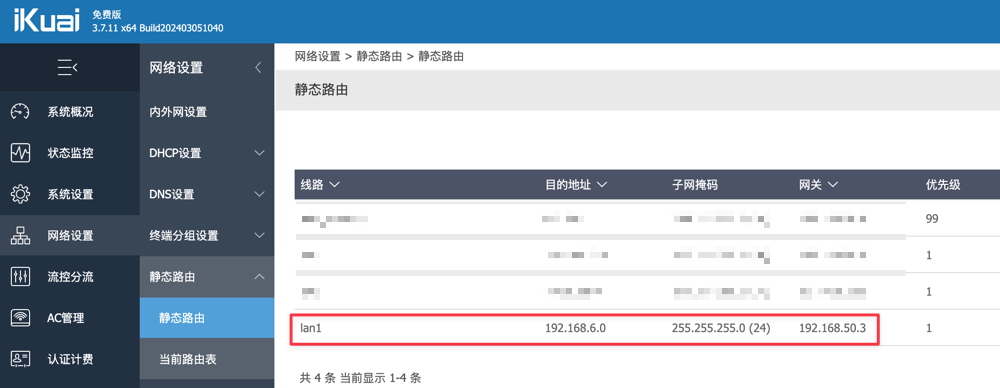
Set Static Routes
Add a static route in the home iKuai router backend so that when accessing the office network (192.168.6.x), traffic is routed through the Alpine client (192.168.50.3).
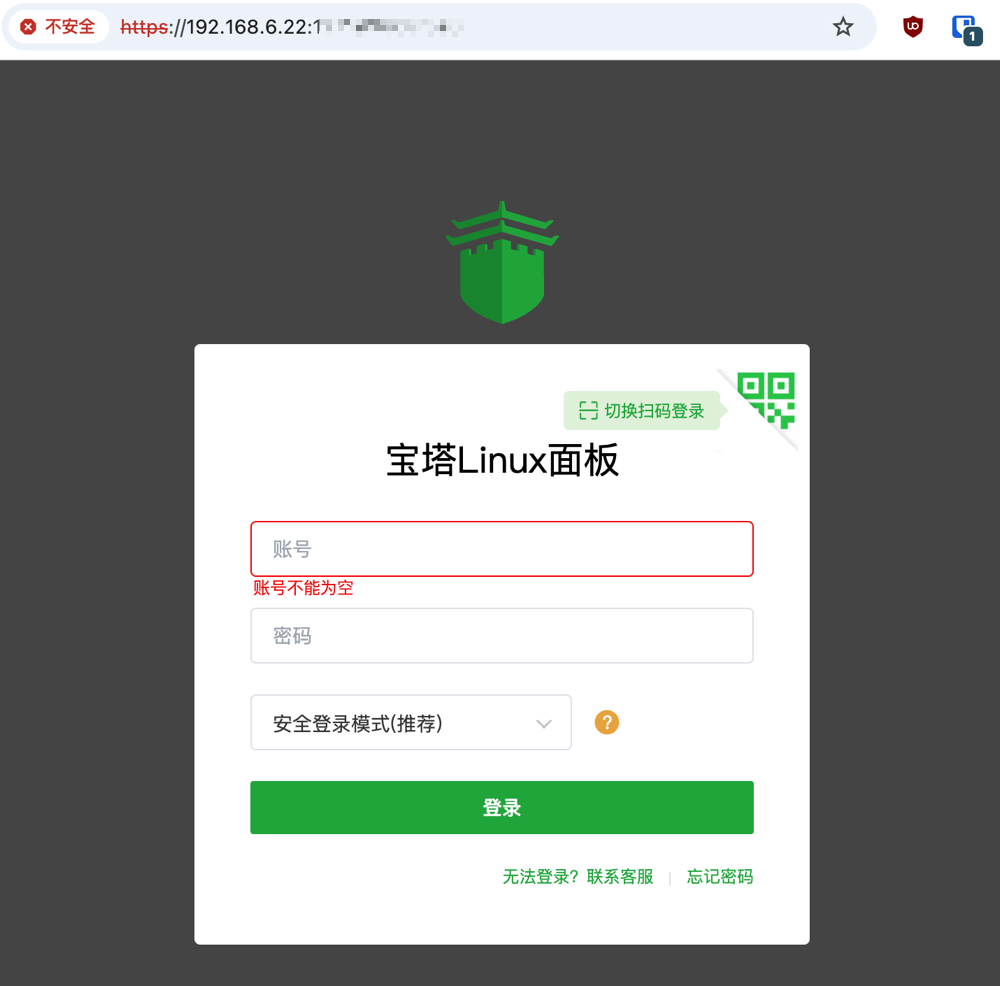
Access Test
Finally, all network devices at home (192.168.50.x) can access the office network (192.168.6.x) via WireGuard. At this point, the home network and office network are successfully connected, although it is currently one-way (Home > Office). The reverse direction (Office > Home) is not currently needed and will be explored later if required.
Conclusion
In summary, we have successfully used WireGuard to achieve interconnectivity between the home and office networks. However, the entire process involves multiple networking concepts such as WireGuard server setup, port forwarding, Alpine configuration, NAT rule setting, and static routing, making the operation relatively complex.
If you are not familiar with Linux or network configuration, you may encounter many issues. It is recommended to understand the relevant concepts first or ask an experienced friend for assistance. Since this involves critical configurations like firewalls and port forwarding, incorrect operations may affect the network or bring security risks. Therefore, this operation is quite professional and not suitable for beginners to attempt directly.