How to Self-Host a Clean and Beautiful Website Analytics Tool with Umami
On May 10, 2022, U-Web (CNZZ/Umeng) closed its services for all unpaid accounts. For details, refer to the announcement regarding Umeng+ U-Web statistical analysis product adjustments. There are many alternative products available, such as Baidu Statistics and 51.la in China, or Google Analytics abroad. If you are unsatisfied with these, you can also self-host a website statistics tool like Umami, Plausible, or Matomo. Today, let's discuss the self-hosted option: Umami.

About Umami
The official website introduces it as follows:
Umami is a simple, easy-to-use, self-hosted web analytics solution. The goal is to provide you with a more user-friendly, privacy-focused alternative to Google Analytics, as well as a free, open-source alternative to paid solutions. Umami only collects the metrics you care about, and everything is displayed on a single page.
Deploying Umami with Docker
Prerequisites:
- Docker must be installed: Linux Docker Installation and Common Commands
- MySQL or PostgreSQL database support is required
My Scenario:
Since everyone's environment may differ, this article may not suit everyone but can serve as a reference. I have already installed MySQL on the server, so when deploying with Docker, I did not install an additional MySQL service but directly utilized the existing MySQL.
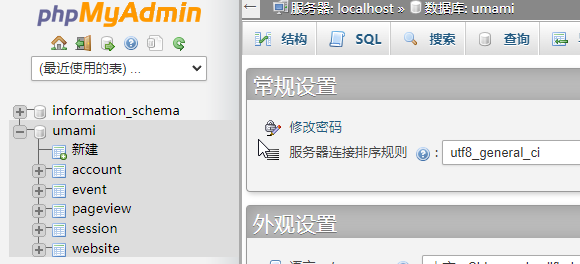
Importing the Database:
- You need to create a MySQL database for Umami to use.
- Then, download the official initial data and import it into the database. The download link for the initial SQL is: https://raw.githubusercontent.com/mikecao/umami/master/sql/schema.mysql.sql
I have already created a database named umami and imported the initial data schema.mysql.sql.
Deploying Umami with docker-compose:
If you haven't installed docker-compose yet, please refer to the official documentation to install it: https://docs.docker.com/compose/install/
Using docker-compose for deployment is convenient for future maintenance and management. You need to create a new docker-compose.yaml file with the following content:
---
version: '3'
services:
  umami:
    image: ghcr.io/mikecao/umami:mysql-latest
    ports:
      - "3000:3000"
    environment:
      DATABASE_URL: mysql://username:password@127.0.0.1:3306/umami
      DATABASE_TYPE: mysql
      HASH_SALT: replace-me-with-a-random-string
    restart: always
    network_mode: "host"
Parameter meanings (please modify according to your situation):
username: MySQL usernamepassword: MySQL password127.0.0.1:3306: MySQL connection address and portumami: MySQL database name
I used the HOST network (network_mode: "host") because my MySQL is built on the host machine; without specifying the HOST network, Docker cannot communicate with it.
Next, use the command docker-compose up -d to start it.
Accessing Umami
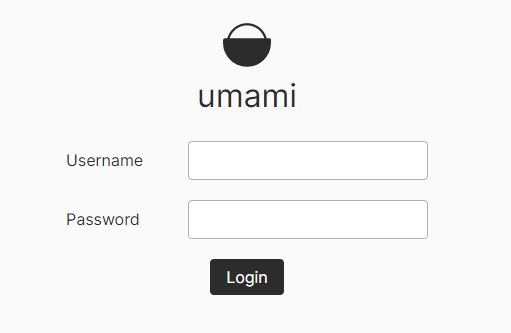
After deployment, Umami uses port 3000 by default. Enter http://IP:3000 to access it. The default username is admin, and the password is umami.
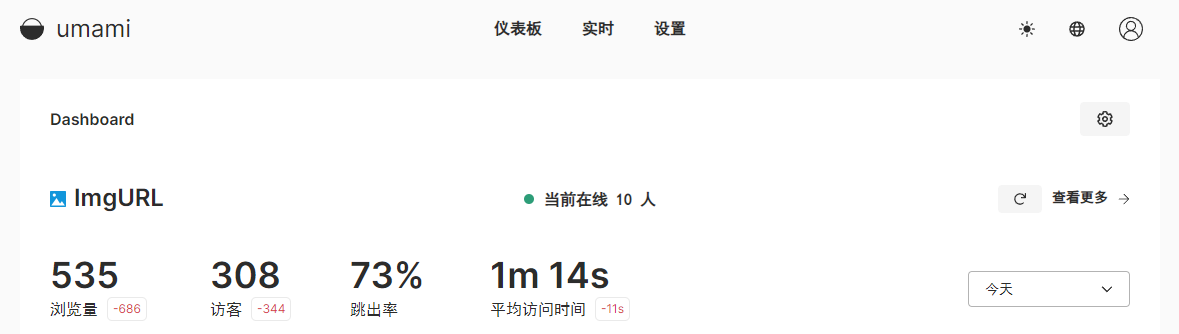
The interface is in English by default. After logging in, click the "globe" icon in the top right corner to switch to Chinese.

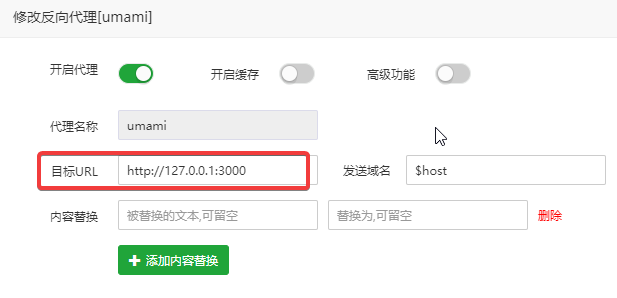
Nginx Reverse Proxy
Accessing via IP + port is only suitable for temporary testing and is not ideal for production. We can use Nginx reverse proxy to enable domain access.
Below is a reference Nginx reverse proxy configuration. Please modify it according to your actual situation:
server
{
    listen 80;
    listen 443 ssl http2;
    server_name domain.com;
    index index.php index.html index.htm default.php default.htm default.html;

    #SSL-START SSL related configuration, do not delete or modify the 404 rule below
    #error_page 404/404.html;
    #HTTP_TO_HTTPS_START
    if ($server_port !~ 443){
        rewrite ^(/.*)$ https://$host$1 permanent;
    }
    #HTTP_TO_HTTPS_END
    ssl_certificate    /www/server/panel/vhost/cert/domain.com/fullchain.pem;
    ssl_certificate_key    /www/server/panel/vhost/cert/domain.com/privkey.pem;
    ssl_protocols TLSv1.1 TLSv1.2 TLSv1.3;
    ssl_ciphers EECDH+CHACHA20:EECDH+CHACHA20-draft:EECDH+AES128:RSA+AES128:EECDH+AES256:RSA+AES256:EECDH+3DES:RSA+3DES:!MD5;
    ssl_prefer_server_ciphers on;
    ssl_session_cache shared:SSL:10m;
    ssl_session_timeout 10m;
    add_header Strict-Transport-Security "max-age=31536000";
    error_page 497  https://$host$request_uri;

    #SSL-END

    #ERROR-PAGE-START  Error page configuration, can be commented, deleted, or modified
    #error_page 404 /404.html;
    #error_page 502 /502.html;
    #ERROR-PAGE-END

    #PHP-INFO-START  PHP reference configuration, can be commented or modified
    #Clear cache rules

    location ^~ /
    {
        proxy_pass http://127.0.0.1:3000;
        proxy_set_header Host $host;
        proxy_set_header X-Real-IP $remote_addr;
        proxy_set_header X-Forwarded-For $proxy_add_x_forwarded_for;
        proxy_set_header REMOTE-HOST $remote_addr;

        add_header X-Cache $upstream_cache_status;

        #Set Nginx Cache


        set $static_fileceZTfEud 0;
        if ( $uri ~* "\.(gif|png|jpg|css|js|woff|woff2)$" )
        {
            set $static_fileceZTfEud 1;
            expires 12h;
        }
        if ( $static_fileceZTfEud = 0 )
        {
            add_header Cache-Control no-cache;
        }
    }

    access_log  /www/wwwlogs/domain.com.log;
    error_log  /www/wwwlogs/domain.com.error.log;
}
If you are a Baota (宝塔) user, you can also use the reverse proxy function provided by Baota directly. Just follow the screenshot settings.
Umami User Experience
Umami's functions are simple, with few options, making it easy to get started. In terms of functionality, it is sufficient for personal or small company use.
Summary
- Umami installation depends on MySQL or PostgreSQL databases.
- Initial data must be imported before installation.
- The default username is
admin, and the password isumami. - Umami has a clean and beautiful interface and supports multiple languages.
- Umami's functions are simple, and the data is not rich enough. Compared to Baidu Statistics and Google Analytics, there is still a long way to go to replace these commercial statistics tools.
- Umami Demo: https://app.umami.is/share/8rmHaheU/umami.is
- Umami Official Website: https://umami.is/
- Umami Project Address: https://github.com/mikecao/umami