Deploying Zot for a Private Container Registry and Docker Image Acceleration
Before using Zot, I relied on Nexus 3 to build a container image repository. However, this heavyweight tool consumes high memory, is complex to set up, and is difficult to troubleshoot when issues arise. Now, I have completely moved away from Nexus 3 and embraced Zot.
Note: This article has a certain level of technical depth. It is recommended for developers or operations personnel. Beginners are not advised to attempt this.
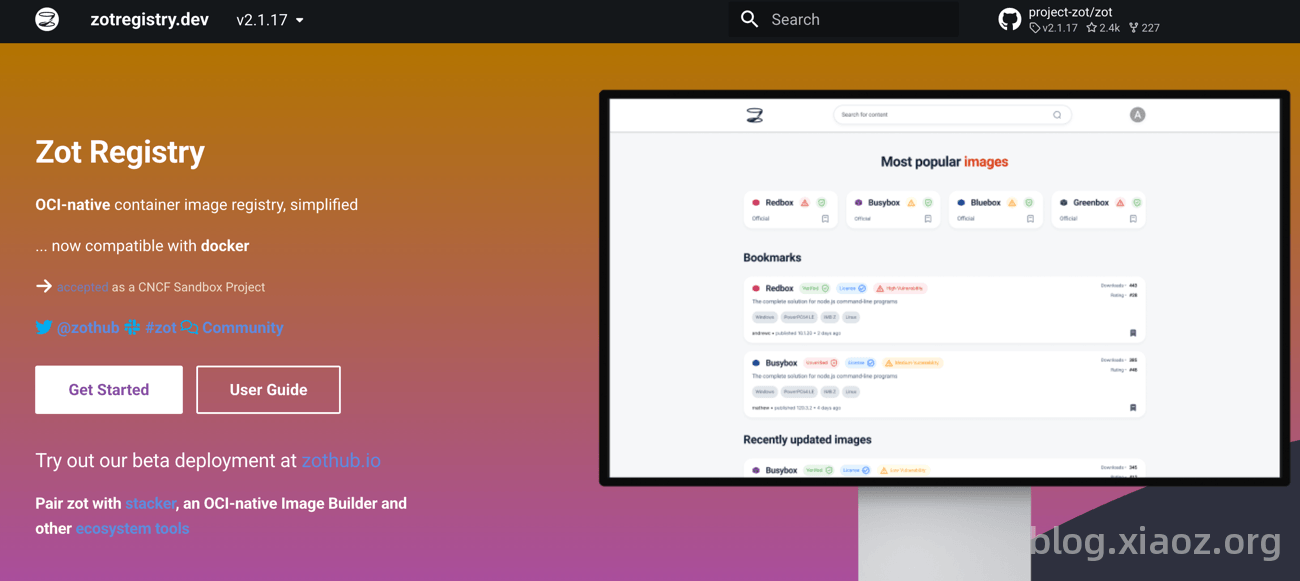
What is Zot?
Zot is a container image repository similar to Docker Hub, but it is lightweight and private, allowing you to deploy it freely on your own servers. It is specifically designed to store and distribute your container images and can also be used to accelerate Docker Hub images, thereby solving the problem of being unable to pull Docker images in China.
Zot features the following characteristics:
- Private Image Storage: Build a private Docker image repository on your own server for secure internal team sharing.
- Image Push and Pull: Fully compatible with Docker commands; push and pull images just like using Docker Hub.
- Security Vulnerability Scanning: Automatically checks for known security risks within images to identify potential issues early.
- Access Control: Supports user authentication and authorization, giving you control over who can push and who can pull.
- Garbage Collection: Automatically reclaims unused image layers and redundant data to save storage space.
- Data Deduplication: Stores identical content only once to avoid redundant disk usage.
- Cross-Platform Support: Runs on Linux, Mac, Raspberry Pi, and more; suitable for cloud, on-premise, and edge environments.
- Minimal Deployment: The entire software is a single file; download and run without installing dependencies or additional services.
Deploying Zot with Docker Compose
Below, I will deploy Zot using Docker Compose based on my actual requirements.
1. Generate a Password File
Zot supports various user authentication methods. The simplest is Basic Authentication. First, generate the htpasswd file using the following command:
docker run --rm httpd:alpine htpasswd -Bbn username password > ./htpasswd
username: Change to your own username.password: Change to your own password.
2. Write the Configuration File
To be honest, although Zot itself is lightweight, its configuration is quite complex. I spent a lot of time tweaking it with the help of AI to create a configuration that meets my needs.
Let's first discuss my requirements:
- Accelerate Docker official and GitHub container image repositories to allow normal pulling over domestic networks.
- Establish my own private container image repository.
If your needs are the same as mine, congratulations, you can copy my configuration directly. Create a new config.json file with the following content:
{
    "storage": {
        "rootDirectory": "/var/lib/registry",
        "commit": true,
        "dedupe": true,
        "gcInterval": "24h",
        "retention": {
            "policies": [
                {
                    "repositories": [
                        "username/**"
                    ],
                    "deleteUntagged": true,
                    "keepTags": [
                        {
                            "patterns": ".*"
                        }
                    ]
                },
                {
                    "repositories": [
                        "**"
                    ],
                    "deleteUntagged": true,
                    "keepTags": [
                        {
                            "pushedWithin": "24h",
                            "pulledWithin": "24h"
                        }
                    ]
                }
            ]
        }
    },
    "http": {
        "address": "0.0.0.0",
        "port": "5000",
        "auth": {
            "htpasswd": {
                "path": "/etc/zot/htpasswd"
            }
        },
        "accessControl": {
            "repositories": {
                "**": {
                    "defaultPolicy": [
                        "read",
                        "create",
                        "update",
                        "delete"
                    ]
                }
            }
        }
    },
    "extensions": {
        "sync": {
            "enable": true,
            "registries": [
                {
                    "urls": [
                        "https://ghcr.io"
                    ],
                    "onDemand": true,
                    "tlsVerify": true,
                    "maxRetries": 3,
                    "retryDelay": "5m",
                    "content": [
                        {
                            "prefix": "**"
                        }
                    ]
                },
                {
                    "urls": [
                        "https://registry-1.docker.io"
                    ],
                    "onDemand": true,
                    "tlsVerify": true,
                    "maxRetries": 3,
                    "retryDelay": "5m"
                }
            ]
        },
        "search": {
            "enable": true,
            "cve": {
                "updateInterval": "2h"
            }
        },
        "ui": {
            "enable": true
        }
    }
}
Note: Change the
usernamein the above configuration to your own username (refer to the first step). For more configuration parameters, refer to the official documentation: https://zotregistry.dev/v2.1.17/admin-guide/admin-configuration/
3. Create the compose.yaml File
Create a compose.yaml file with the following content:
services:
  zot:
    image: ghcr.io/project-zot/zot-linux-amd64:latest
    container_name: reg_xphub
    restart: always
    ports:
      - "5000:5000"
    volumes:
      - ./config.json:/etc/zot/config.json:ro
      - ./htpasswd:/etc/zot/htpasswd:ro
      - ./data:/var/lib/registry
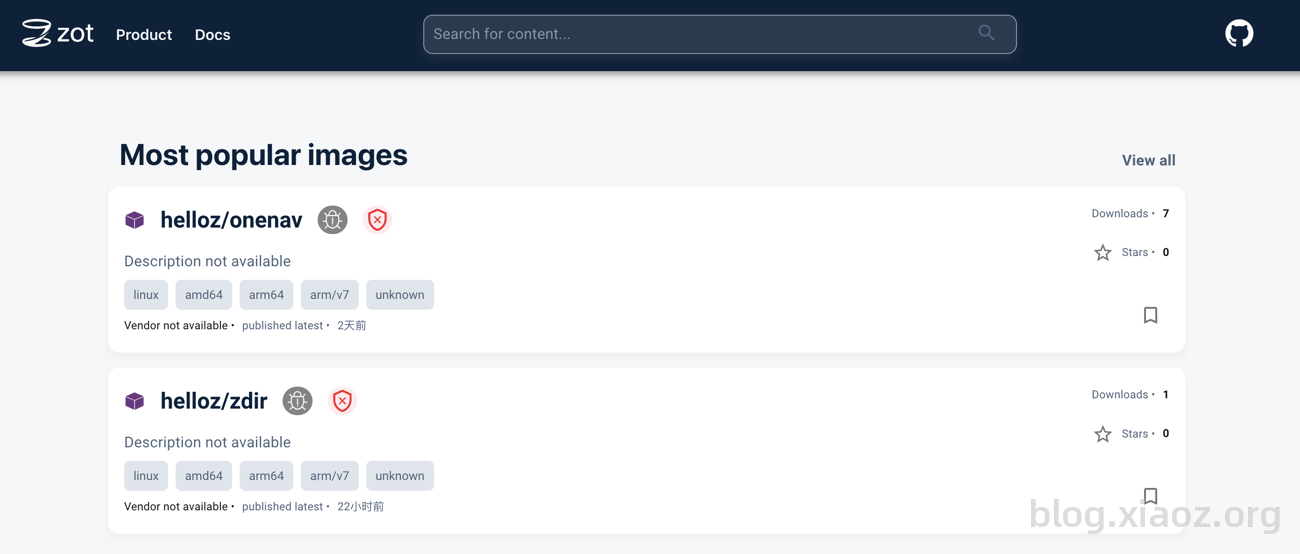
Finally, run docker compose up -d to start the service and visit the WebUI at http://IP:5000 to log in.
Note: If you want to use Zot to solve the problem of being unable to pull Docker images in China, you should deploy Zot on a server located overseas.
Usage
Since the Docker client does not support HTTP by default, we can configure an SSL certificate via reverse proxy for http://IP:5000 to enable HTTPS support.
Note: If you use a CDN for configuration, do not set caching on the CDN, as this may cause authentication exceptions.
After successfully configuring the SSL certificate, you can use the Docker command line to log in:
docker login pub.tcp.mk
Note: Change
pub.tcp.mkto your own domain name. Do not addhttps://at the beginning or any path at the end.
Then, pull the image:
docker pull pub.tcp.mk/helloz/zmark
Conclusion
If you also want to build a lightweight, private container image repository or need to accelerate Docker image pulls in China, give Zot a try. Compared to heavyweight tools like Nexus 3 or Harbor, Zot saves resources and is simple to deploy. Although the configuration file requires some effort, once configured correctly, it will work seamlessly for a long time.
- Zot Official Website: https://zotregistry.dev/
- Zot Open Source Address: https://github.com/project-zot/zot