How to Deploy OneNav Bookmarks on Amazon Lightsail in 5 Minutes
Amazon Lightsail container service is a low-barrier, fully managed container solution launched by Amazon Web Services, designed for developers and small projects. It supports one-click deployment of container applications, automatic image building, and provides basic load balancing and domain binding functions, helping users quickly build and run containerized services.
OneNav is an efficient browser bookmark management tool that can centrally manage browser bookmarks, perfectly solving synchronization and access issues across devices, platforms, and browsers. One deployment allows access everywhere.
This article introduces how to use Amazon Lightsail container services to quickly deploy OneNav. The content includes:
- Register Amazon Web Services account
- Deploy OneNav
- Access test
- Notes
Register Amazon Web Services Account
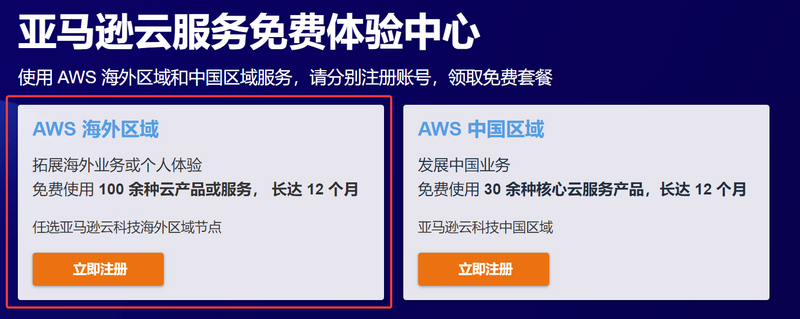
Before using Amazon Lightsail, we need to register an Amazon Web Services account first. After registration, you can experience many free cloud products provided by Amazon Web Services. However, before starting, you need to prepare:
- A common email
- A common phone number
- UnionPay/VISA/MasterCard credit card
Click the link: Amazon Web Services to go to registration. When registering, pay attention to select "Amazon Web Services Overseas Region". The overseas region does not require enterprise certification.
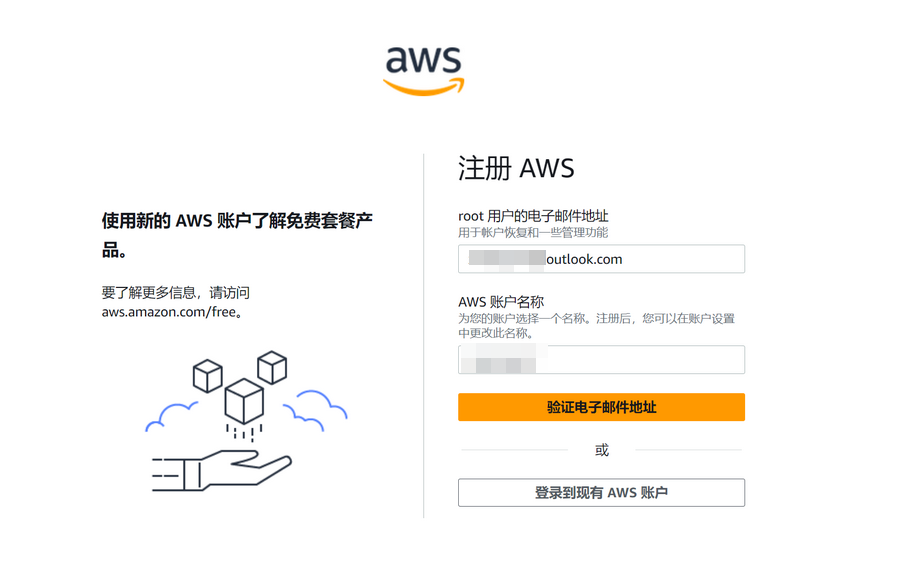
Fill in your email and account name.
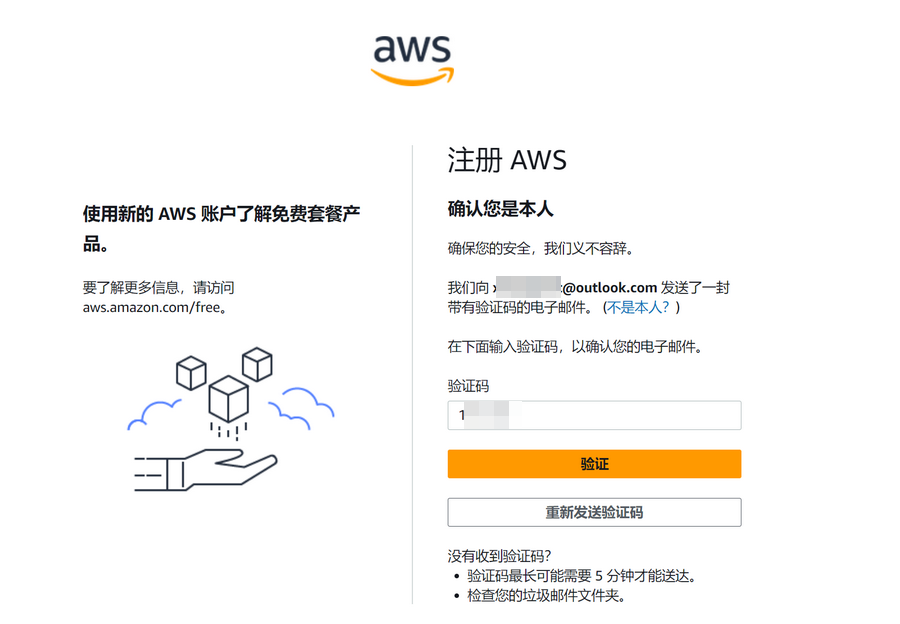
Enter the verification code sent by Amazon Web Services to your email for verification.
Continue to set the account password.

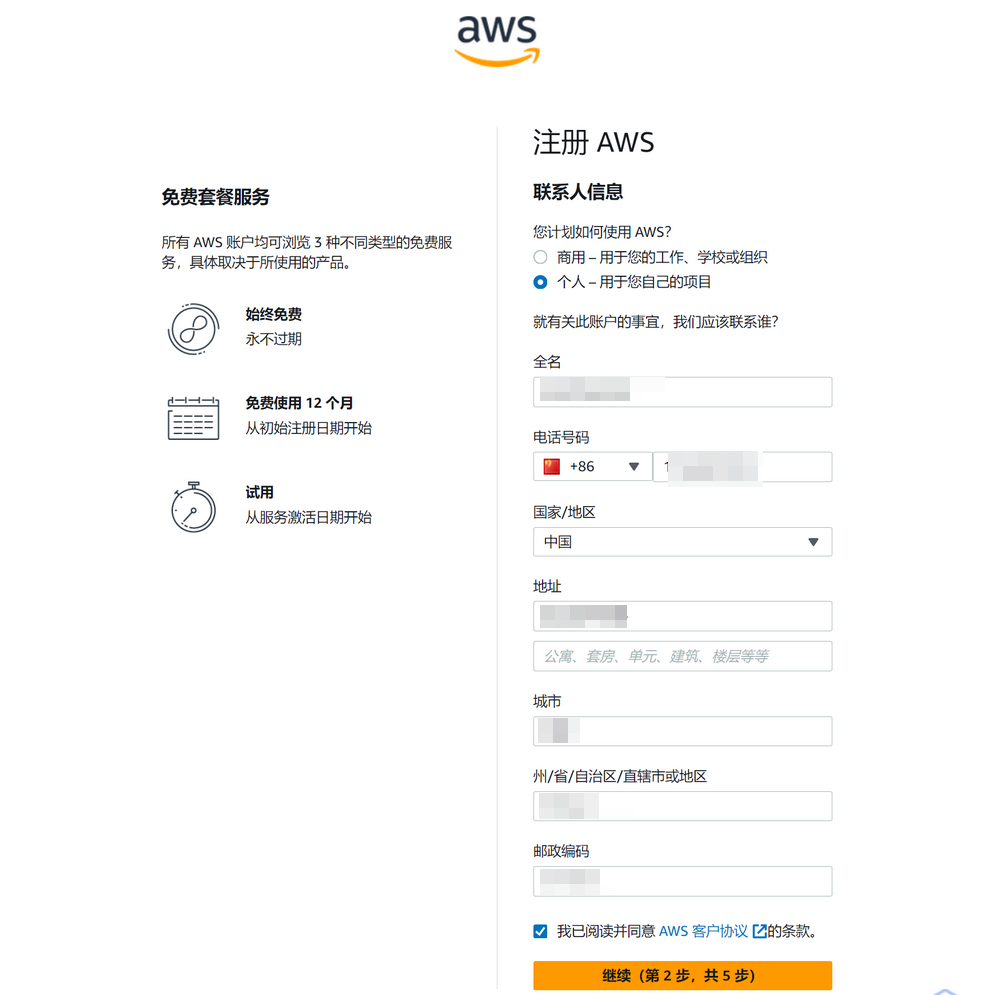
Next, fill in contact information, note the following:
- Select individual or commercial user based on your actual situation; the author selected individual.
- Full name/phone/address and other information must be filled in truthfully and cannot be fabricated, otherwise it may trigger risk control.
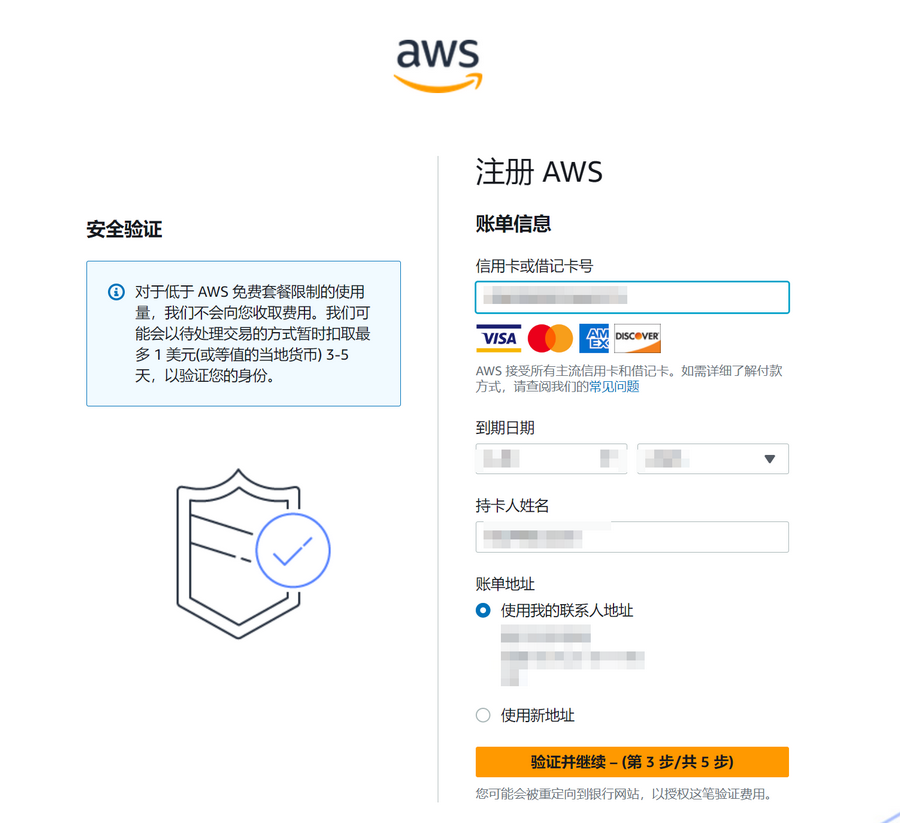
Next, you need to verify with a credit card. UnionPay/VISA/MasterCard/AE credit cards are supported. Fill in the credit card/name/address information according to your actual situation. A maximum of $1 fee will be temporarily deducted during verification and refunded after verification passes.
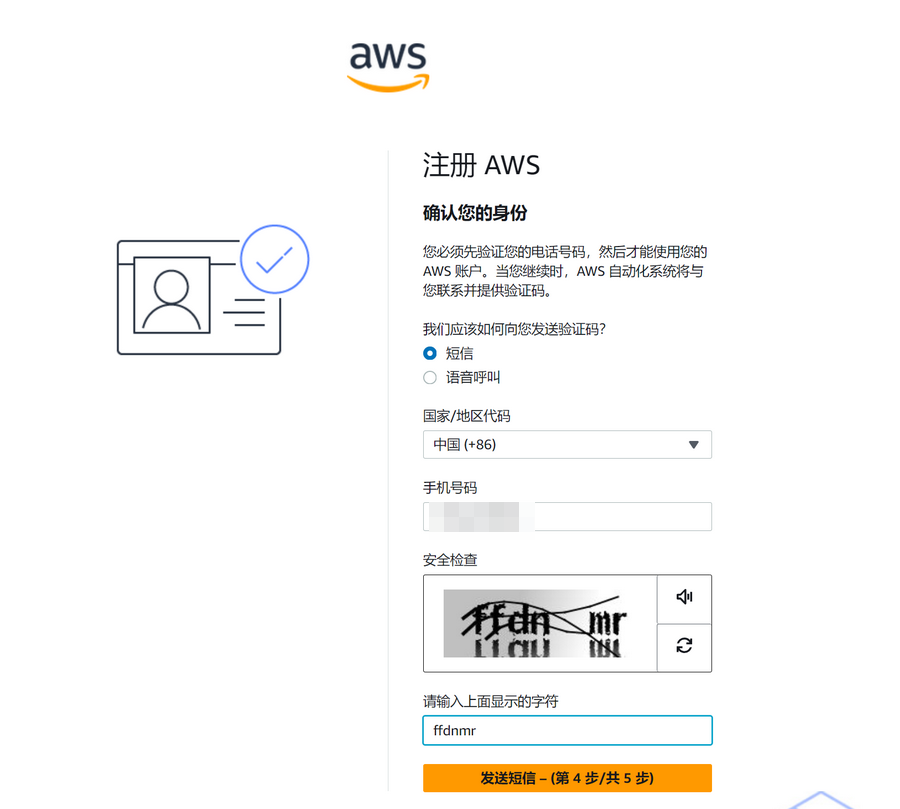
Continue to verify the mobile phone number.
The last step is to select "Support Plan". The author selected "Basic Support - Free".
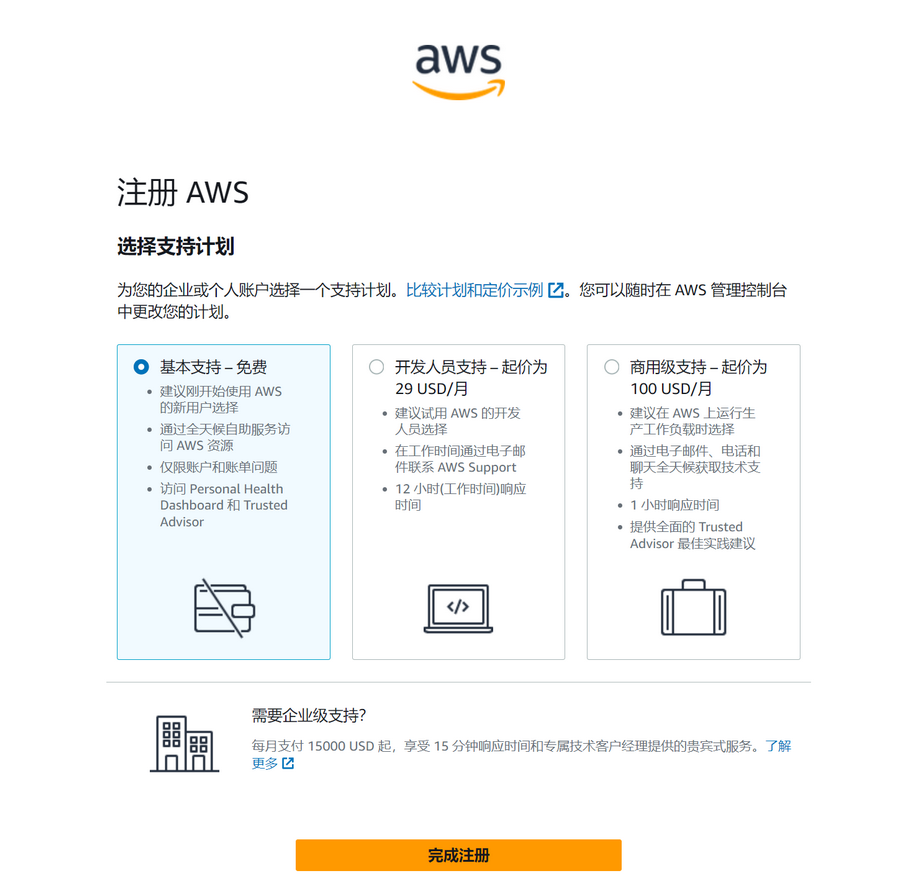
After registration, wait for the account verification to pass before starting to experience the free plan provided by Amazon Web Services.
Deploy OneNav
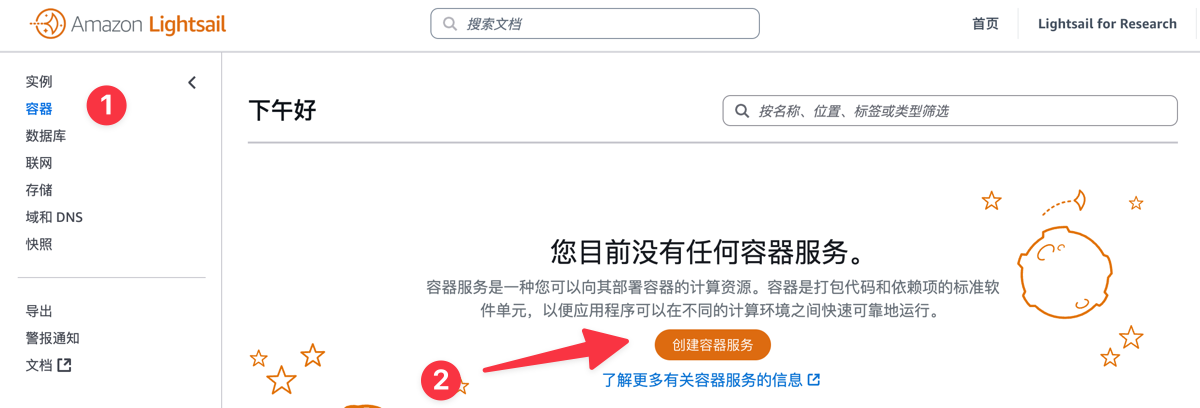
First, enter the Amazon Lightsail Management Console - Find Container Service - Then Click Create Container, as shown in the figure below.
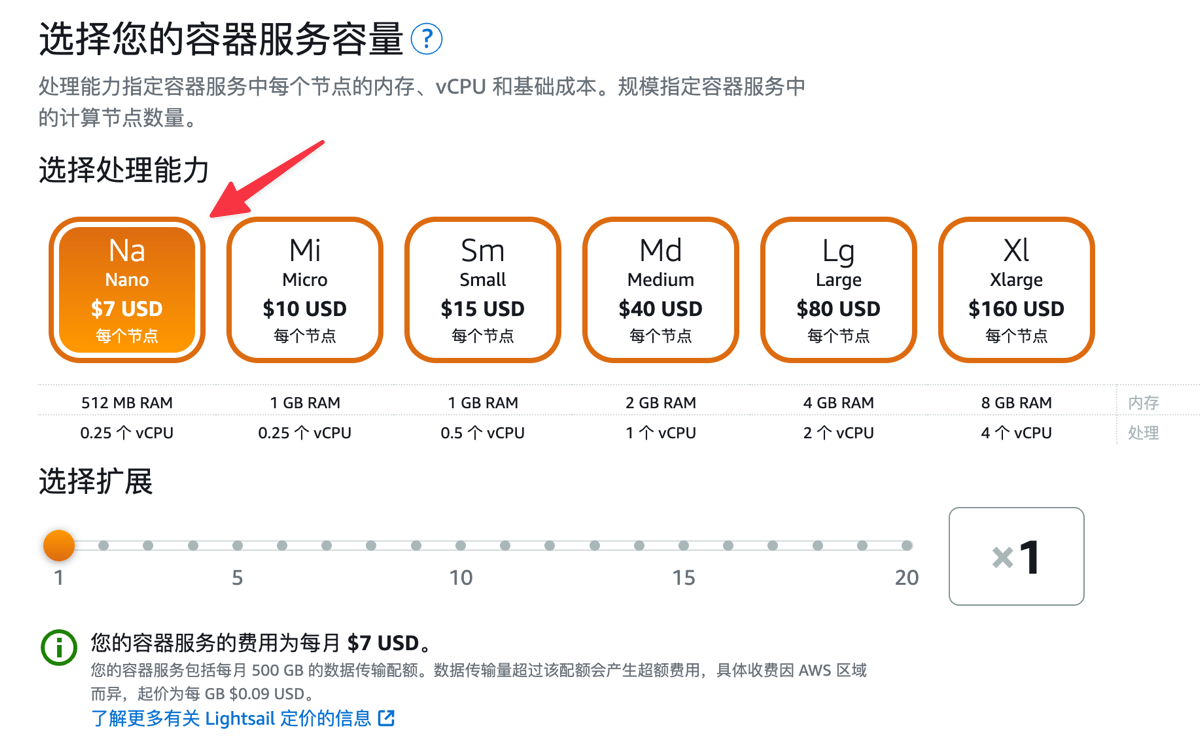
Next, select Container Service Capacity. Since OneNav occupies low resources, the author selected a $7 node which is enough.
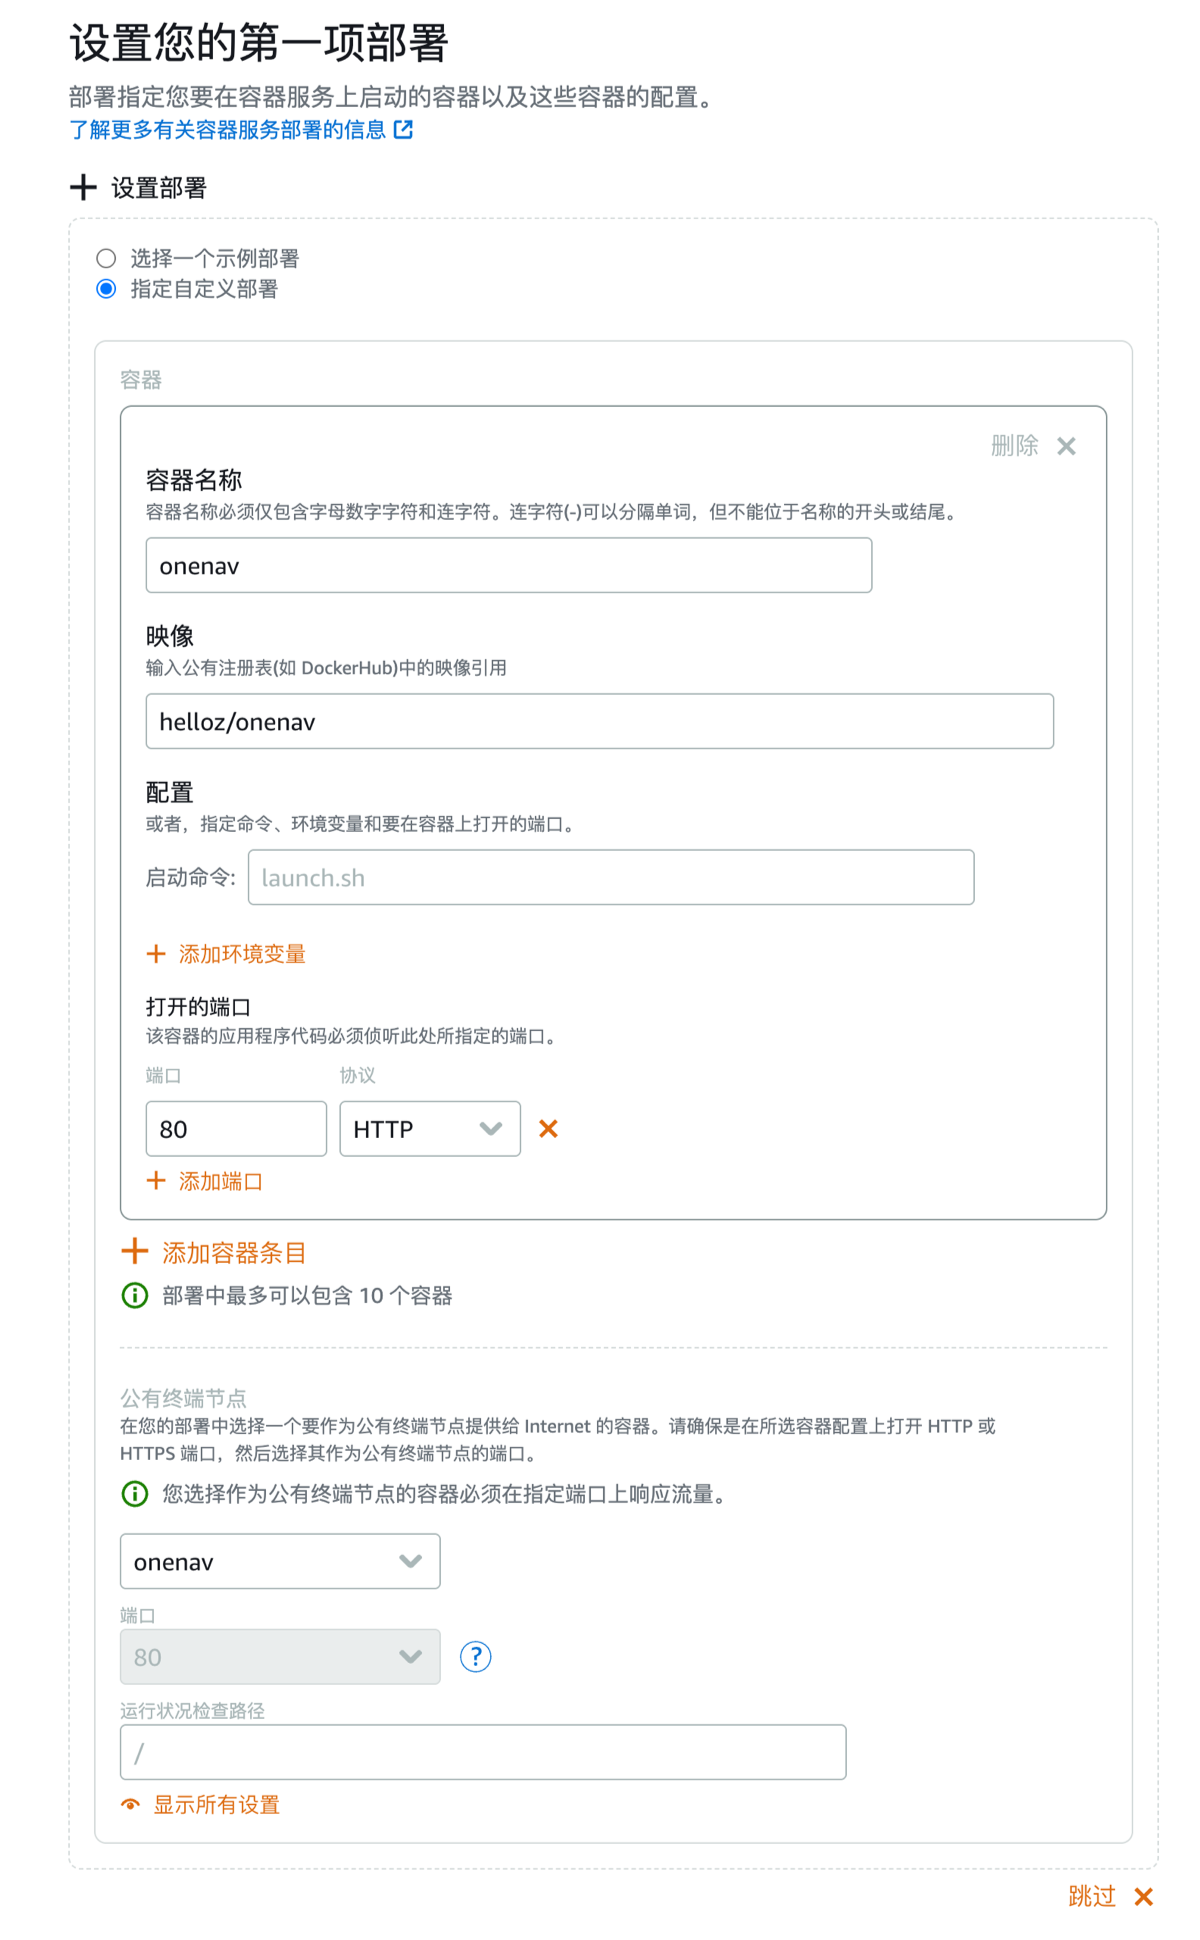
Next, set up deployment. Select Specify Custom Deployment. Fill in the information according to the following requirements:
- Container Name: onenav
- Image: Fill in
helloz/onenav - Open Ports: Port fill in 80, Protocol select HTTP
- Public Endpoint: Select onenav
- Other information keep default
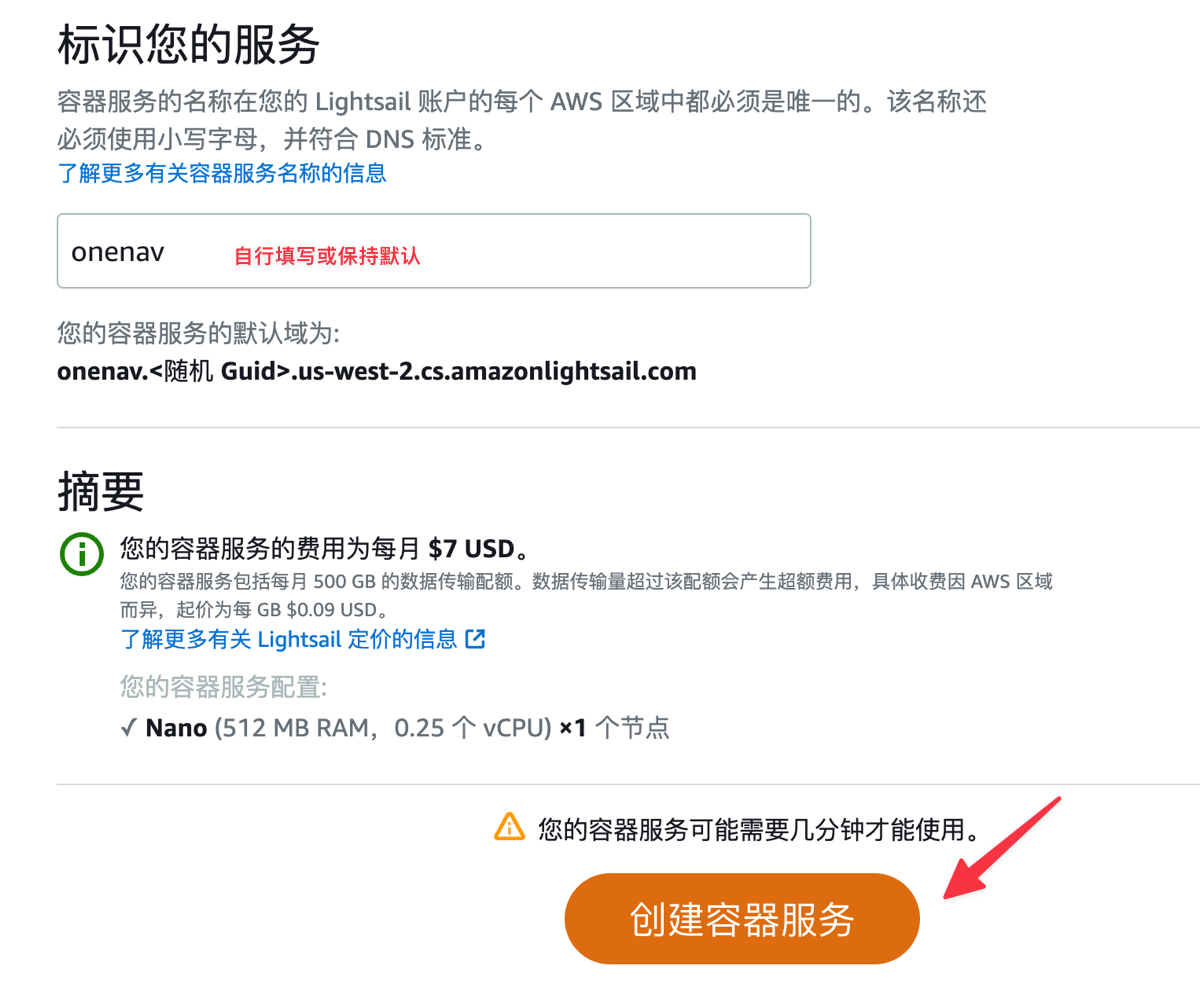
For identifying your service, keep default or customize the name. Finally, click Create.
Access Test
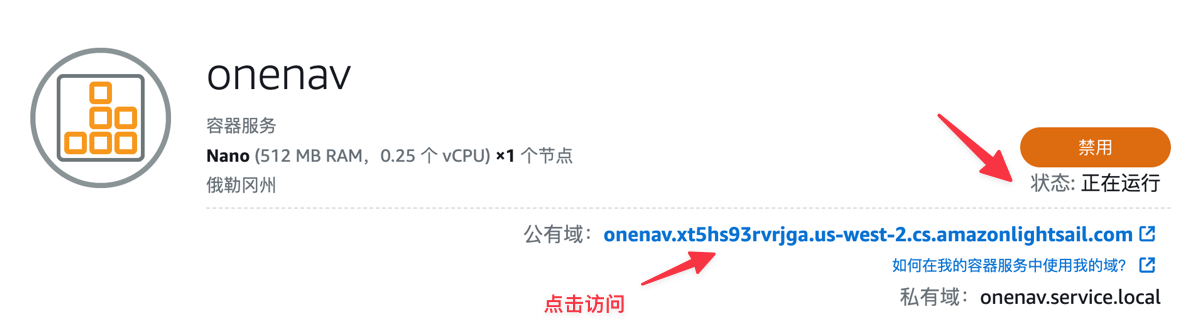
Wait about 5 minutes. When the status shows Running, we can click the public domain assigned by Amazon Web Services to access.
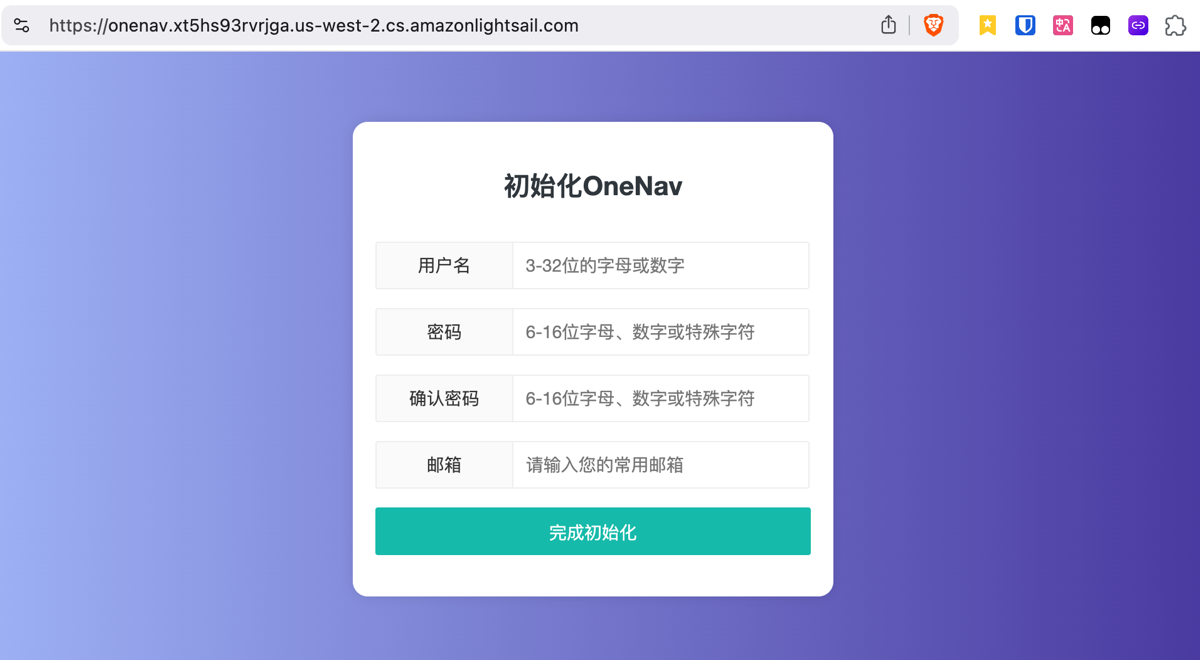
Then follow the prompts to set up the OneNav account and password to complete initialization and log in to the backend.
Notes
- Amazon Lightsail container service does not provide persistent data storage, recommended for test usage scenarios.
- If you decide not to use the service, remember to close and delete the service in the console to avoid charges!
Conclusion
Through Amazon Web Services Lightsail container service, you can deploy the OneNav bookmark tool with just a few simple steps, easily achieving cross-platform bookmark synchronization. Amazon Web Services' fully managed container solution makes application deployment simpler and is an ideal choice for individual developers and small projects.